5
www.jbl.com
INSTALLATION OPENING
We have designed the GT-X555/GT-X333 to install into a standard DIN-
sized dashboard opening (182mm (7-3/16") wide x 53mm (2-1/8") high).
To support the player adequately, the dashboard should be between
4.75mm and 5.56mm thick.
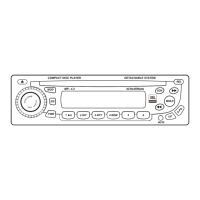
REMOVING THE MOUNTING SLEEVE
Before installing the player you must remove the mounting sleeve.
1. Insert both supplied L-keys into the openings at the front of the
player (between the player and the mounting sleeve) until they lock
into place.
2. Pull the mounting sleeve off the player.
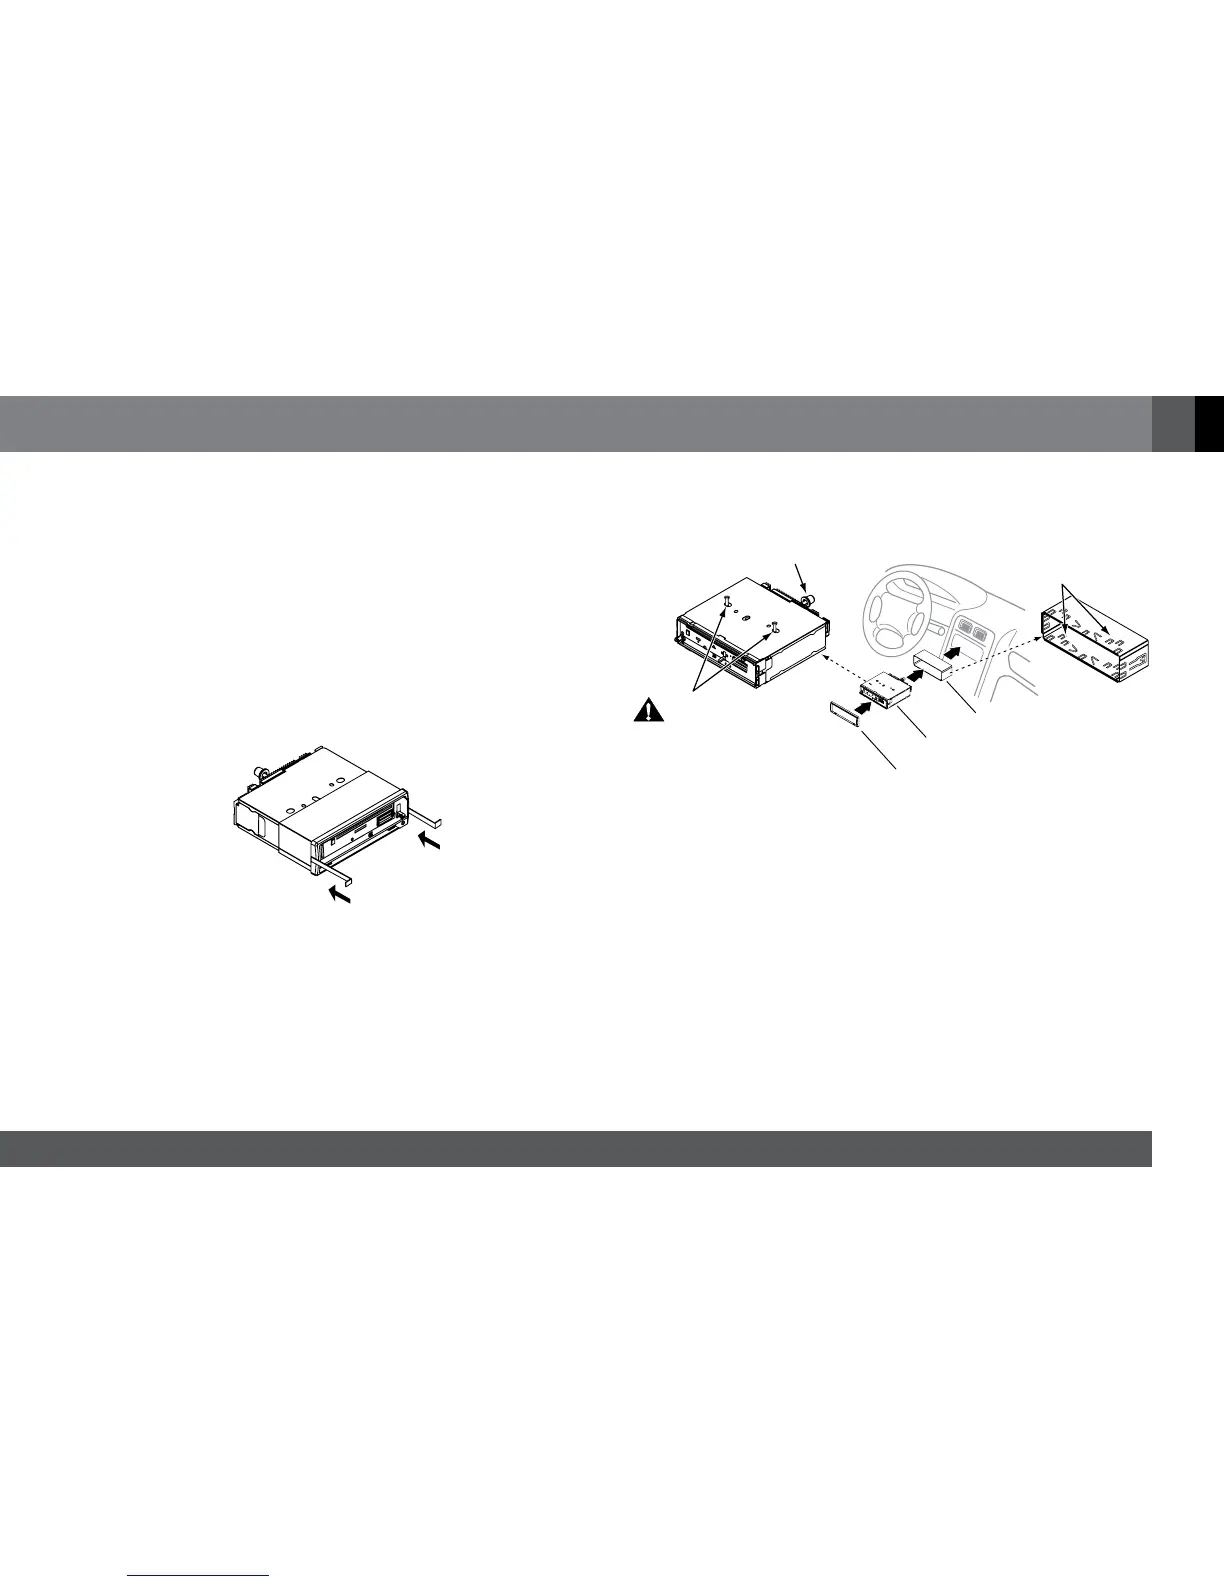
INSTALLING THE PLAYER
Bend Tabs Out After
Insertion to Secure
Sleeve in Dashboard
Attach the Support
Rod and Rubber Cap
Remove the
Two Screws
(GT-X555 only)
Trim Ring
Mounting
Sleeve
Unit
1. Insert the mounting sleeve into the dashboard opening. Make sure
that the lock levers on the sleeve’s sides are not projecting outward
from the sleeve.
IMPORTANT: To ensure proper operation of the CD transport, the
GT-X555 must be mounted at less than a 30° angle.
2. Using a screwdriver, bend the mounting sleeve’s tabs out to secure
it to the dashboard.
3. For the GT-X555, remove the two transport locking screws on the
top of the receiver.
4. Screw the mounting support rod into the player’s rear panel and
push the rubber cap over the end of the rod.
5. Plug the wiring harness into the connector on the back of the
GT-X555/GT-X333, and plug the vehicle antenna into the GT-X555/
GT-X333’s antenna connector.
 Loading...