41
Sewing letters and one point pattern
(in order to sew a pattern neatly, apply interlining and conduct a test sewing rst.)
Use an iron to attach a fusible interlining to the wrong side of fabric.
*
When stitch length becomes too small, the bobbin thread will come out to
the front side of fabric and/or stitches might get stuck. Therefore make sure
to conduct a test sewing beforehand.
Fabric
Preparation before sewing
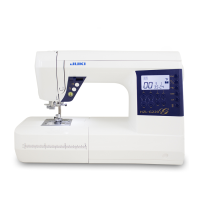
Pattern No.
One point 00~39
Letters 00~99
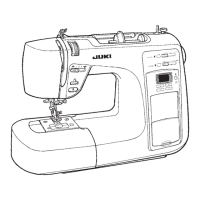
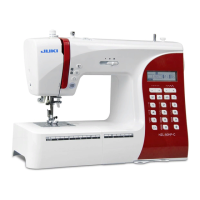
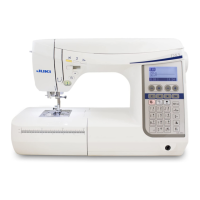
Presser foot Manual buttonhole presser foot (I)
Attention
Turn OFF the power switch before replacing the presser foot.
1. Press button
A
.
2. Set a piece of fabric and a thread to be used for test sewing.
3. Check the sewn result. If it is not right, change the gure
C
by stitch
length adjusting button
B
. Figures "-30" to "+30" can be selected.
4. When
button
A
is pressed again, screen goes back to normal.
Since the pattern might be deformed according to the type and thickness of
fabric and fusible interlining to be used, make sure to conduct test sewing
on the same fabric and interlining.
Correct shape
Test sewing
When right side is higher than left side, When right side is lower than left side,
Press "
" and
adjust it.
A
B
C
Press " " and
adjust it.

 Loading...