When
this nut is tightened, the distance
between
the
needle
bar upper
bushing surface and the top edge of the needle bar becomes
less
than
standard distance and if this
tension
post is rotated in the
opposite
direction of the arrow, this distance will become greater than standard.
Defective
signs
Adjustment
(i)
When
thread
tightening
of
back
of
fabric
bad
I
Rotate
tension
post
no.
2
in
the
(ii)
When
the
th'-ead
at
stop
motion
^
t^pposite
direction
instant
breaks
enroute
(iii) Too frequent thread breakage
Rotate
tension
post
no. 2
toward
the
arrow
direction.
17.
CHANGING
THE
POSITION
OF
BUTTON
TRAY
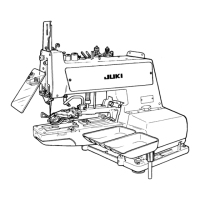
Normally, the button tray is attached to the right side of the
machine.
But if
this
position
is
inconvenient
depending
upon
thenature
of
operation,
loosen
the
button
tray
leg
set
screw
and
insert
the
tray
into the
hole
which
is on the
left
side
of the
front
part of the
table.
18. STITCH SELECTING
{Vig.
18)
Fig.
18
To
select
the
number
of
stitches,
first
open
the
left
side
cover
do
the
selection
by
means
of
the
stop
motion
cam
knob
®,
stitch
selecting
latch
adjusting
screw
©
and
the
tightening
screw
©.

 Loading...