D 5
1001.GB
Adjusting the charging curve
The charging curve can be adjusted by performing the following steps:
Starting the recharging process with integrated battery charger
– Park the truck and render it safe (refer to chapter E).
f
During the recharging operation the tops of the battery cells must be exposed to en-
sure adequate ventilation. Metal objects must not be placed on the battery. Prior to
starting the recharging operation, check all cable connections and plugged connec-
tions for visible damage. The safety instructions provided by the battery supplier and
battery charger supplier must be strictly observed.
Mains supply
Line voltage: 230 V (+10/-15%)
Line frequency: 50 Hz / 60 Hz
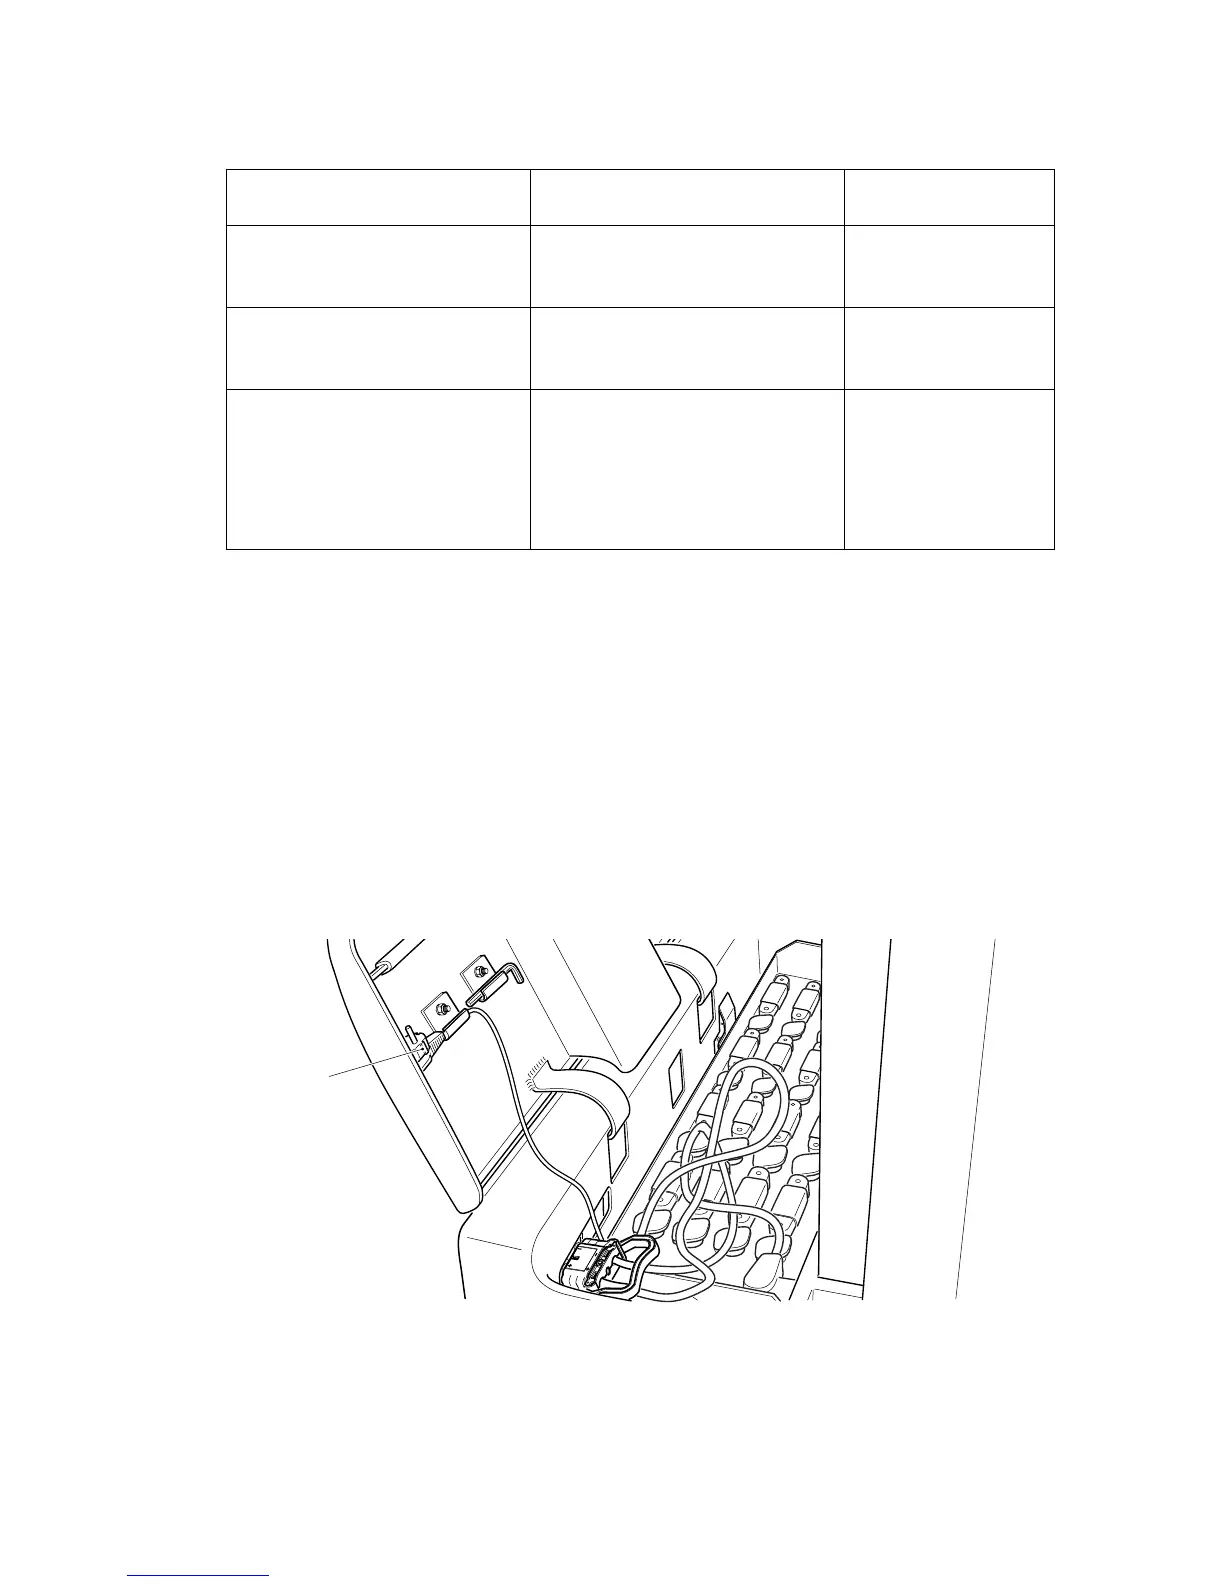
The power plug (8) of the battery charger can be found in the battery compartment.
– Expose the battery (refer to section 3).
– Remove insulation mat from battery, if necessary.
– Pull out master switch (2) (position “ON”).
– Connect power plug (8) with a power socket.
Connect the battery This permits to use the battery
charger as an adjustment aid
Turn the adjustment switch to
the right (i.e. clockwise) until it
touches the limit stop.
The red LED flashes fast no valid
charging curve sel-
ected
Turn the adjustment switch to
the left (i.e. anticlockwise) until
it touches the limit stop.
After 3 seconds the green LED
flashes only once
charging curve 1
selected
Select the desired charging
curve by turning the adjust-
ment switch to the right
The red LED starts to flash in
the intermediate positions.
If a valid charging curve is sel-
ected, the green LED starts to
flash in the relevant switch po-
sition.
8
D 5
1001.GB
Adjusting the charging curve
The charging curve can be adjusted by performing the following steps:
Starting the recharging process with integrated battery charger
– Park the truck and render it safe (refer to chapter E).
f
During the recharging operation the tops of the battery cells must be exposed to en-
sure adequate ventilation. Metal objects must not be placed on the battery. Prior to
starting the recharging operation, check all cable connections and plugged connec-
tions for visible damage. The safety instructions provided by the battery supplier and
battery charger supplier must be strictly observed.
Mains supply
Line voltage: 230 V (+10/-15%)
Line frequency: 50 Hz / 60 Hz
The power plug (8) of the battery charger can be found in the battery compartment.
– Expose the battery (refer to section 3).
– Remove insulation mat from battery, if necessary.
– Pull out master switch (2) (position “ON”).
– Connect power plug (8) with a power socket.
Connect the battery This permits to use the battery
charger as an adjustment aid
Turn the adjustment switch to
the right (i.e. clockwise) until it
touches the limit stop.
The red LED flashes fast no valid
charging curve sel-
ected
Turn the adjustment switch to
the left (i.e. anticlockwise) until
it touches the limit stop.
After 3 seconds the green LED
flashes only once
charging curve 1
selected
Select the desired charging
curve by turning the adjust-
ment switch to the right
The red LED starts to flash in
the intermediate positions.
If a valid charging curve is sel-
ected, the green LED starts to
flash in the relevant switch po-
sition.
8

 Loading...