.
6
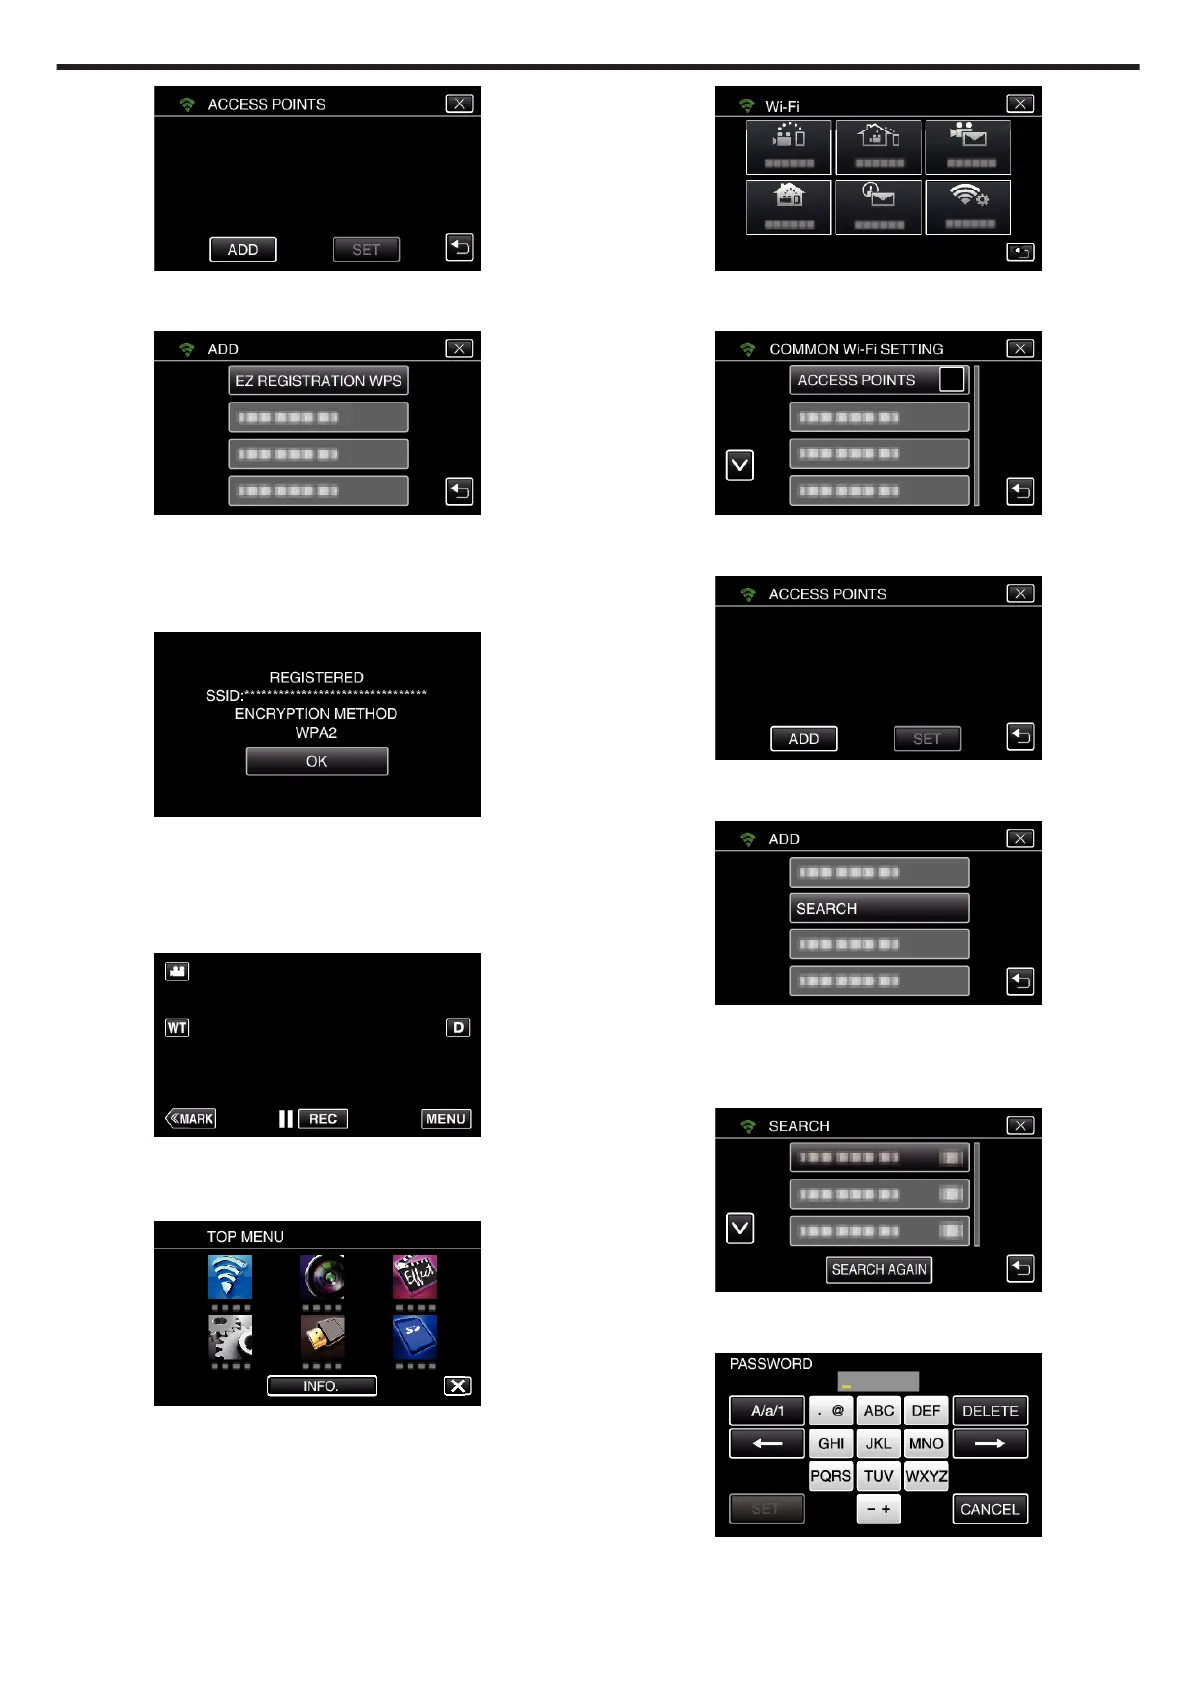
Tap “EZ REGISTRATION WPS”.
(Operation on this camera)
.
7
Activate WPS of the access point (wireless LAN router) within 2 minutes.
0
To activate WPS, refer to the instruction manual of the device in use.
8
After registration is complete, tap “OK” on the camera’s screen.
(Operation on this camera)
.
o
Search the access point, and select from the list.
Set the name (SSID) of the access point (wireless LAN router) and the
password beforehand.
1
Tap “MENU”.
(Operation on this camera)
.
0
The top menu appears.
2
Tap the “Wi-Fi” (
Q
) icon.
(Operation on this camera)
.
3
Tap “COMMON Wi-Fi SETTING”.
(Operation on this camera)
.
4
Tap “ACCESS POINTS”.
(Operation on this camera)
.
5
Tap “ADD”.
(Operation on this camera)
.
6
Tap “SEARCH”.
(Operation on this camera)
.
0
The search results appear on the camera’s screen.
7
Tap the name (SSID) of the desired access point from the list of search
results.
(Operation on this camera)
.
8
Register a password.
(Operation on this camera)
.
0
Tap on the on-screen keyboard to enter characters. The character
changes with every tap.
Using Wi-Fi by Creating a QR Code
163
 Loading...