Setting White Balance
You can set the color tone to suit the light source.
This function is available for both videos and still images.
0
This function is available when the shooting dial is set to P, A, S or M.
1
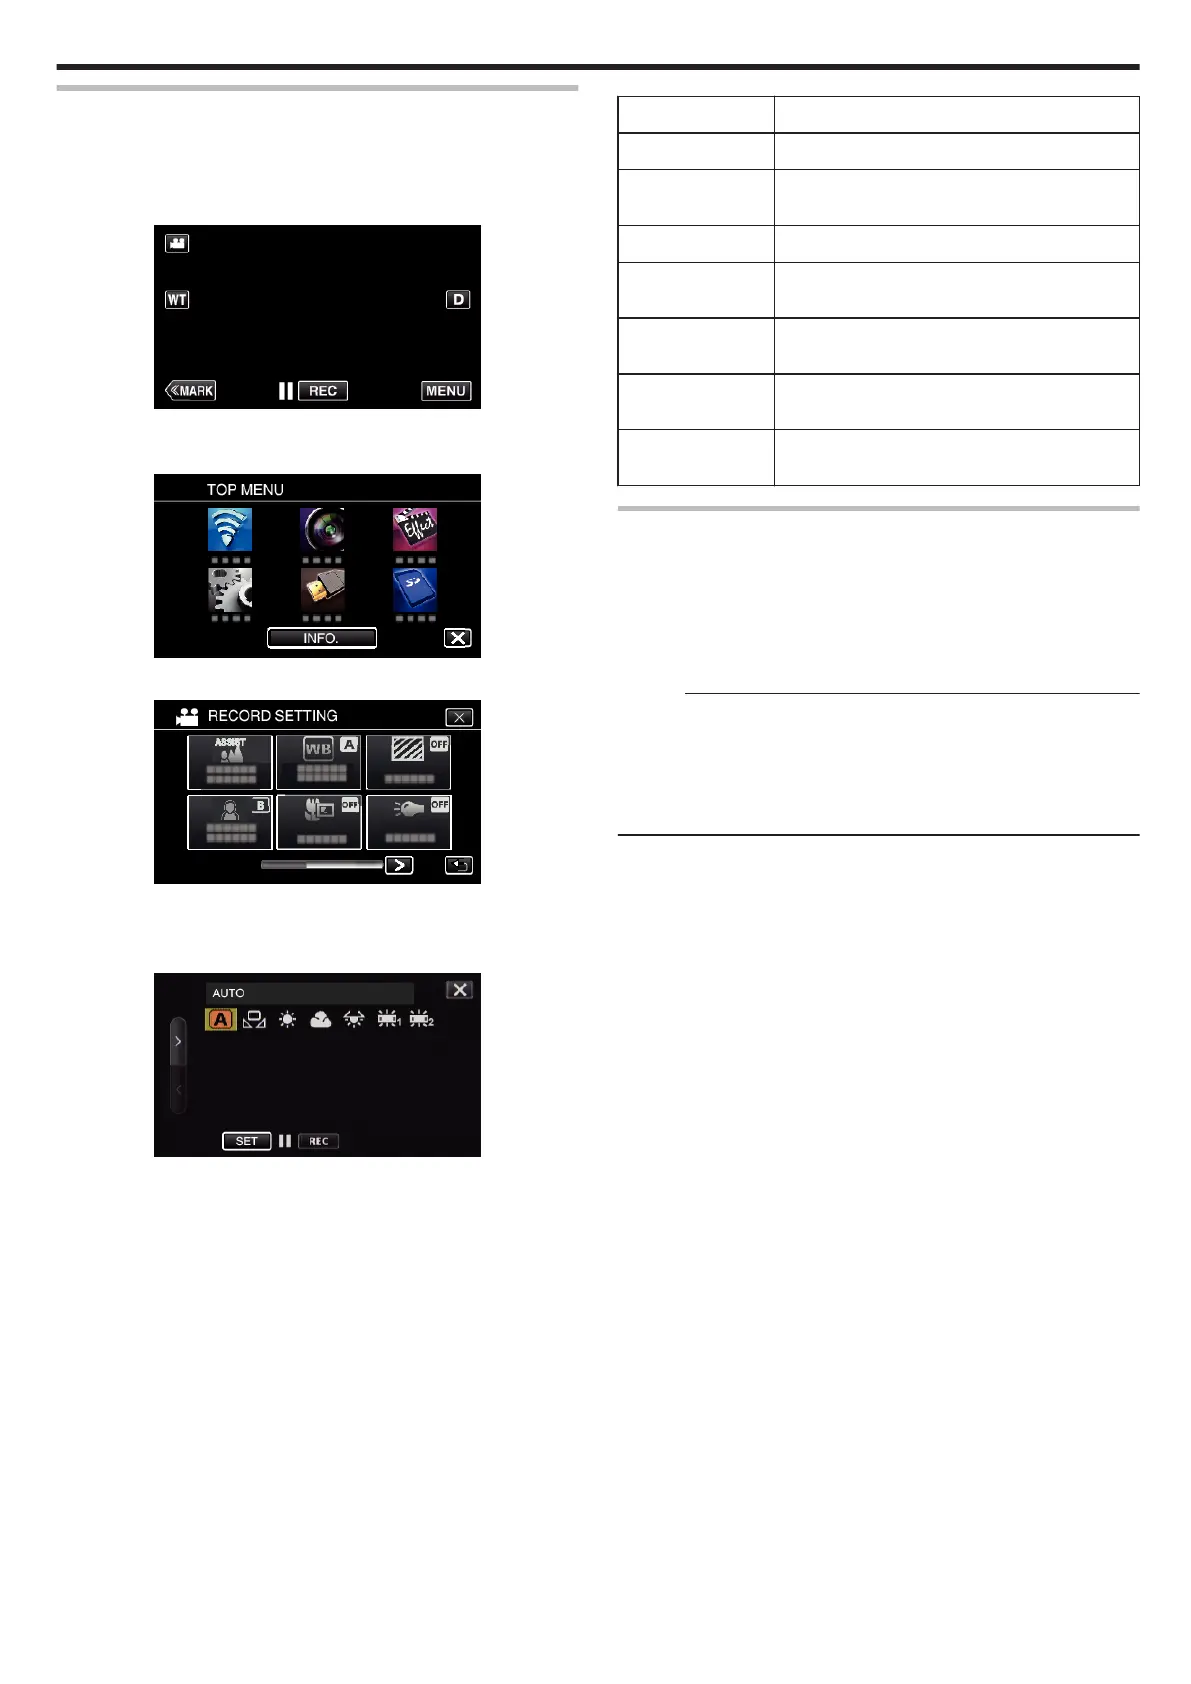
Tap “MENU”.
.
0
The top menu appears.
2
Tap “RECORD SETTING”.
.
3
Tap “WHITE BALANCE”.
.
0
Tap L to exit the menu.
0
Tap J to return to the previous screen.
4
Tap the appropriate shooting environment.
.
0
Select the item by using 0 or 1, then tap “SET”. (Tap the icon directly
to select.)
0
The White Balance icon appears on the screen upon completing the
setting.
Setting
Details
n AUTO Adjusts automatically to the natural colors.
l MWB Use this when the problem of unnatural colors is
not resolved.
m FINE Set this when shooting outdoors on a sunny day.
p CLOUD Set this when shooting on a cloudy day or inside a
shade.
o HALOGEN Set this when shooting under illumination such as
a video light.
v
FLUORESCENT 1
Set this when shooting under the natural-white
fluorescent lighting.
w
FLUORESCENT 2
Set this when shooting under the daylight
fluorescent lighting.
Using MWB
1
Hold a sheet of plain white paper in front of the lens so that the white
paper fills the screen.
2
Position the cursor to “MWB”, and press and hold “SET”.
Or, press and hold the “MWB” icon.
3
Release your touch after the menu disappears and o lights up.
Memo :
0
The setting will not change if “MWB” is being tapped too fast (less than 1
second).
0
When the shooting dial is set to either i.AUTO or SCN, setting is fixed to
“AUTO”.
0
When the shooting dial is set to U, setting can be done at “WHITE
BALANCE” of “USER DIAL”.
Recording
39
 Loading...