1-1
(1) (2) (3) (4)
SECTION 1
DISASSEMBLY
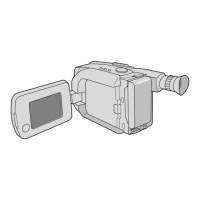
1.1.3 Connection of the wires
1. Pull the connector structure upward to release the clamp
when removing or inserting the flat wire cable.
1.1 SERVICE CAUTIONS
1.1.1 Precautions
1. Before disassembling/re-assembling the set as well as
soldering parts, make sure to disconnect the power ca-
ble.
2. When disconnecting/connecting connectors, pay enough
attention to wiring not to damage it.
3. In general, chip parts such as resistor, shorting jumpers
(0-ohm resistor), ceramic capacitors, diodes, etc. can not
be reused after they were once removed.
4. When installing parts, be careful not to do with other parts
as well as not to damage others.
5. When removing ICs, be careful not to damage circuit pat-
terns.
6. Tighten screws properly during the procedures. Un-
less specified otherwise, tighten screws at torque of
0.196 N
•
m (2.0 kgf
•
cm).
1.1.2 How to read the disassembly and assembly
(For Cabinet Parts)
(1) Order of steps in Procedure
When reassembling, preform the step(s) in the reverse
order. These numbers are also used as the identifica-
tion (location) No. of parts Figures.
(2) Part to be removed or installed.
(3) Fig. No. showing Procedure or Part Location.
C = Cabinet
CA = Camera
D = Deck
(4) Identification of part to be removed, unhooked, un-
locked, released, unplugged, unclamped or unsoldered.
P = Spring
W = Washer
S = Screw
* = Unhook, unlock, release, unplug or unsolder.
2(S3) = 2 Screws (S3)
CN = Connector
Fig. 1-1-1
Fig. 1-1-2
1
CASETTE COVER C1 2(S1)
ASSEMBLY
2
UPPER CASE C2 2(S2), 2(L2)
3
LOWER CASE C3 9(S3), (L3a), (L3b)
ASSEMBLY *CN3a,CN3b,COVER(JACK)
(Incl. E.VF ASSEMBLY)
STEP
No.
PART
Fig.
No.
REMOVAL
*UNLOCK/RELEASE/
UNPLUG/UNCLAMP/
UNSOLDER
Connector
Wire
Connector
Wire
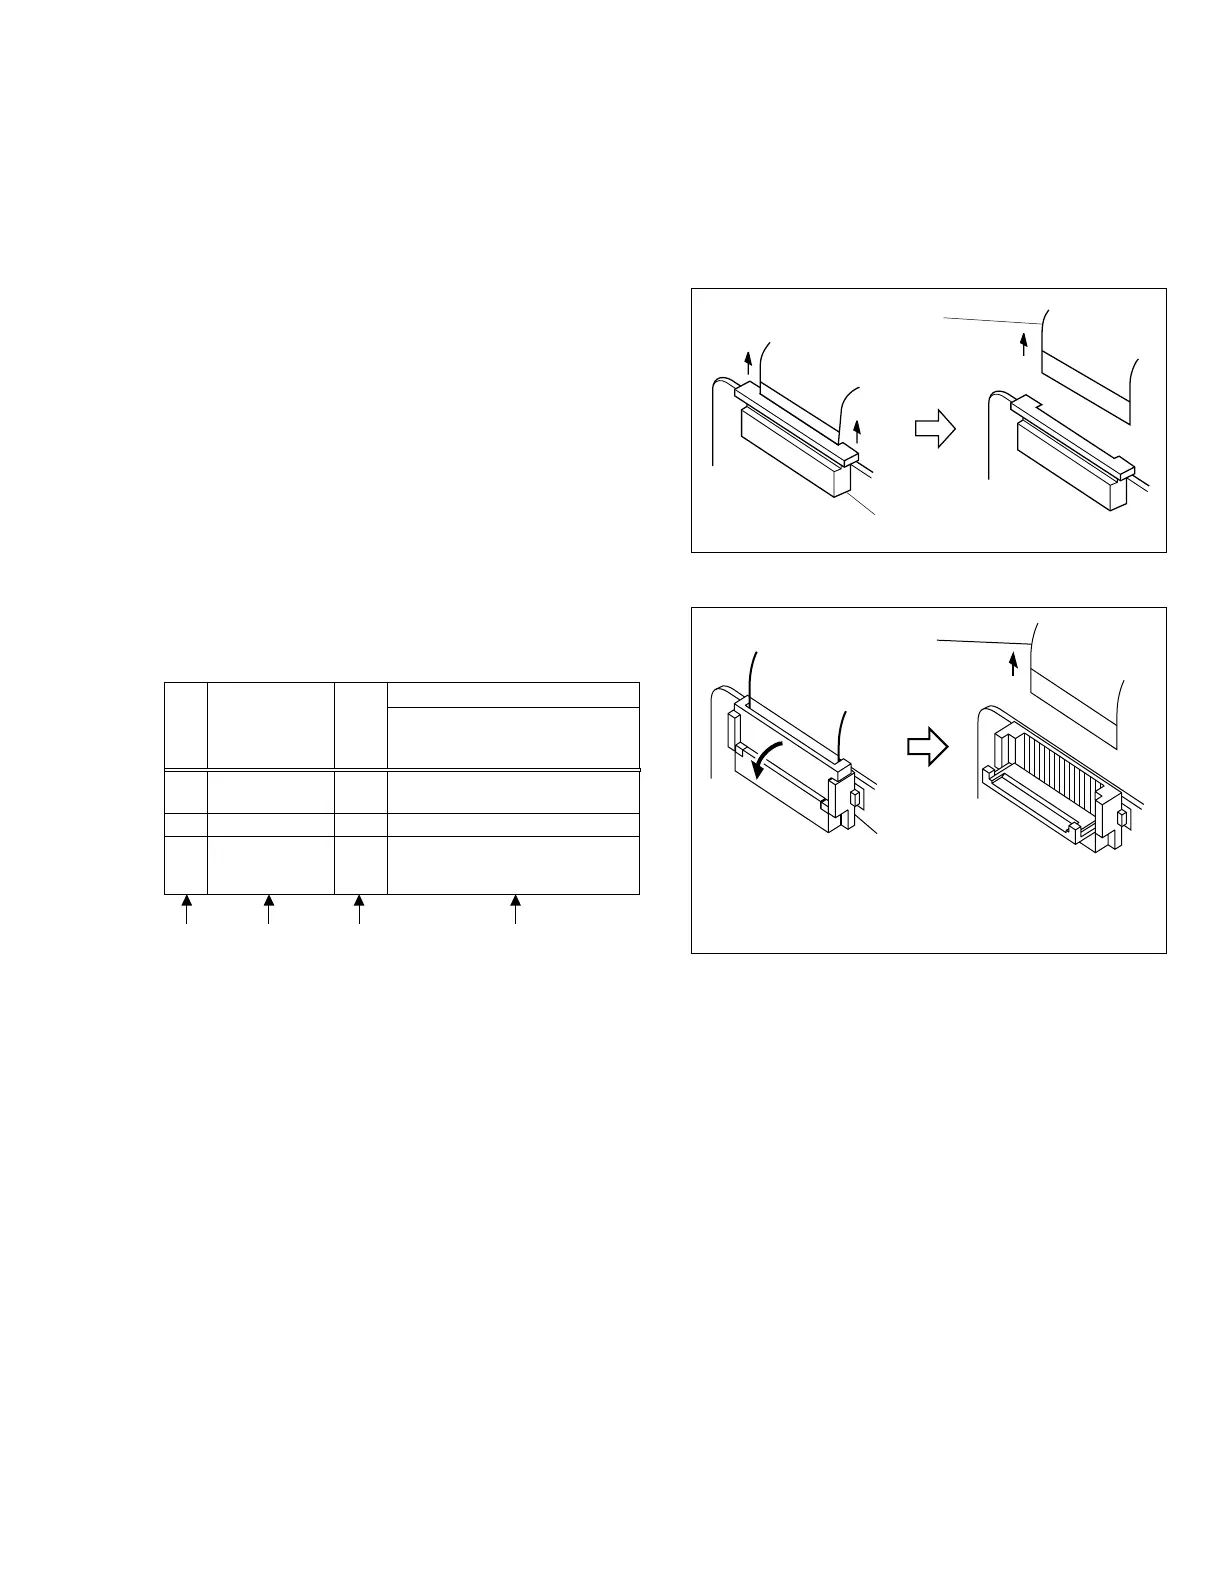
NOTE:
After removing the wire, return the stopper to
its original position, because it is apt to come
off if it is left open.
 Loading...