Clock Setting
“SET DATE/TIME!”
appears when you turn on this unit for the first time after
purchase.
Set the clock before recording.
1
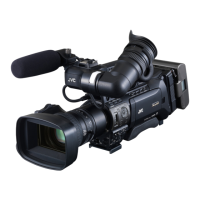
Set the “STANDBY/ON OFF” switch to “ON”.
.
2
Open the LCD monitor.
.
3
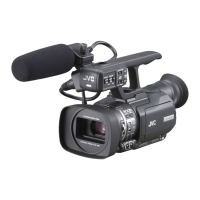
Tap “YES” when “SET DATE/TIME!” is displayed.
.
201311000
1
CLOCK SETTING
DATE
TIME
SET
0
When the year, month, day, hour, or minute item is tapped, “∧” and
“∨” will be displayed.
0
Tap ∧ or ∨ to adjust the year, month, day, hour, and minute.
5
After setting the date and time, tap “SET”.
6
Select the region where you live and tap “SAVE”.
.
GMT
SAVE
CLOCK/AREA SETTING
0
Time difference between the selected city and the GMT (Greenwich
Mean Time) is displayed.
0
Tap <or> to select the city name.
Memo :
0
The clock can be reset again later.
“Resetting the Clock” (A p. 12)
0
When using
this unit overseas, you can set it to the local time for recording.
“Setting the Clock to Local Time when Traveling” (A p. 16)
0
If “SET DATE/TIME!” appears after the clock has been set, the internal
clock battery is drained.
For details on replacing the battery, contact your nearest JVC dealer or
JVC service center.
Resetting the Clock
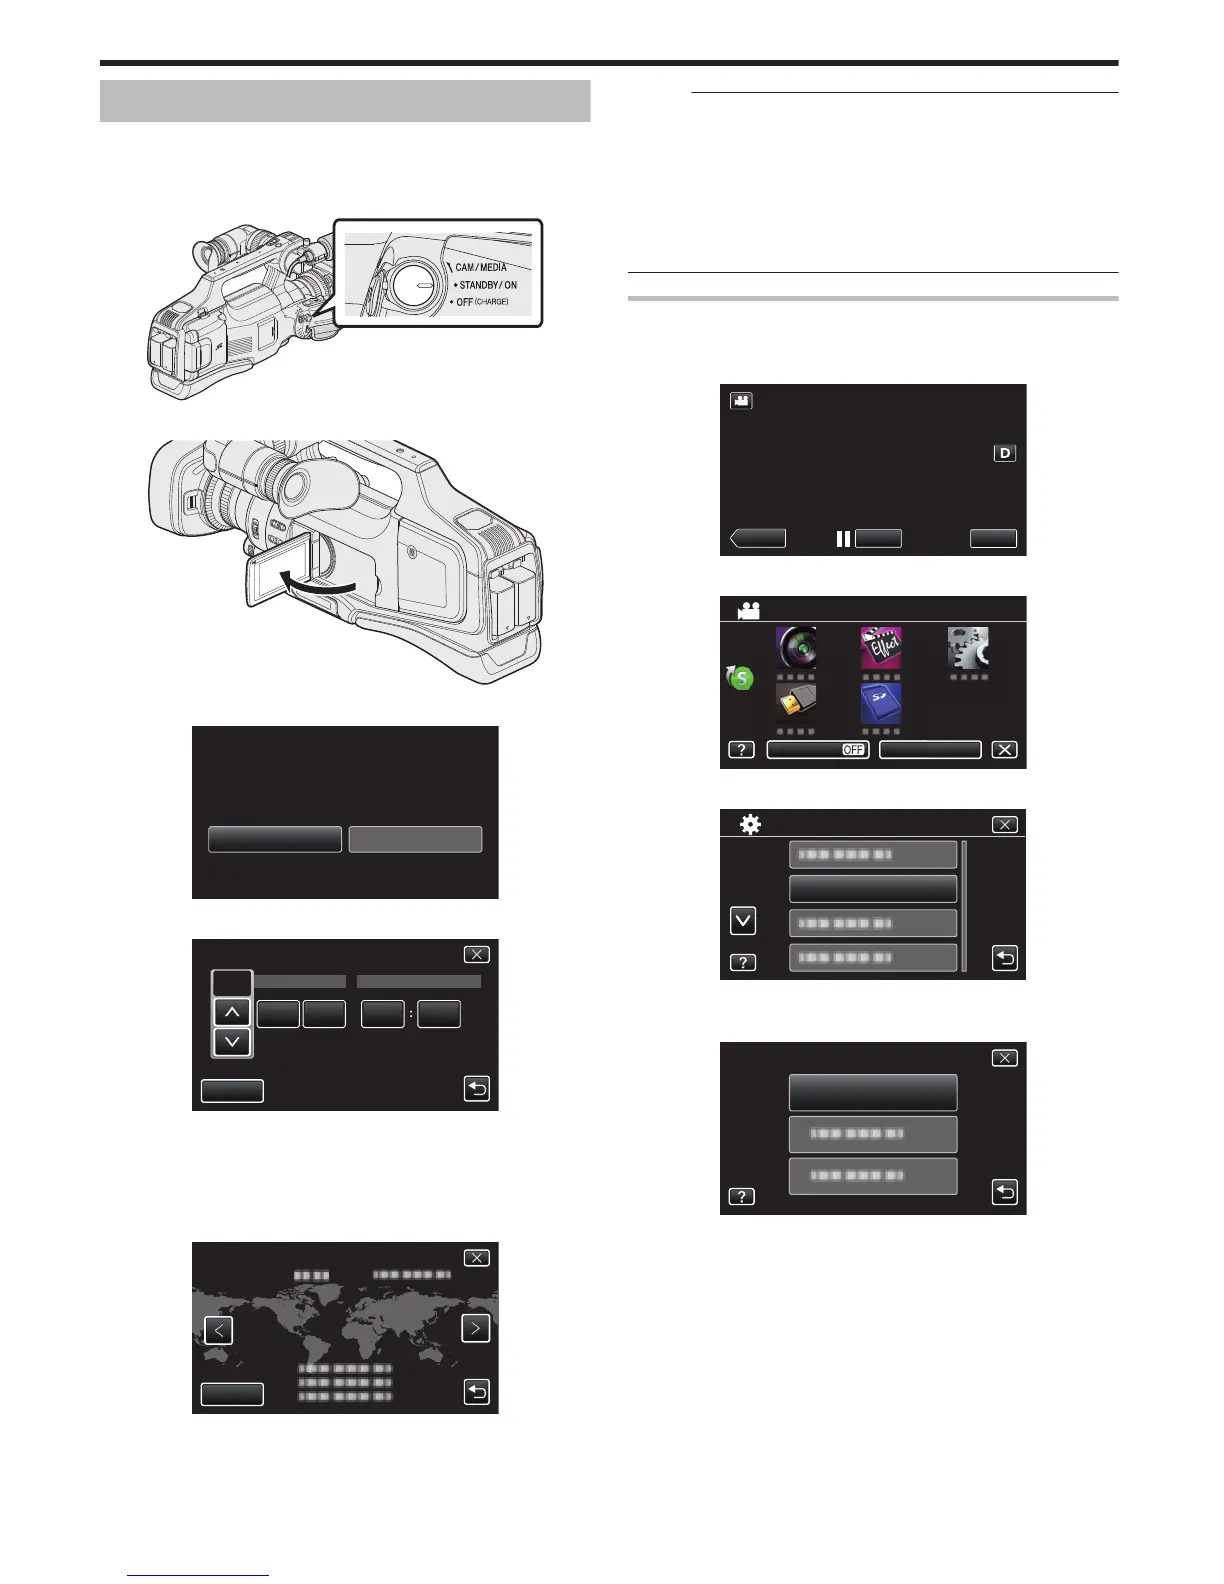
Set the clock with “CLOCK ADJUST” from the menu.
1
Tap “MENU”.
.
0
Tap 3 or 2 to scroll the screen.
4
Tap “CLOCK SETTING”.
.
CLOCK SETTING
CLOCK ADJUST
 Loading...