Recording at Intervals (TIME-LAPSE
RECORDING)
Enables the changes of a scene that occur slowly over a long period to be
shown within a short time by taking frames of it at a certain interval.
This is useful for making observations such as the opening of a flower bud.
1
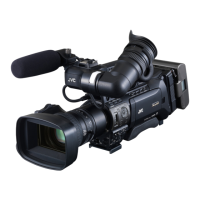
Check that the unit is in the video mode.
.
0
Check if video mode A is activated.
0
If still image mode (B) is activated, switch to video mode (A).
“Selecting Video/Still Image Recording Mode” (A p. 19)
2
Tap “MENU”.
.
0
The top menu appears.
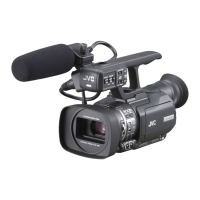
3
Tap “SPECIAL RECORDING”.
.
4
Tap “TIME-LAPSE RECORDING”.
.
0
Tap L to exit the menu.
0
Tap J to return to the previous screen.
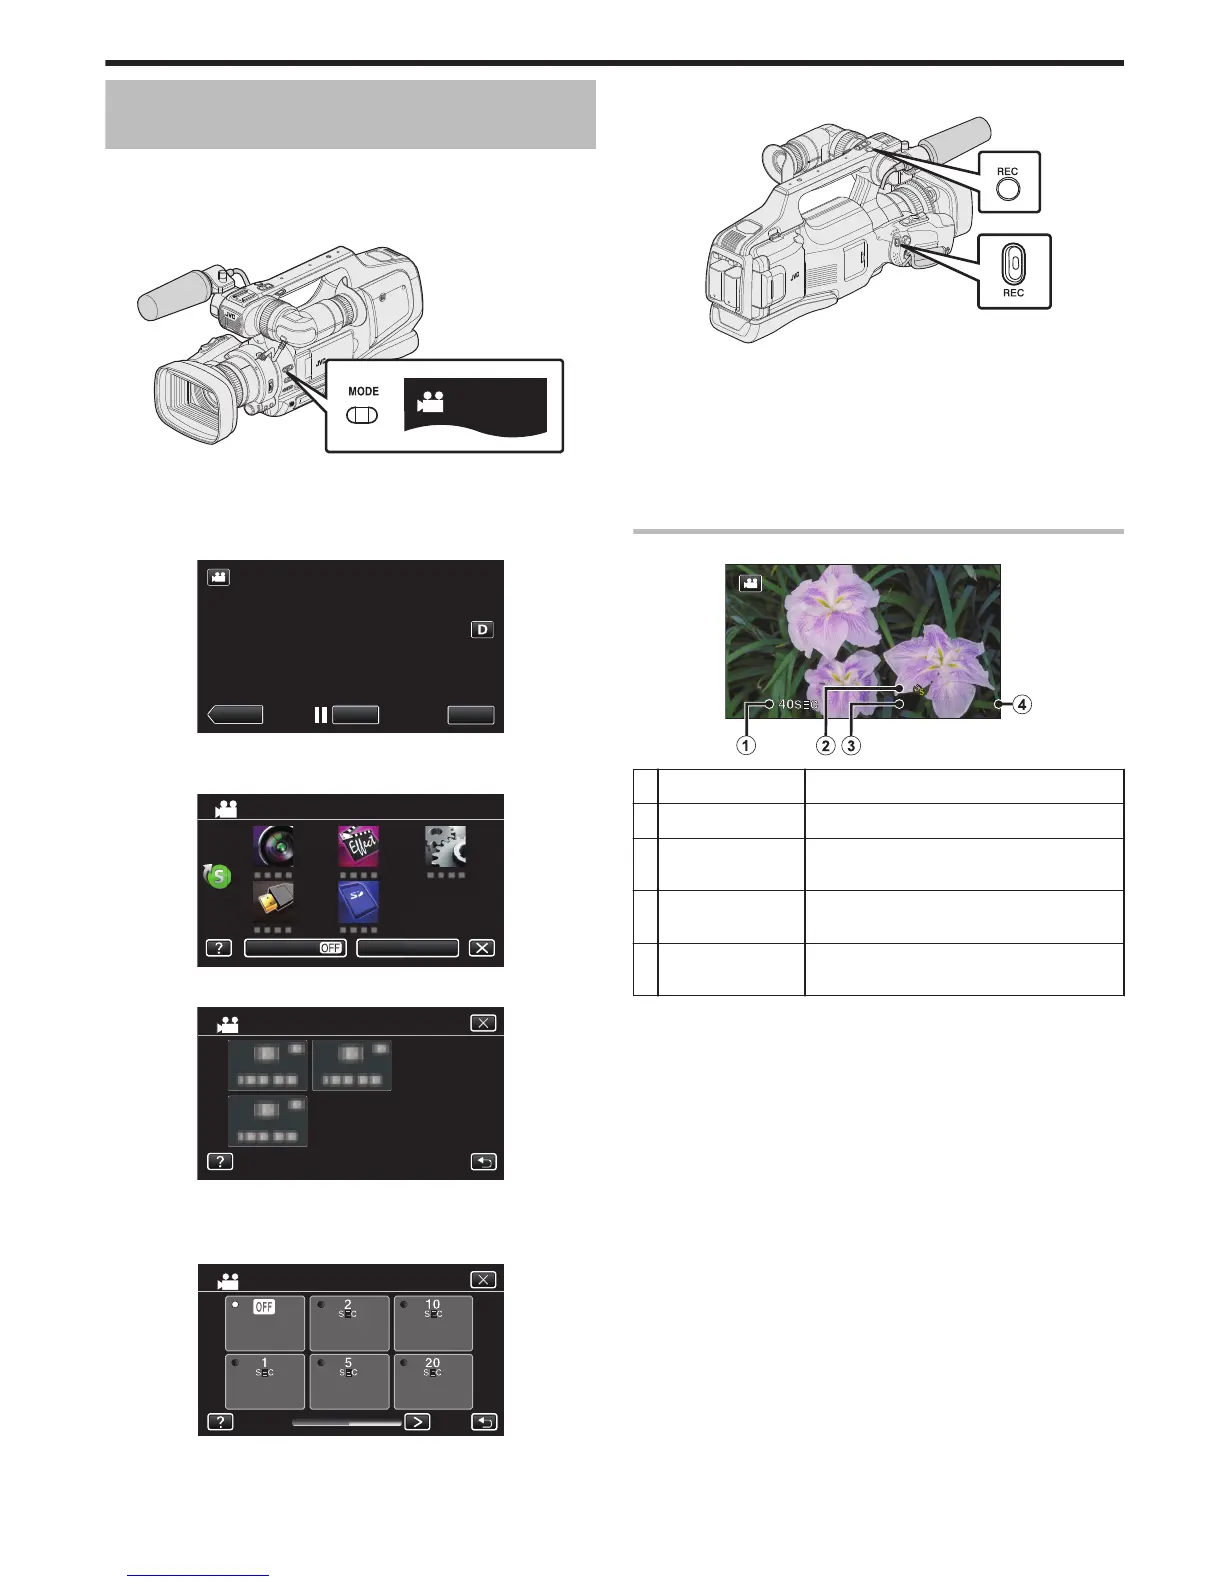
5
Tap to select a recording interval (1 to 80 seconds).
.
INTERVAL
20SEC
INTERVAL
5SEC
INTERVAL
1SEC
INTERVAL
2SEC
OFF
TIME-LAPSE RECORDING
INTERVAL
10SEC
0
The greater
the number of seconds, the longer the recording interval.
0
Tap 0 or 1 to scroll the screen.
6
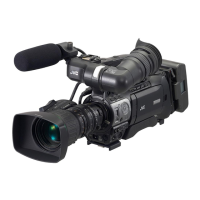
Start recording.
.
0
A frame is taken at intervals of the selected period.
0
When the recording interval is set to “20SEC INTERVAL” or higher,
this unit switches to the power-saving mode between recordings.
At the next point to record, the power-saving mode will be turned off
and recording will start automatically.
0
Press again to stop.
0
Settings of Time-Lapse recording are not saved when the power is
turned off.
Indications During Time-Lapse Recording
.
Display Description
A
Recording interval Displays the recording interval that is set.
B
Recorded Time Displays the actual recorded time of the video.
Recorded time increases in units of frames.
C
Actual Elapsed
Time
Displays the actual elapsed time after
recording starts.
D
Remaining
Recording Time
Remaining time left to record with the currently
selected video quality.
Recording
39
 Loading...