Print Setting - o modeonJy(Continued)
Setting All Files Together (One Print for
Each)
After performing steps I-2 (_ pg. 37)
3 Select [ALL1].
Select
Set
4 Select [EXECUTE].
Select
Set
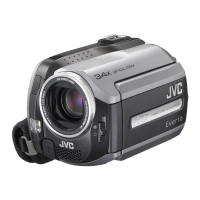
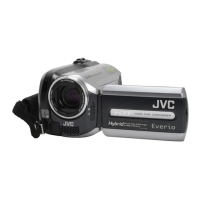
If your printer is compatible with PictBridge,
still images can be printed easily by
connecting the camera directly to the printer
with the USB cable. DPOF setting can also be
used. (_ pg. 37)
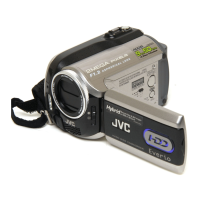
Preparation:
Set the power/mode switch to OFF.
DC
Connector
USB
Connector
_= AC Adapter
[] To exit the screen
Press FUNCTION.
[] To confirm DPOF settings
In step 3, move the set lever to/'. / v to
select [CHECK SETTINGS], then press
down.
® If necessary, change the number of
prints for the desired file by following
steps 4 and 5. (_ pg. 37)
[] To reset DPOF settings
1) In step 3, move the set lever to/.. / v to
select [RESET], then press down.
2) Move the set lever to ^/v to select
[EXECUTE], then press down.
PictBridge
Printer
USB Cable--
USB Connector
[ez-Me255/ts5]You can also connect the cables
using the Everio dock connectors.
] Set the power/mode switch to ON.
2 Select [DIRECT PRINT].
Select
Set
38
 Loading...