20
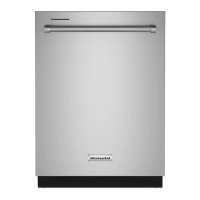
INSTALL DOOR HANDLE
(ON SOME MODELS)
IMPORTANT: Do not scratch the front panel during this
procedure. If door panel has a protective lm, peel lm back past
the point of the handle studs before installing handle. Handle is
easiest to install while unit is on its back.
Remove the door handle and hex key from the packaging.
Setscrews are already installed in the handle. Place handle on
mounting studs with the setscrews facing down. Push the door
handle tightly against the door. Insert the short end of the hex key
into the setscrews. Tighten the setscrews 1/4 turn past snug.
Retain hex key with Installation Instructions.
PLACE DISHWASHER IN CABINET
WARNING
Excessive Weight Hazard
Use two or more people to move and install
dishwasher.
Failure to do so can result in back or other injury.
26. Stand dishwasher upright
Using two or more people, stand the dishwasher up.
NOTE: Do not install kick plate until instructed to do so.
Dishwasher may t tightly into cabinet opening. Do not remove
insulation blanket—the blanket reduces the sound level.
IMPORTANT: Do not kink or pinch water line, drain hose, power
cord, or direct wire between dishwasher and cabinet. Remove
cardboard from under dishwasher (if used).
25. Install door handle
Mounting stud
Setscrew
(in bottom
of handle)
Handle
Hex key
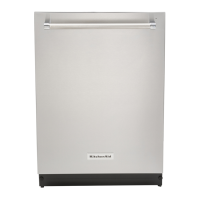
Install Foam Side Shields (on some models)
Install the foam side shields on both the right and left sides of
the dishwasher. There are three attachment points on each side.
■ Attachment 1: Locate the slit on the side shield and attach it
to the hook on the side of the dishwashwe. (See gure 1)
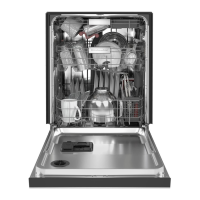
■ Attachment 2: Use the other slit on the side shield and
attach it to the hook on the front of the dishwasher. (See
gure 2)
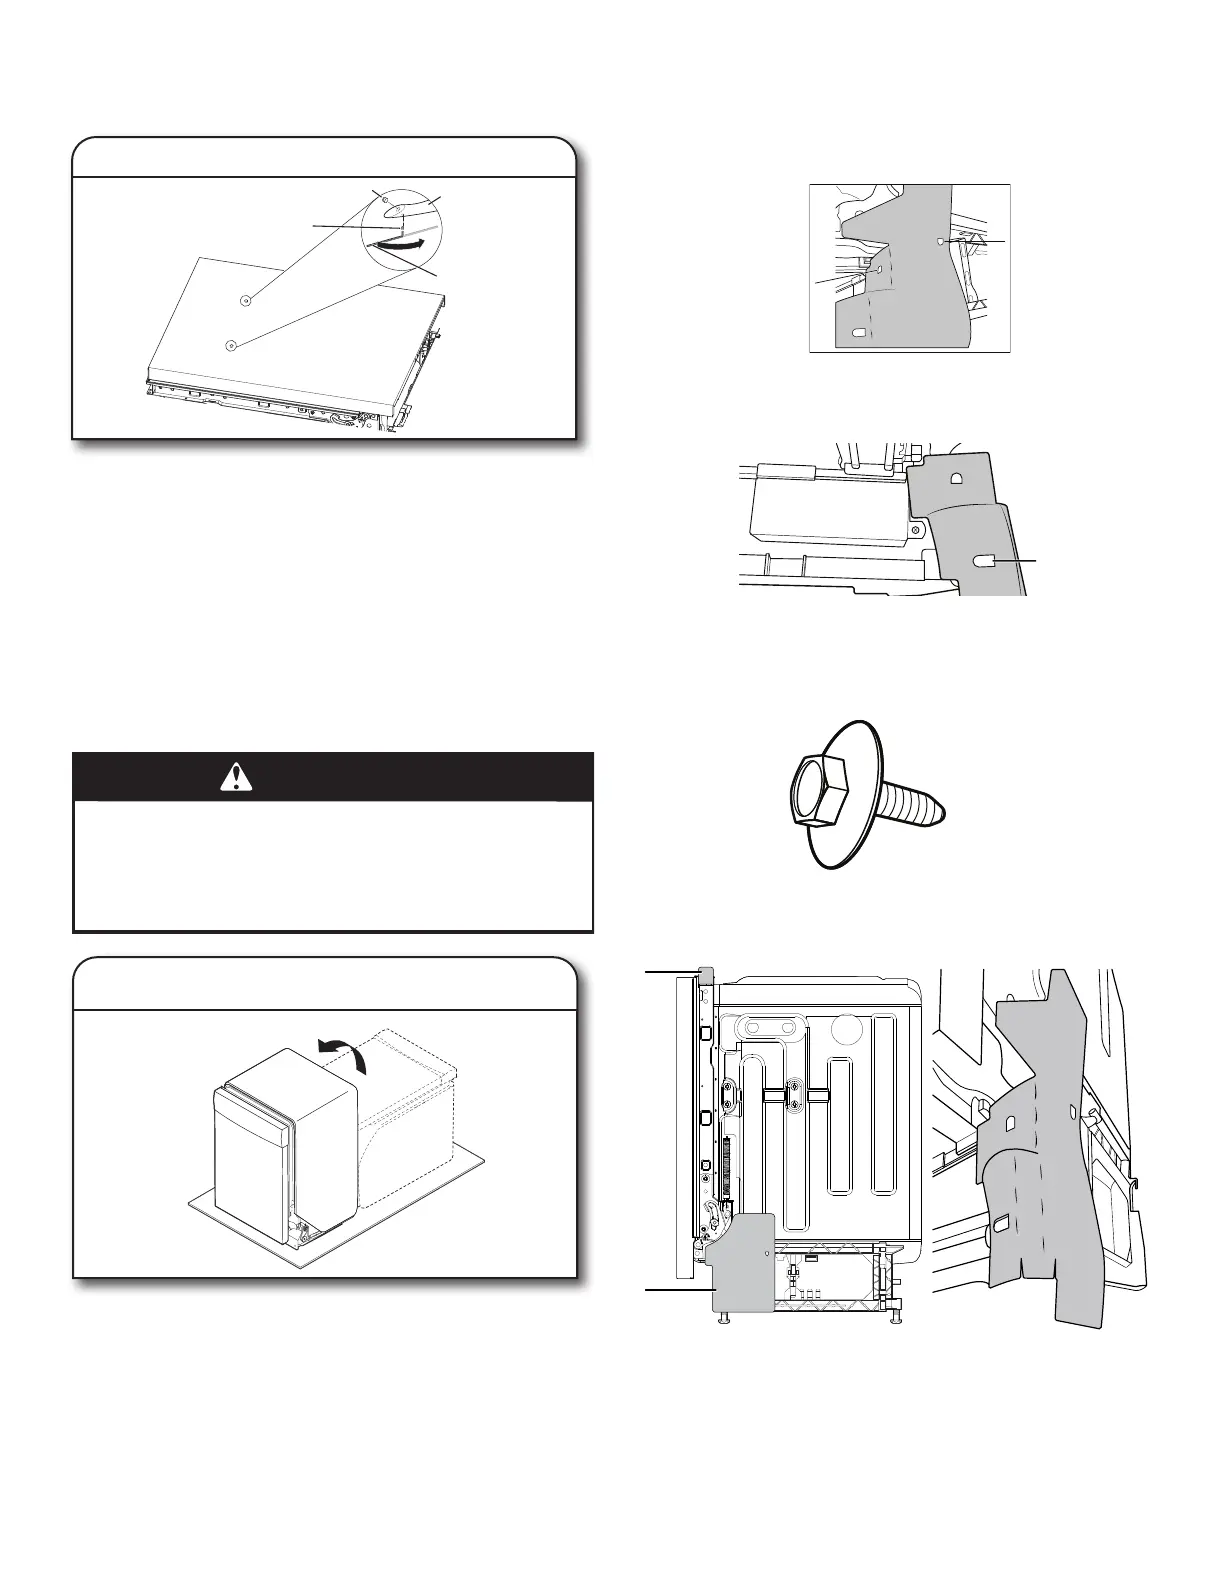
■ Attachment 3: Align the rectangular hole in the side shield
with the toe panel screw hole. Insert the Toe Panel
Screw(see gure 3) and Loosely tighten it to hold it in place
until the Toe Panel is installed.
■ Tuck the lower ends of the side shields under the
dishwasher. (See fugures 4 and 5)
Figure: 1
Figure: 2
Figure: 3
Figure: 4
Figure: 5
 Loading...