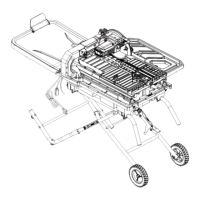
23
20
1
21
TO TURN LASER GUIDE ON (FIG. 20)
● To turn laser on, press on/off rocker
switch (1) to “ON” position.
● To turn laser off, press on/off rocker
switch (1) to “OFF” position.
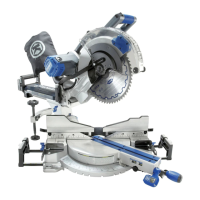
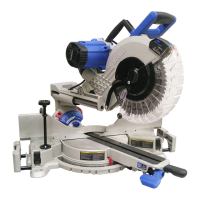
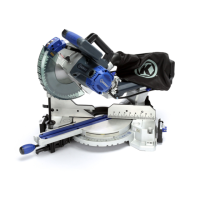
ALIGNING THE LASER GUIDE (FIG. 20, 21, 22)
The laser line must always be correctly aligned
with the blade to ensure straight, even cutting.
Your tool is equipped with a laser cutting guide
that uses a Class II laser line. The laser line will
enable you to preview the saw blade path on the
stock to be cut before starting the miter saw. The
saw must be connected to the power source
and the laser on/off switch must be turned on
for the laser line to show.
When doing any laser guide adjustments,
always insert a padlock or chain with padlock
(not included) through the hole (2) in the trigger
switch, locking the tool’s switch and preventing
turning the machine on. Do not remove the
padlock from the ON/OFF switch until all laser
adjustments are completed. (Fig. 20)
AVOID DIRECT EYE CONTACT WITH LASER
● A laser line radiates from the laser
aperture when the laser guide is turned
on. Avoid direct eye contact.
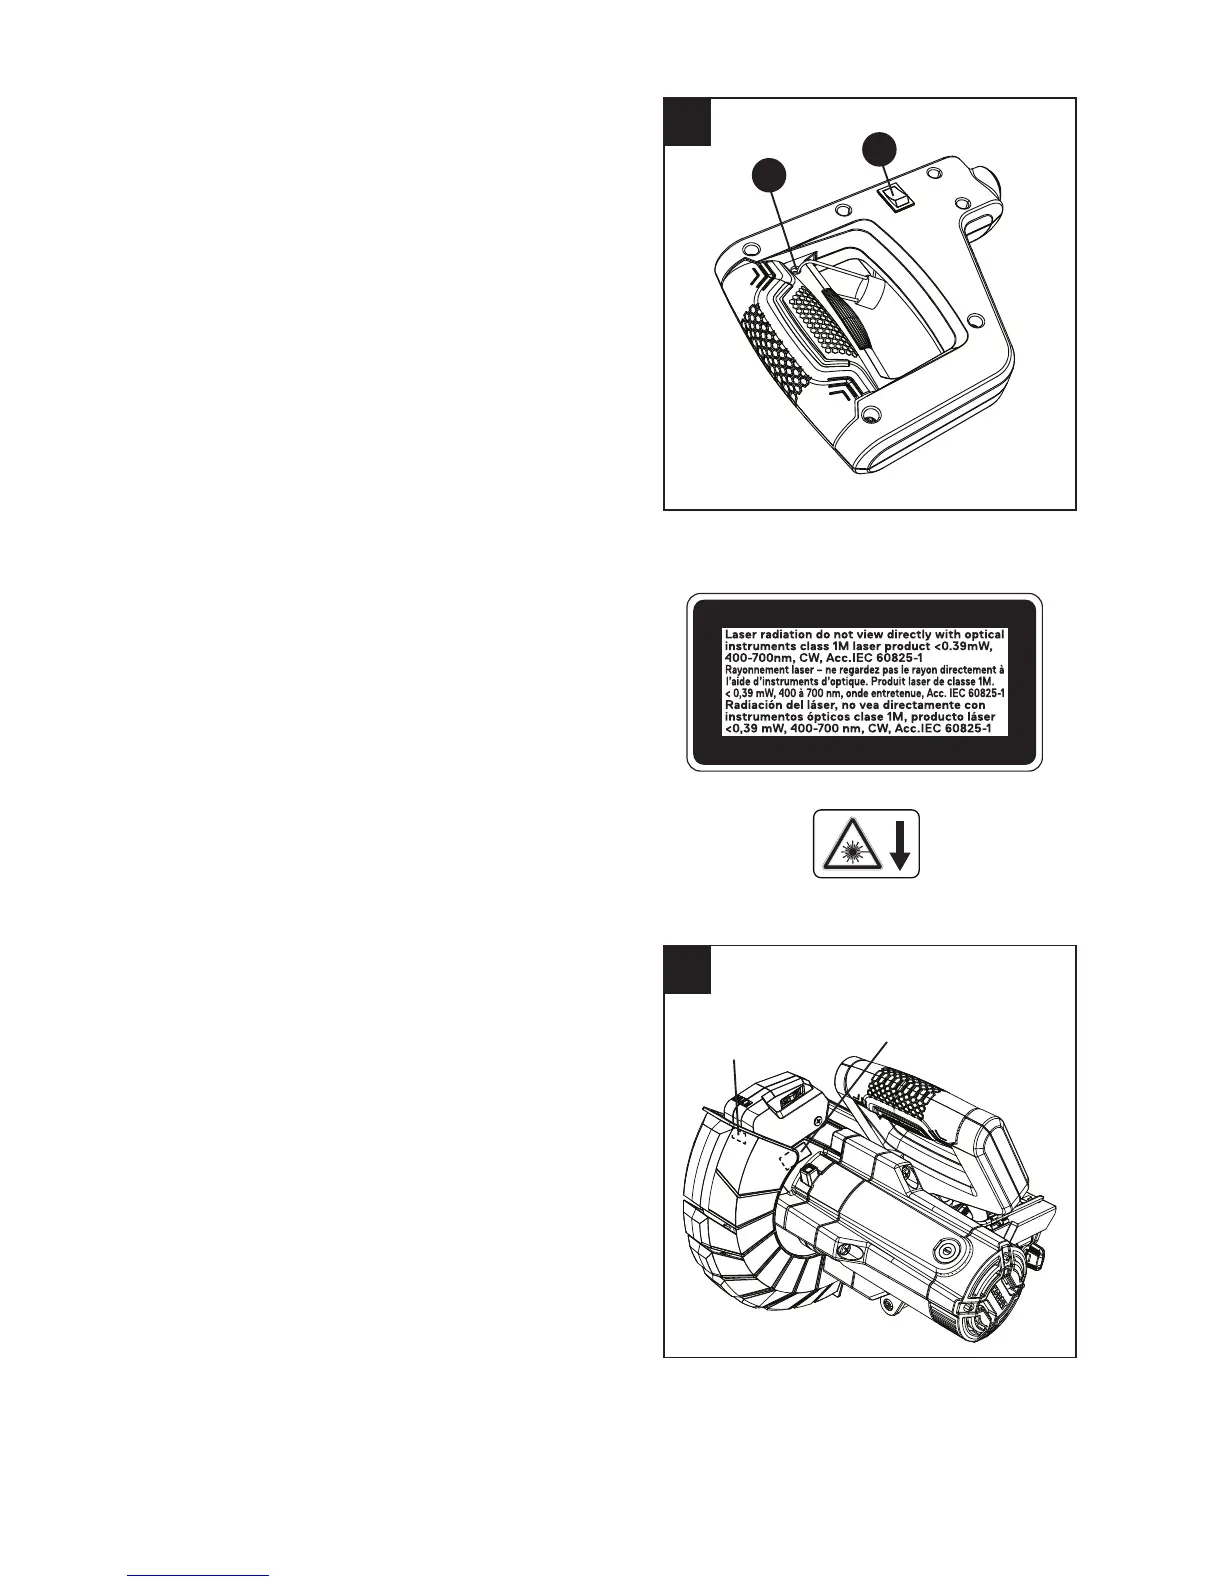
● Laser Warning Label:
Laser radiation do not view directly
with optical instruments class 1M laser
product <0.39mW, 400-700nm, CW,
Acc.IEC 60825-1 (Fig. 21)
● Laser Aperture Label. (Fig. 21)
● NOTE: All the adjustments for the
operation of this machine have been
completed at the factory. Due to
normal wear and use, some occasional
readjustments may be necessary.
● CAUTION: Use of controls or adjustments
or performance of procedures other
than those specied herein may result in
hazardous radiation exposure.
● CAUTION: The use of optical instruments
with this product will increase eye hazard.
2
Laser warning
label
Laser aperture
label
 Loading...