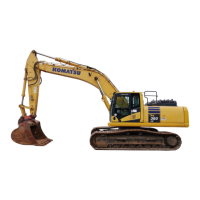
METHOD FOR REPLACING AND INVERTING BUCKET
WARNING
• When pins are knocked in with a hammer, pieces of metal may fly and cause serious injury.
When performing this operation, always wear protective eyeglasses, hard hat, gloves, and other
protective equipment.
• Place the removed bucket in a stable condition.
• The pin is hit with a strong force to remove, so the pin may fly out and injure people in the area
around the machine. Make sure that there is no one in the area around the machine before starting
the work.
• When pulling out the pins, do not stand behind the bucket. In addition, take extreme care not to put
your foot under the bucket since the bucket may fall and cause serious injury.
• When removing or inserting pins, be extremely careful not to get your fingers caught.
• Never insert your fingers into the pin holes when aligning the holes.
Stop the machine on a firm and flat surface and do the work. When performing joint work, appoint a leader and
follow that person's instructions and signals.
METHOD FOR CHANGING BUCKET
Replace the bucket according to the following procedure.
1.
Lower the bucket to the flat surface of the ground.
NOTICE
After removing the pins, make sure that mud or sand does not get on them. Dust seals are fitted at
both ends of the bushings, be careful not to damage them.
REMARK
When removing the pins, place the bucket so that it is in light contact with the ground.
If the bucket is lowered strongly to the ground, the resistance will be increased and it will be difficult to re-
move the pins.
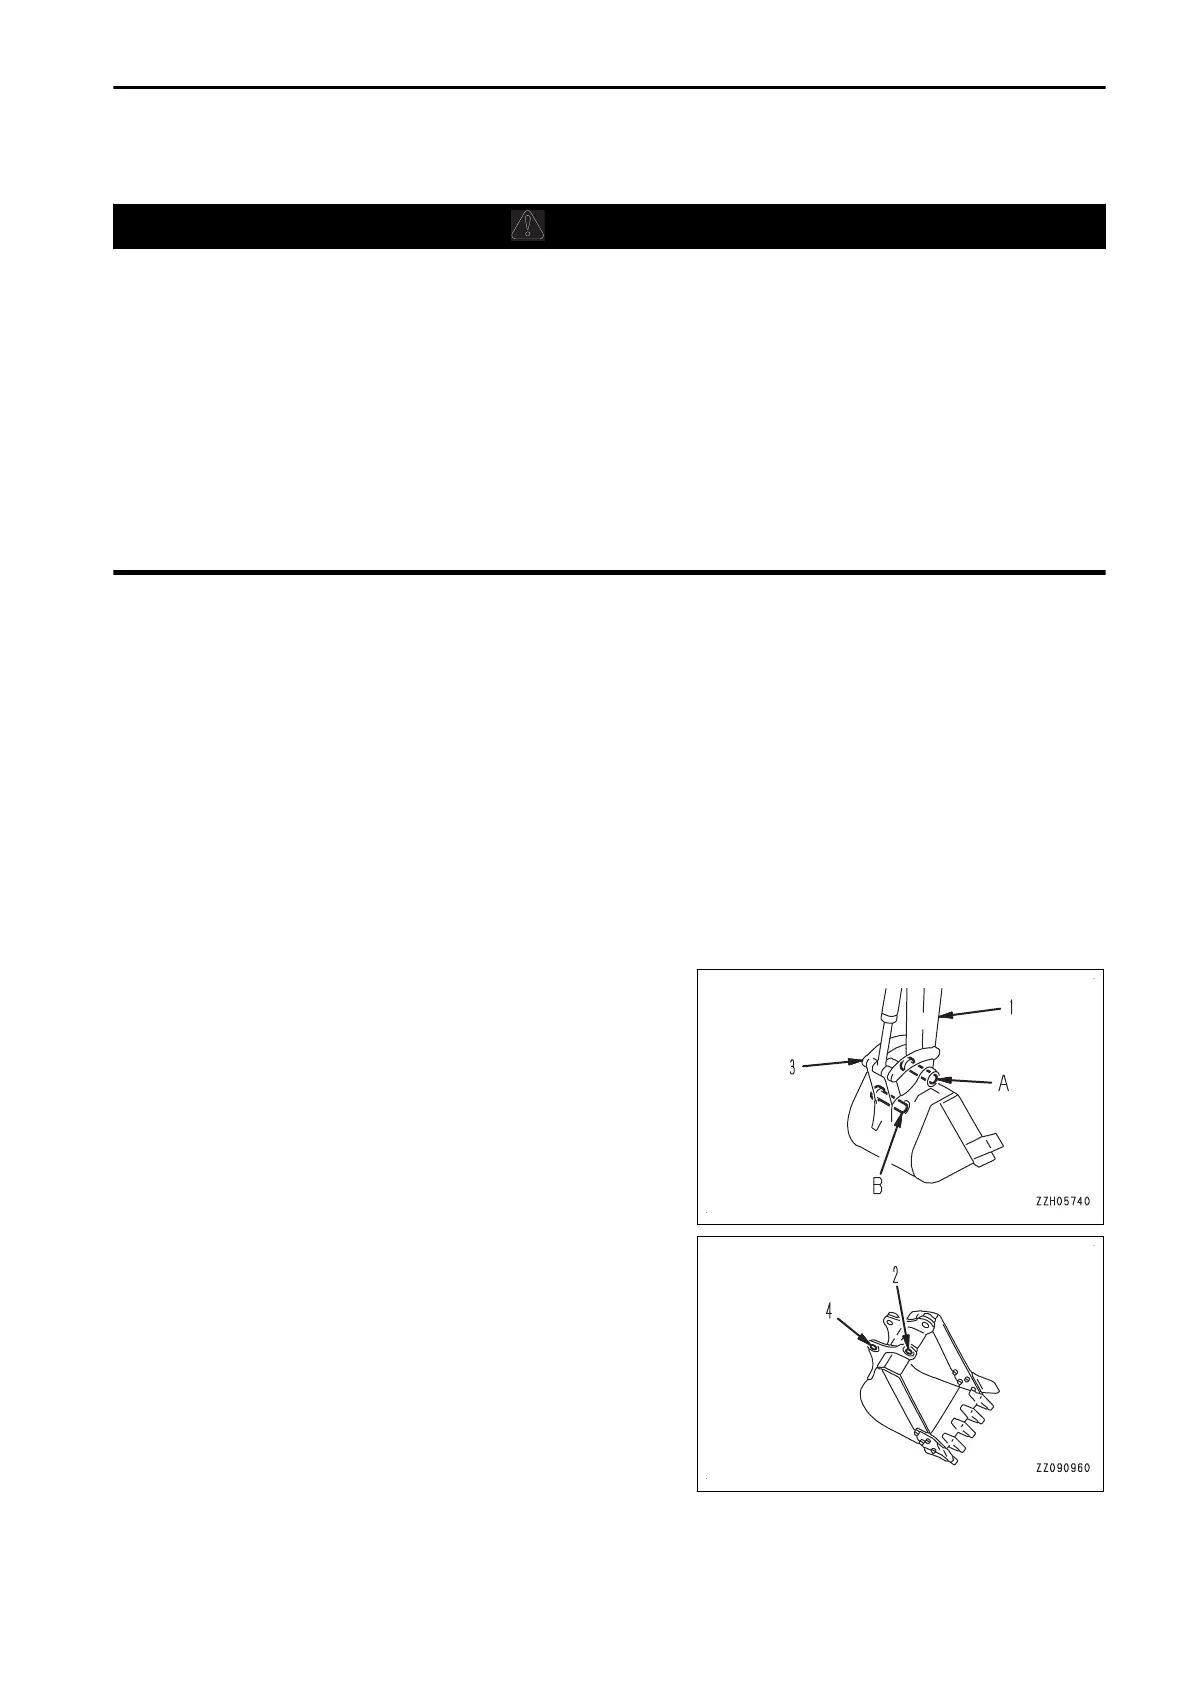
2.
Remove the double nuts on the stopper bolt for arm pin (A)
and link pin (B), remove the bolt, pull out arm pin (A) and
link pin (B), and then remove the bucket.
3.
Align the pin hole of arm (1) with replacement bucket hole (2), then align the pin hole of link (3) with hole
(4), and install pins (A) and (B) which are coated with grease.
OPERATION MACHINE OPERATIONS AND CONTROLS
3-205
 Loading...