104
D
ATA-TRANSFER MODE
If a minor problem occurs during printing, such as the paper runs out, follow the
procedure recommended for the printer; no action is required for the camera. If a major
printer error occurs, press the center of the controller to end the routine. Refer to the
printer manual for the correct procedure for the printer problem. Check the printer
settings before starting again and use the USB Direct Print screen to deselect the images
that were printed.
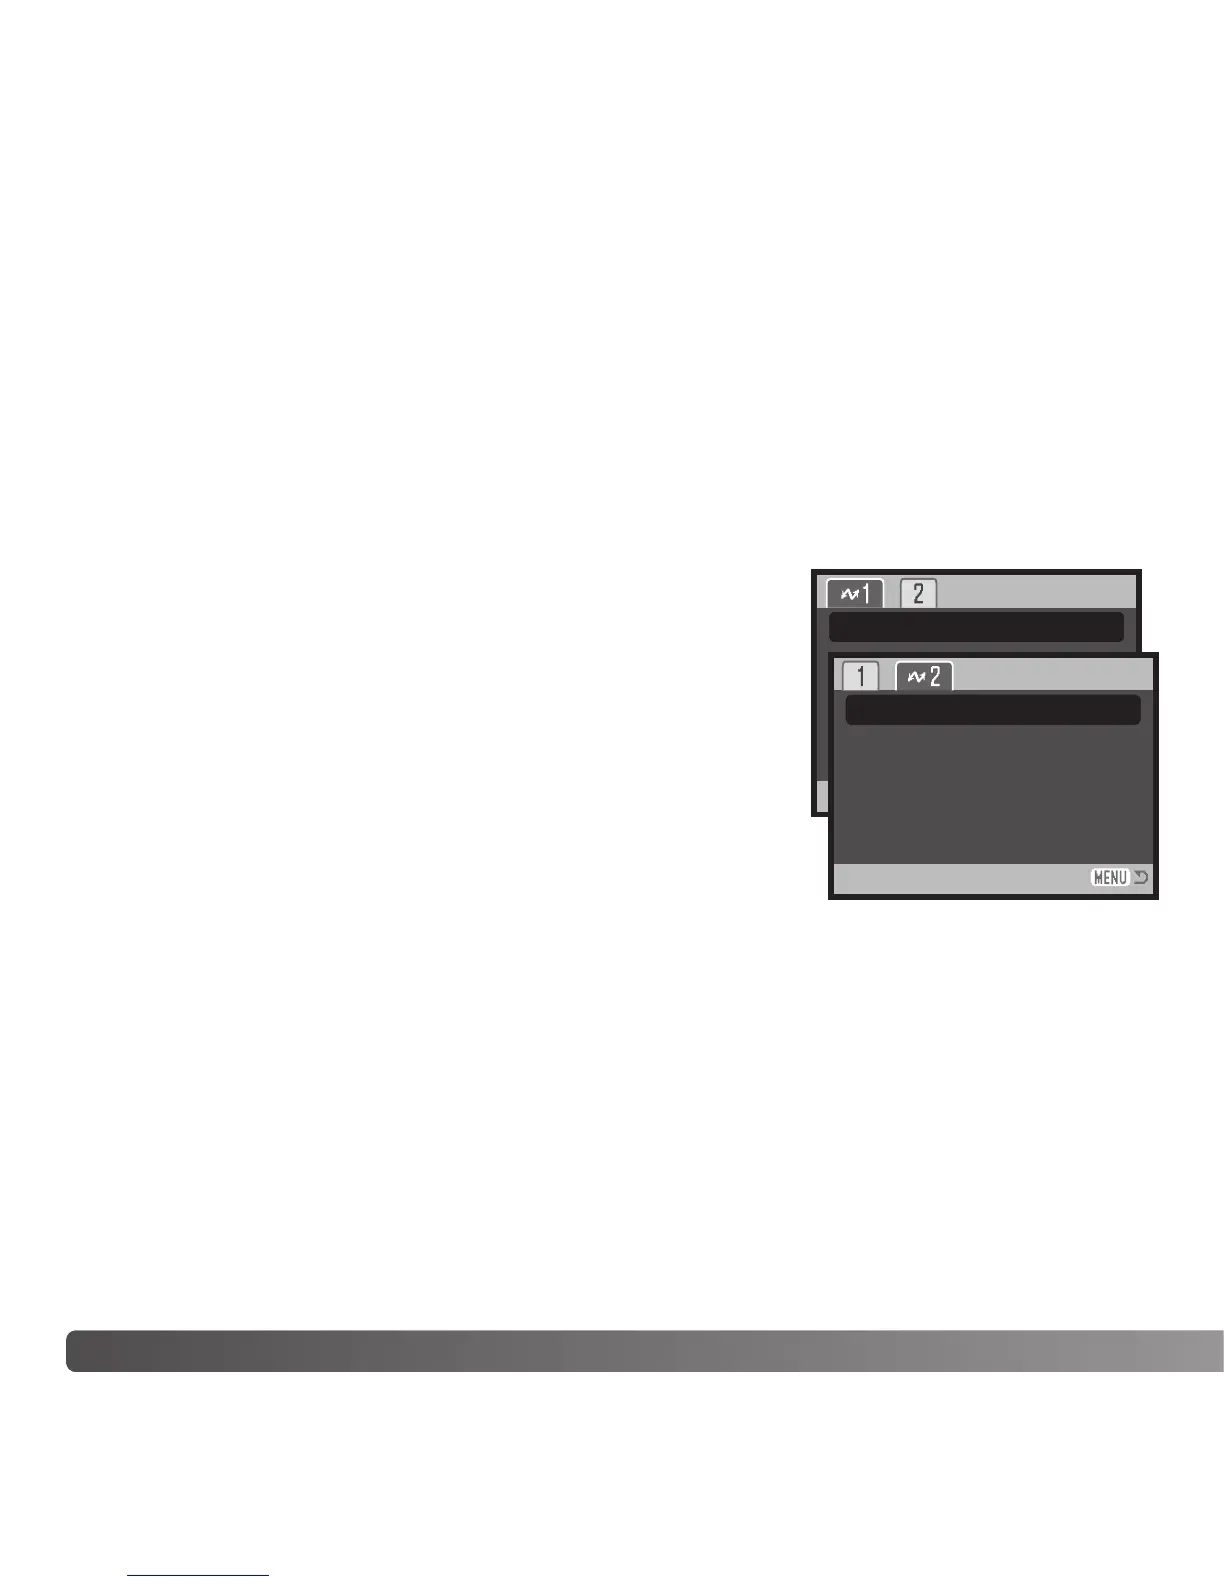
NAVIGATING THE USB DIRECT-PRINT MENU
When the camera is connected to a compatible printer, the
menu button turns the menu on and off. The left/right and
up/down keys of the controller are used to move the cursor
in the menu. Pressing the central button of the controller will
enter a setting.
Batch print in section 1 selects all still images on the
memory card for printing. When the all-frames option is
selected, a screen opens so the number of copies of each
image can be specified. The reset option cancels all
changes made to the print selection screen.
After the batch-print option is chosen, the USB DIRECT-PRINT selection screen will
show which images and the number of copies selected. The controller can be used to
edit the print order, see page 102.
DPOF print in section 2 allows still images and an index print selected with the DPOF
printing options in section 2 of the playback menu to be printed from an Epson USB
DIRECT-PRINT compatible printer. Simply select the start option from the menu to begin
the routine, see the following page.
NOTES ON PRINTING ERRORS
Batch print –
DPOF print –
 Loading...