Operation Panel
4-18
Destination (Setting the destination)
Set the destination to which log histories are sent. Only E-mail address can be set.
The options available in the Destination menu are as follows:
• Address Entry (Entering an e-mail address)...4-18
• Confirmation (Checking and editing the destination)...4-18
1 In the Job Log History menu, press or to select
Destination.
2 Press [OK]. The Destination menu appears.
Address Entry (Entering an e-mail address)
Enter the destination to which log histories are sent.
1 In the Destination menu, press or to select Address
Entry.
2 Press [OK]. The Address Entry screen appears.
3 Enter the address using the numeric keys.
4 Press [OK]. Register the destination and the Job Log History
menu reappears.
If the destination has already been registered, the message Dest.
is already registered. Do you want to overwrite?
appears.
Press [Yes] ([Left Select]) to overwrite the destination. Pressing
[No] ([Right Select]) returns to the Destination menu without
overwriting the destination.
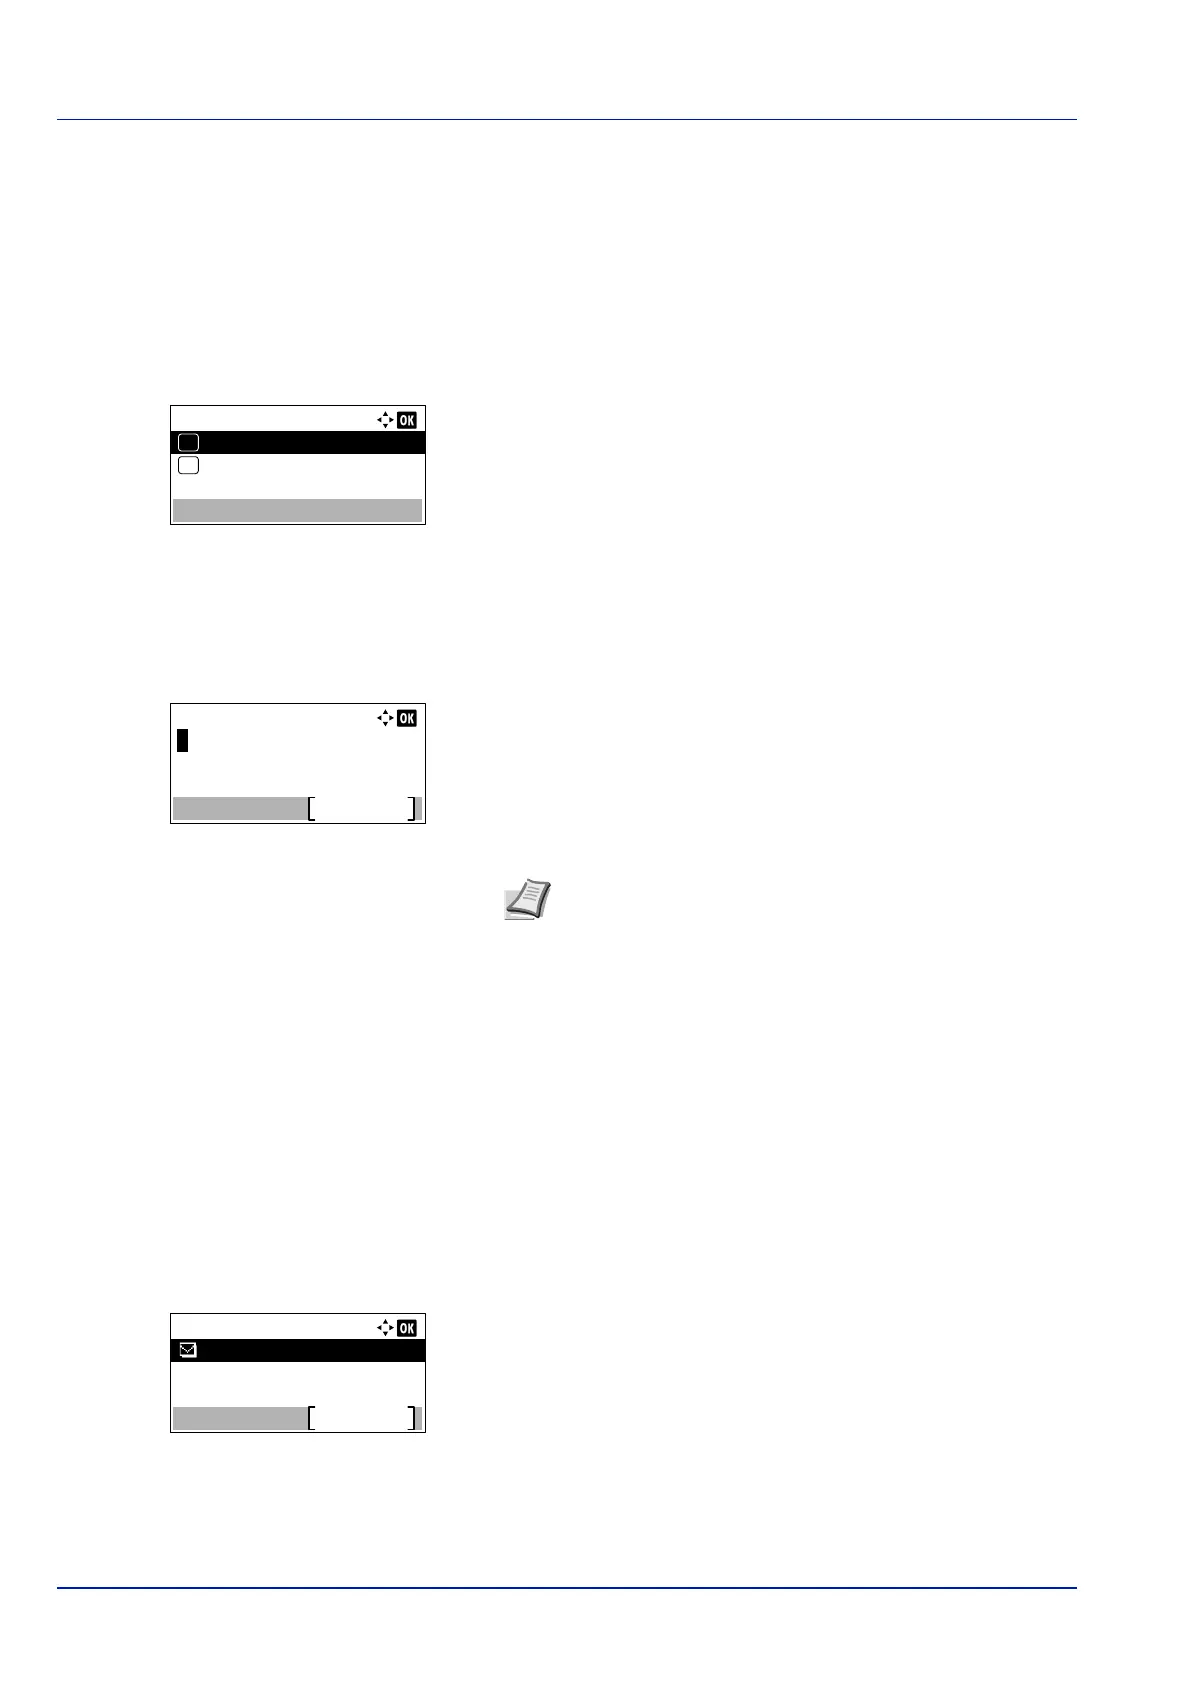
Confirmation (Checking and editing the destination)
Check and edit the registered destination.
1 In the Destination menu, press or to select Confirmation.
2 Press [OK]. The Dest. Confirm. screen appears. Check the
destination.
Destination:
Confirmation
Address Entry
01
02
Note Up to 128 characters can be entered. For details on
entering characters, refer to Character Entry Method on page
A-2.
Dest. Confirm.:
Exit
aaa@bbb.com
 Loading...