Operation Panel
4-10
Report
These are the settings for printing reports and sending the Job Log History. The options available in the Report menu are
as follows:
• Report Print...4-10
• Job Log History (Sending Job Log History)...4-16
1
Press [Menu].
2
Press or to select Report.
3
Press [OK]. The Report menu appears.
Report Print
Prints a report. The options available in the Report Print menu are as follows:
• Menu Map (Printing a menu map)...4-10
• Status Page (Printing a printer's status page)...4-12
• Font List (Printing a list of the printer's fonts)...4-14
• RAM File List (Printing a list of the files on the RAM disk)...4-15
• SSD File List (Printing a list of the files on the SSD)...4-15
• SD Card FileList (Printing a list of the files on an SD card)...4-15
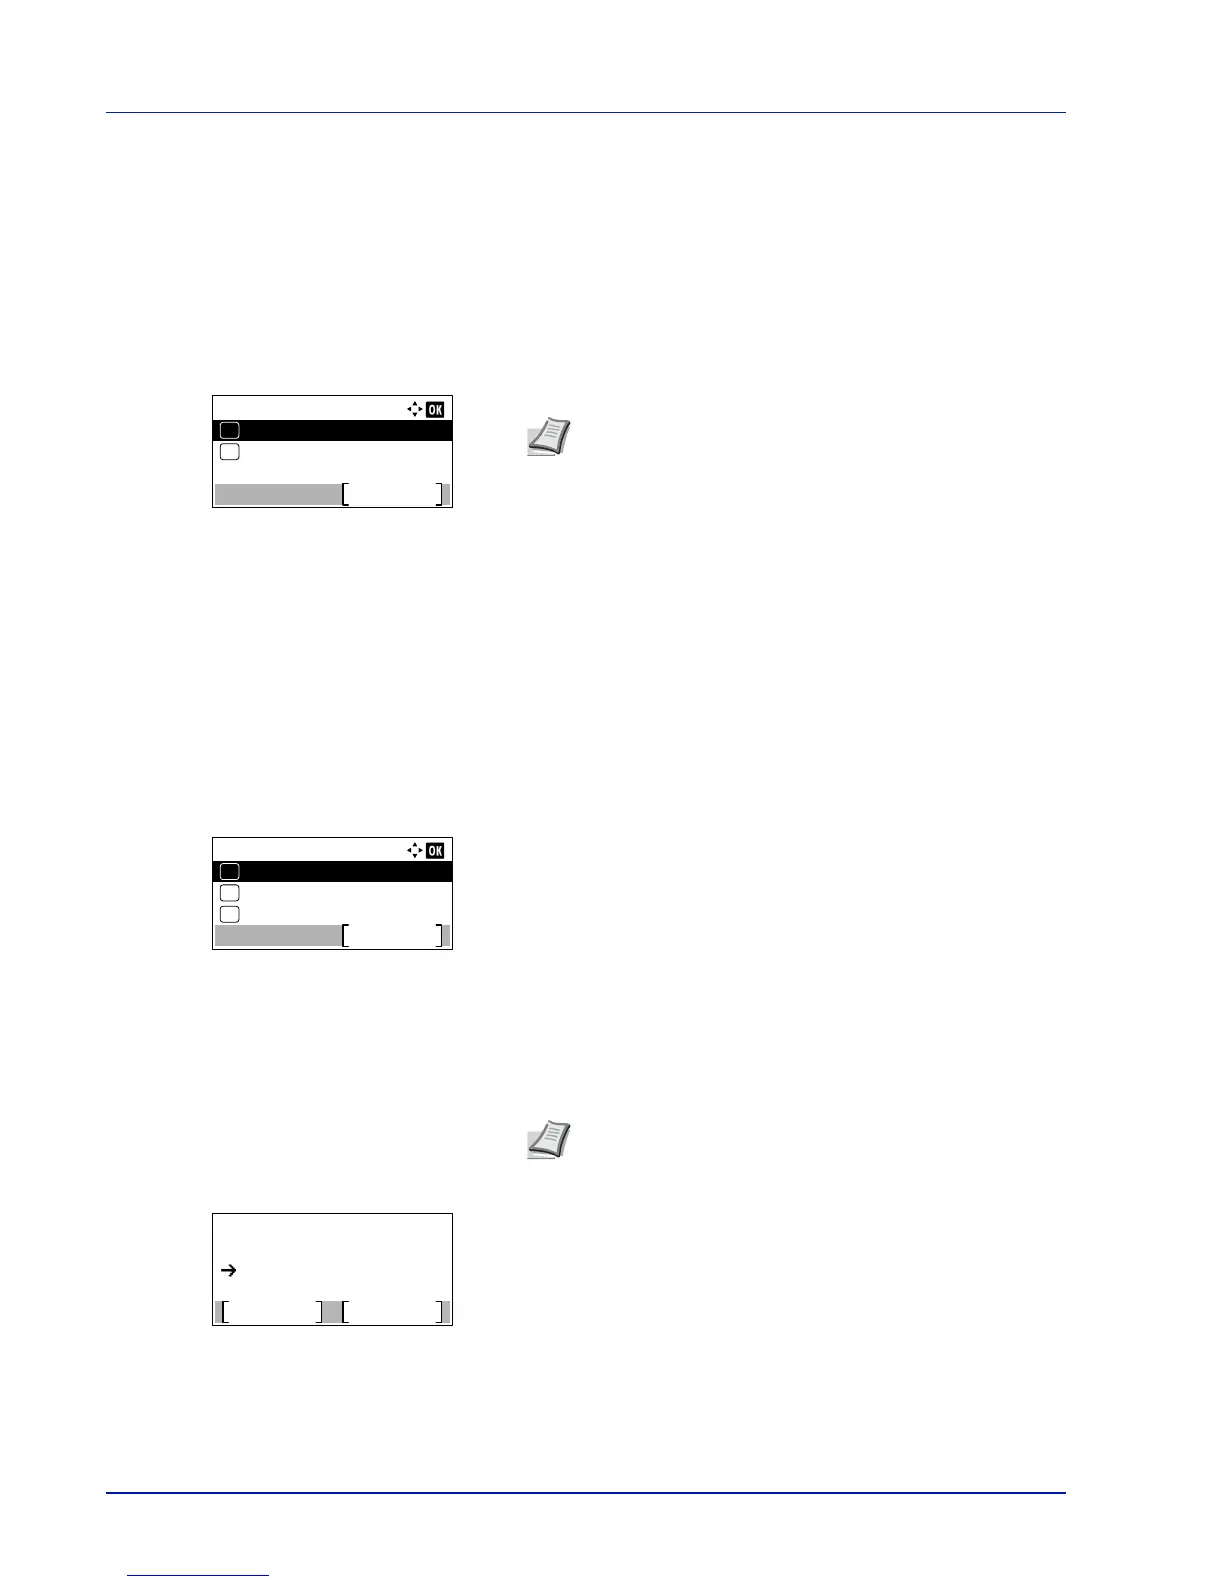
1
In the Report menu, press or to select Report Print.
2
Press [OK]. The Report Print menu appears showing a list of the
types of report that can be printed. Note that report types shown may
vary depending on which optional units are installed in the printer.
Menu Map (Printing a menu map)
The printer prints a full list of the menu selection system menu map.
1
In the Report Print menu, press or to select Menu Map.
2
Press [OK]. A confirmation message is displayed.
3
Press [Yes] ([Left Select]). The message Accepted. appears and
the printer prints the menu map.
Pressing [No] ([Right Select]) returns to the Report Print menu
without printing the menu map.
Note
When Job Accounting is set but user login is not set,
the screen for entering Job Accounting information is
displayed. Enter the Account ID and press [OK].
 Loading...