58
7 Maintenance
After the successful triggering of a probe exchange, the heating capacity and R
ki
are reset to
the standard values and can be learnt by the system again.
After that, start up the probe as in the initial start-up, as described in Chapter 6 Commission-
ing.
7.3 Sensor Replacement KS1D-HT
To replace the sensor in the KS1D-HT probe a replacement kit type 656R2065 is available.
The replacement kit includes:
• KS1D-HT probe
• Seal for probe
• Filter disc
• Seal Novaphit
Sensor replacement KS1D-HT (replacement kit 656R2065)
Disconnect the probe and check the connection
Check temperature of probe/sensor and if necessary cool down
Insulation slot screwdriver size 0,4 x 8 x 100 mm
Torque wrench 3,5 Nm with attachment for Allan key
Open-end wrench 24 mm
Allan key 3 mm
1. Loose the connection cable in the probe head Fig. 7-3 Probe head.
2. Loose Allan key and remove them remove probe head Fig. 7-4 Sensor without probe
head
3. Remove sensor and seal Fig. 7-5 Sensor Ein-/Ausbau installation/dismounting and Fig. 7-
6 Ausgebauter Sensor mit Dichtring Dismounted sensor with seal.
4. Unscrew filter cap and remove filter Fig. 7-7 Sensorhalter mit Filterkappe und Filter sensor
holder with filter cap and filter.
5. Replace filter, screw on filter cap.
6. Insert sensor with seal.
7. Put on the probe head and fasten with screws (tightening torque 3.5 Nm
NOTICE
Please note the tightening torque 3.5 Nm!
8. Reconnect connecting cable, see Fig. 7-8 Klemmsockel bei KS1D-HT terminal socket
KS1D-HT
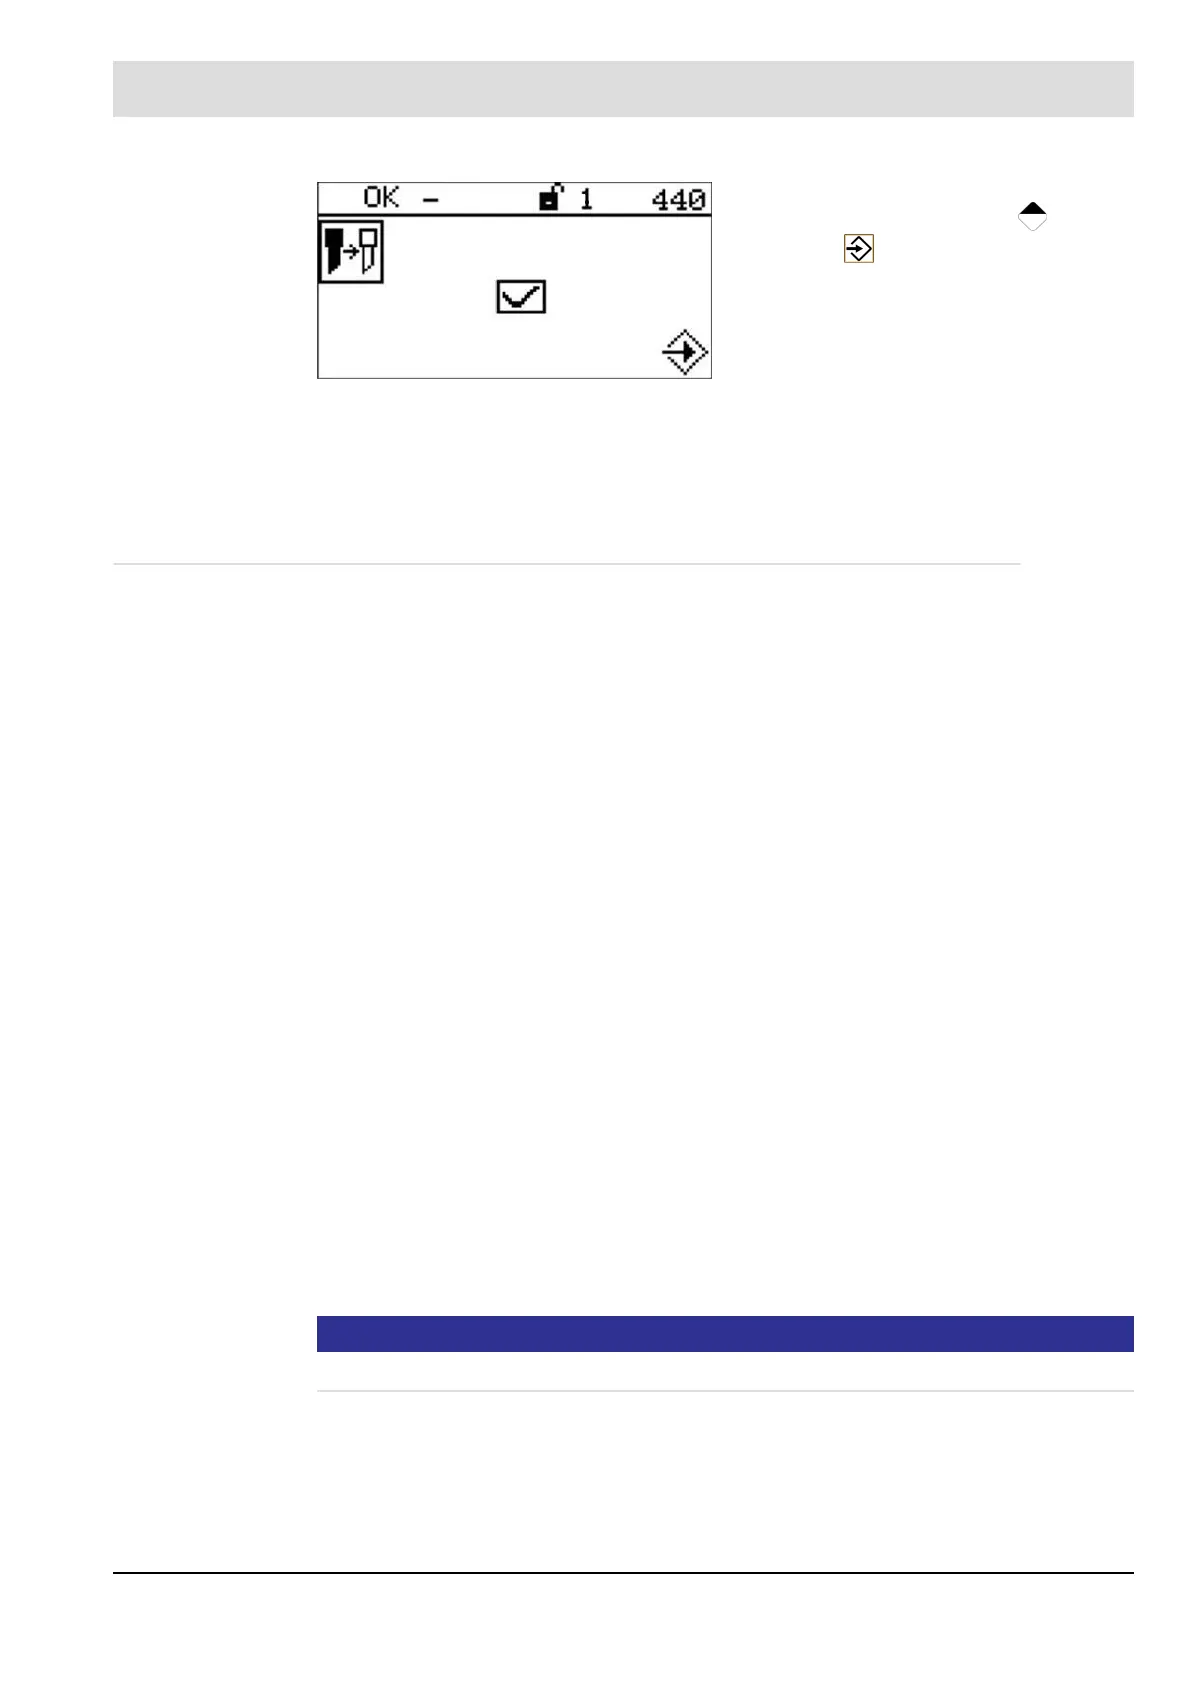
By selecting with the cursor key
and ENTER a probe replacement is trig-
gered.
 Loading...