LAUNCH CRT 501 Series User Manual
32
Notes:
• A plastic DLC cover may be found for some vehicles and you need to remove it
before plugging the diagnostic cable.
• The cable connector is keyed and will only t one way. If you have problems
connecting the cable connector to the DLC, rotate the connector 180
o
and try
again.
4). Turn the ignition on. Engine can be o or running.
Caution: Don’t connect or disconnect any test equipment with the ignition on
or engine running.
5). The system automatically turns on and navigates to the main menu screen.
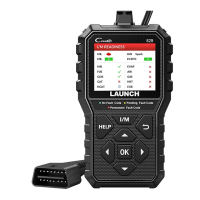
6.2 Start Diagnostics
This function presents a quick way to check for DTCs, isolate the cause of
the illuminated Malfunction Indicator Lamp (MIL), check monitor status before
emissions certication testing, verify repairs, and perform other services that
are emission-related.
Tap OBD II in the Home Menu after the tablet is properly connected to the
vehicle’s DLC port. The tablet will start an automatic check of the vehicle’s
computer to determine which type of communication protocol it is using, then
display the Monitor Status as follows:
 Loading...