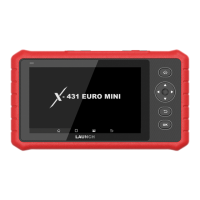
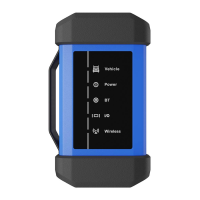
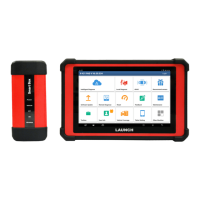
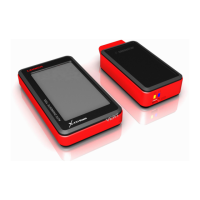
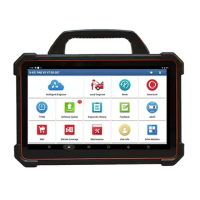
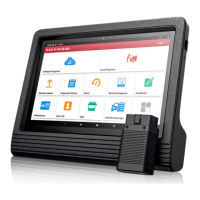
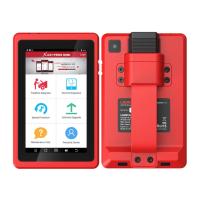
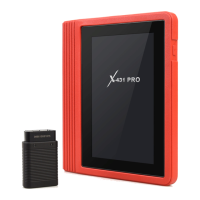
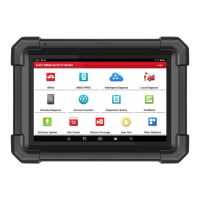
LAUNCH X-431Diagun User's Manual
16
X-431Diagun non-16PIN connector (Optional).
3. Trough the double-clamps power cable (Optional): Connect the
red-crocodile clamp of the double-clamps power cable to the battery
positive, and the black-crocodile clamp to the battery negative.
Connect the other end to the power of the X-431Diagun non-16PIN
connector (Optional).
If the X-431Diagun is low battery, do one of the following:
1. Provide power through DLC: connect the main unit and the diagnosis
connector by wire connection.
2. Provide power through the charger: insert one terminal (20PIN Male) of
the charger into the diagnosis port of X-431Diagun main unit and
connect the other terminal with 100-240V AC.
3.2 Begin to Diagnose Vehicle
The makers, models and systems tested by X-431Diagun update every day.
Please visit http://www.x431.com
to learn more information and download
the diagnosis program of the latest version.
 Loading...
