3 From the Paper Menu, click Universal Setup.
4 Select the unit of measure in inches or millimeters.
5 Enter the paper width under Portrait Width.
6 Enter the paper height under Portrait Height.
7 Click Submit.
8 Find the tray in which you will load the Universal paper, and then set the Paper Size to Universal.
9 Click Submit.
• If the printer is connected to a computer by a USB or parallel cable, open the Local Printer Settings Utility for
Windows or Printer Settings for Macintosh. One of these utilities installs with your printer software. Under the
Paper menu, select Universal in the Paper Size selection box for the tray that will contain the Universal paper.
Loading the standard 250-sheet tray
The printer has two trays to select from: the standard tray (Tray 1), also known as the 250-sheet tray, and either the
optional 250-sheet tray or the optional 550-sheet tray (Tray 2). Only one optional drawer (which includes an optional
tray) may be attached to the printer at one time.
Proper paper loading prevents jams and facilitates trouble-free printing.
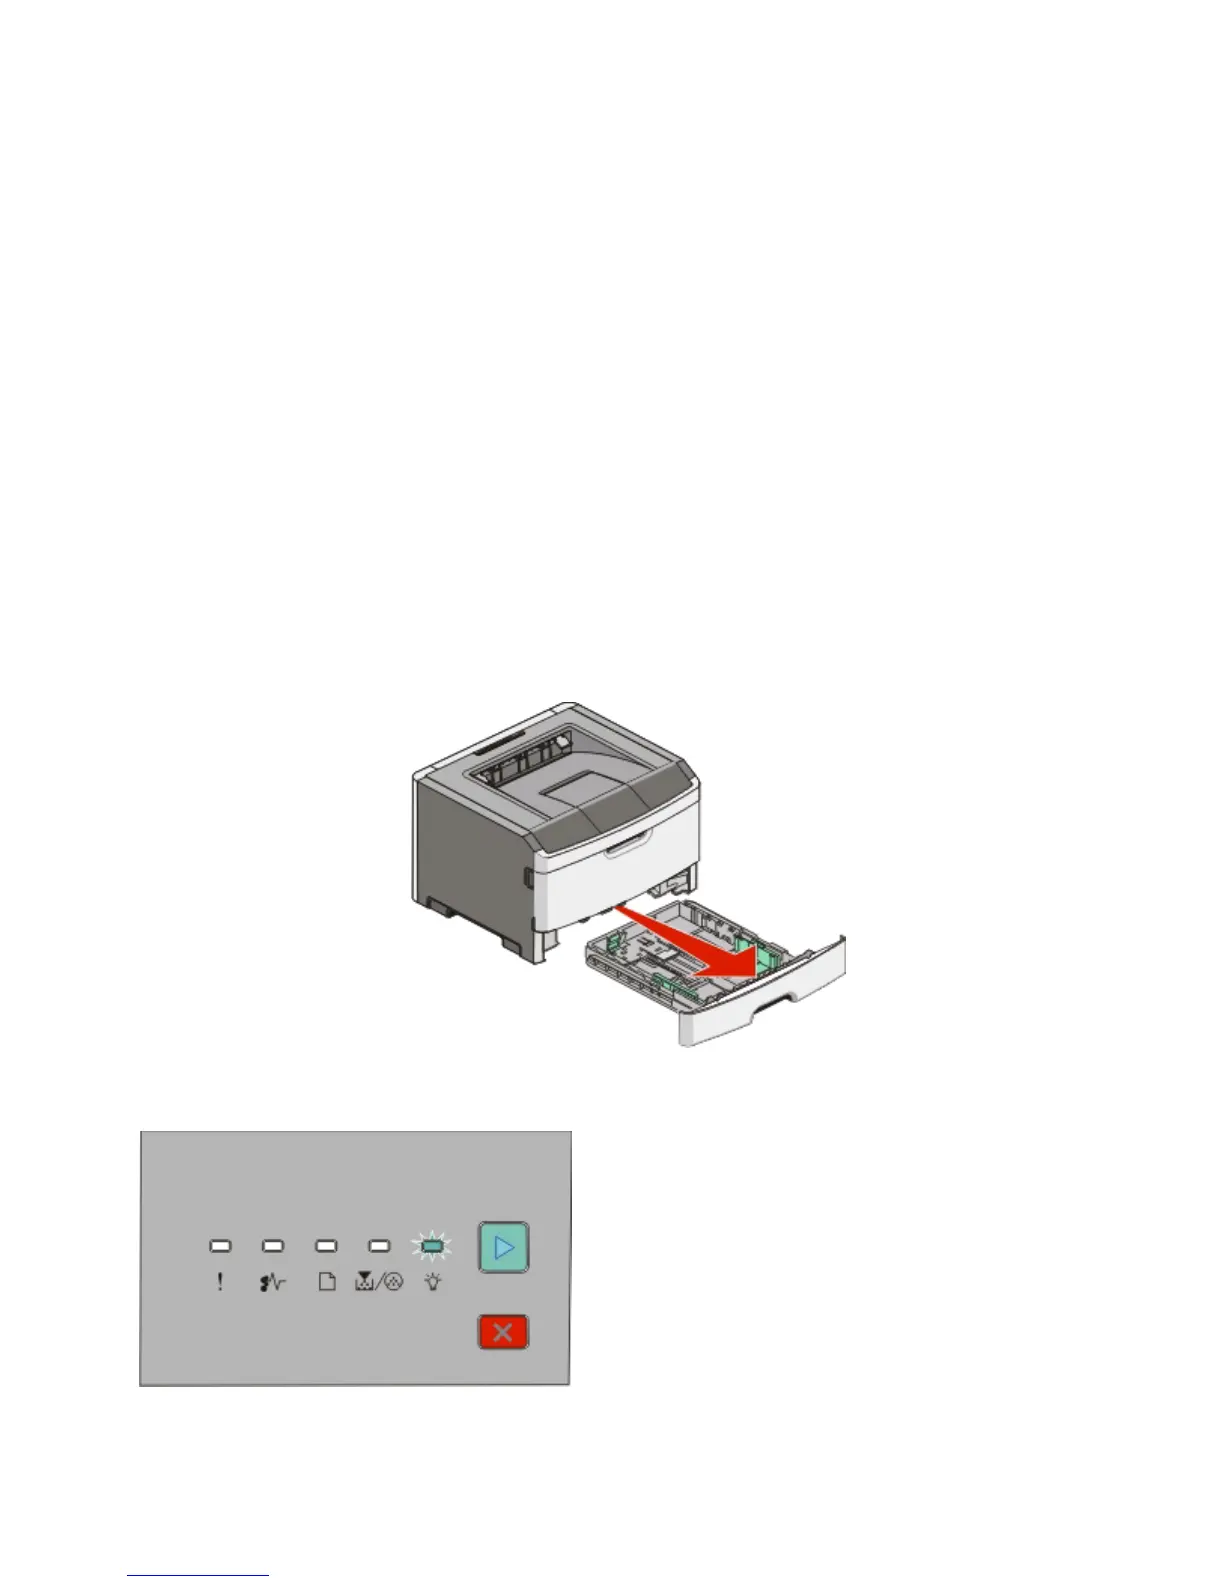
1 Pull the tray completely out.
Do not remove trays while a job prints or when the Busy light sequence appears on the printer control panel.
Doing so may cause a jam.
Busy
Loading paper and specialty media
41
 Loading...