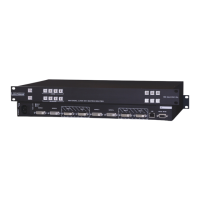
MMX4x2 series – User's Manual 41
Crosspoint Menu
DIFFERENCE: The appearance of the Crosspoint menu and the Audio port parameters show less features
#crosspoint #switch
1
Main menu The available menu items are displayed. The active one is showed with
dark grey background color.
2
Information ribbon The label shows the device label, which can be edited in the
Settings menu - Status tab. Device discovery window can be displayed by
clicking on this ribbon. Hover the mouse cursor over the information ribbon;
the product name and the IP address of the device will appear as a tooltip text.
3
Submenu selector The audio and video crosspoint menu and the preset settings are available
under the two tabs.
2
3
4
5
1
4
Video input ports Each tile represents a video input port (
Input). The tile below the port shows the current crosspoint setting; if the
port is switched to the output, the color of the tile is white, otherwise grey.
5
Audio input ports Each tile represents an audio input port. The A1 and A2 are logical audio
A3 is the Analog Audio Input.
6
Advanced view Displays the , showing the Terminal window and
7
Audio output ports
the Digital Audio Output window; clicking on the O3 tiles opens the Analog
Audio Output window.
8
Video output ports HDMI video output ports; clicking on the tile opens the
port properties window.
Steps of Crosspoint Selection:
Step 1.
input selection as well.
Step 2. Select the audio source from the audio inputs (A1...A3). A1 and A2 digital audio inputs come from
the previously selected HDMI video outputs. A3 is the analog audio input, which can be embedded
into the HDMI output.
TIPS AND TRICKS: Pre-programmed audio crosspoint settings can be selected by the Set Audio Cong
button, see the details in the section.
The Port Diagram of MMX4x2-HT200

 Loading...