To program your PowerView AC motor and roller shade, you will need to perform the following 9 steps:
STEP 1: Join a Shade to a Group
STEP 2: Reverse the Motor Direction (If Necessary)
STEP 3: Set the Motor Upper Limit
STEP 4: Set the Motor Lower Limit
STEP 5: Set a Favourite Position (Optional)
STEP 6: Creating a Duplicate Remote
STEP 7: Test the Motors and PowerView Shade Network
STEP 1 — JOIN A SHADE TO A GROUP
1. Remote: press and hold STOP for 6 seconds to put the remote into program mode.
The backlit buttons on the remote will flash to
indicate it is in program mode.
2. Remote: press and release the desired GROUP
number (1 – 6).
The backlit GROUP number will flash to show it is
selected.
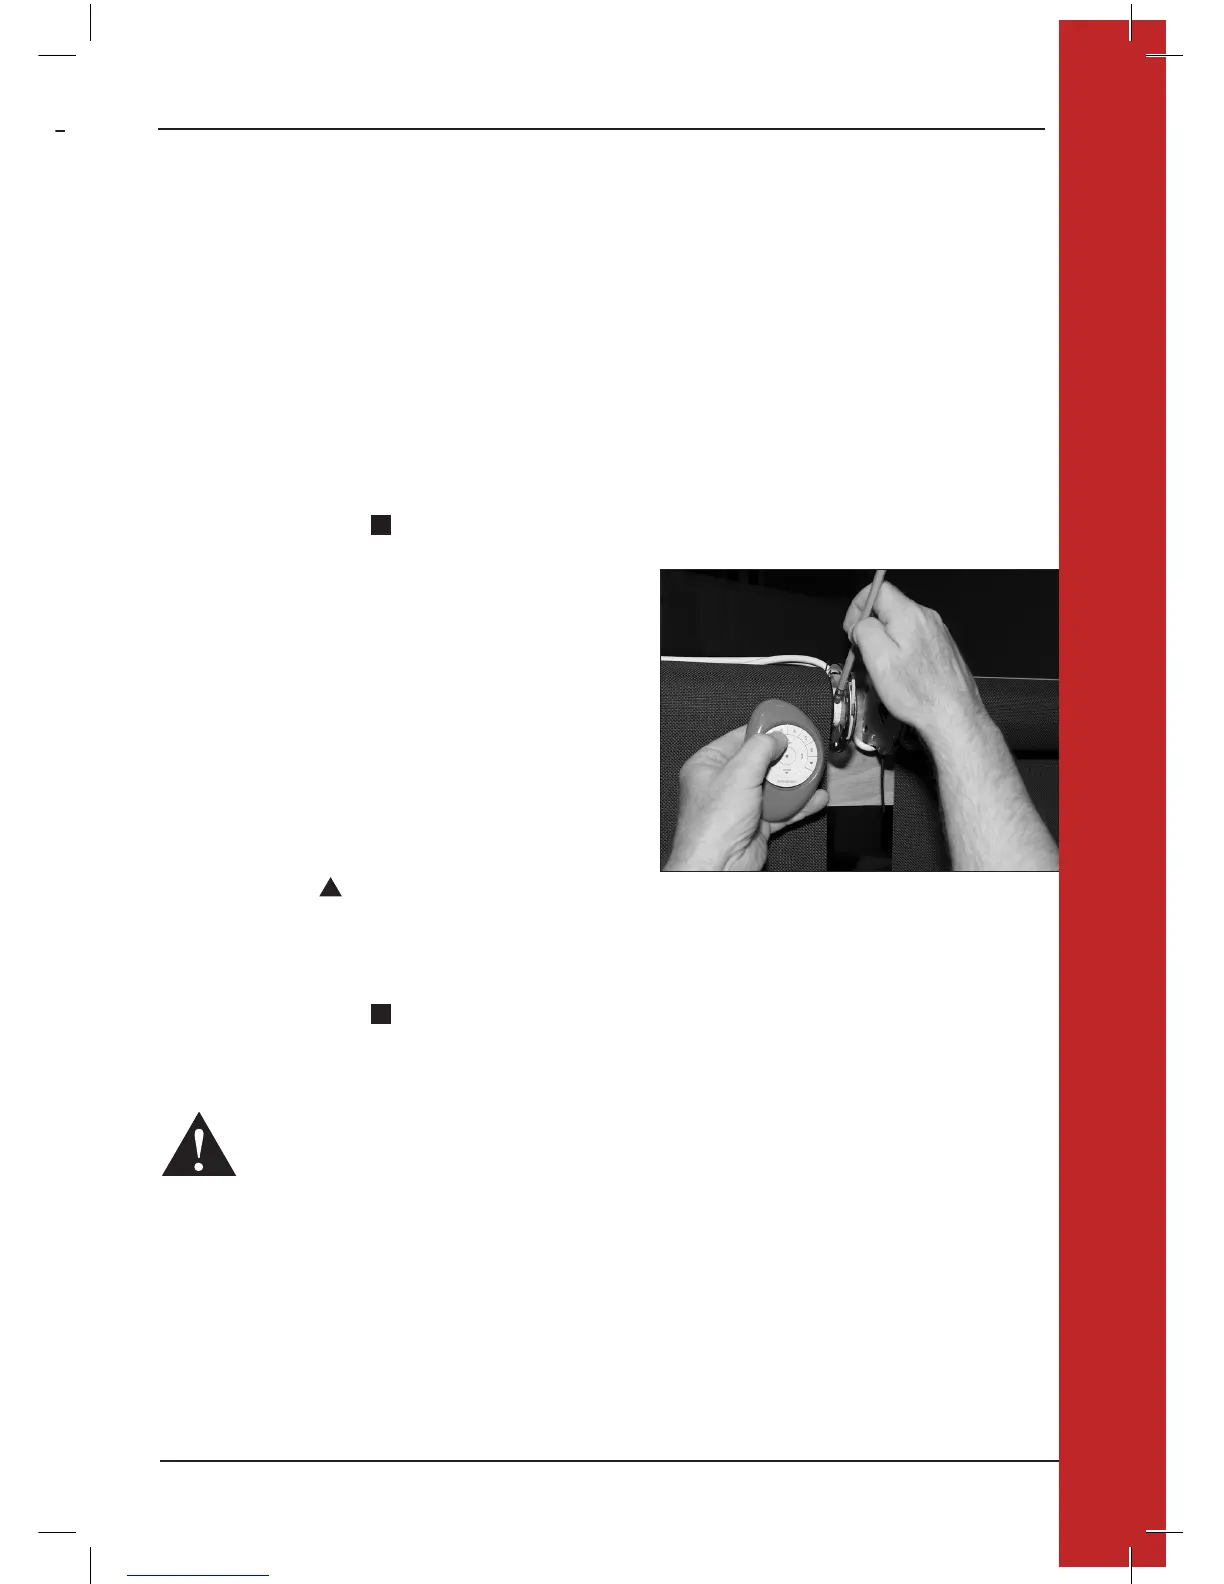
3. Motor: press and hold the manual control button
located on the motor head.
4. Remote: while continuing to press the manual control button,
press and release OPEN on the remote.
The shade will move twice to indicate it has joined the group.
5. Motor: release the manual control button.
6. Remote: press and hold STOP for 6 seconds to exit
program mode. The lights will stop flashing.
WARNING: The AC motor will not operate correctly until limits are set (Step 3 and Step 4).
5
PROGRAMMING OVERVIEW
PROGRAMMING OVERVIEW
 Loading...