11 ENGLISH
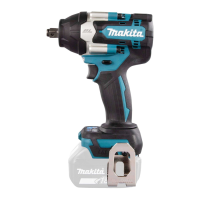
7. Remove all tape that holds the wire.
8. Rewind the wire to eliminate its slack.
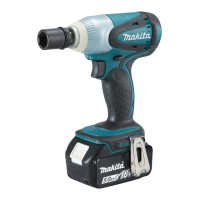
9. Release the lock lever. The release lever returns,
and the wire is held by the left and right gears.
2
1
►1. Release lever 2. Lock lever
1
23
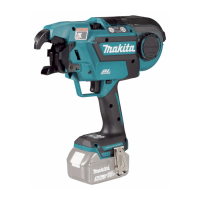
►1. Gear 2. Path of the wire 3. Wire
NOTICE: When the lock lever is released and
when the left and right gears mesh with each
other, the grooves in the gears form a space. This
space becomes the path for the wire. Make sure
that the wire is passed through this path.
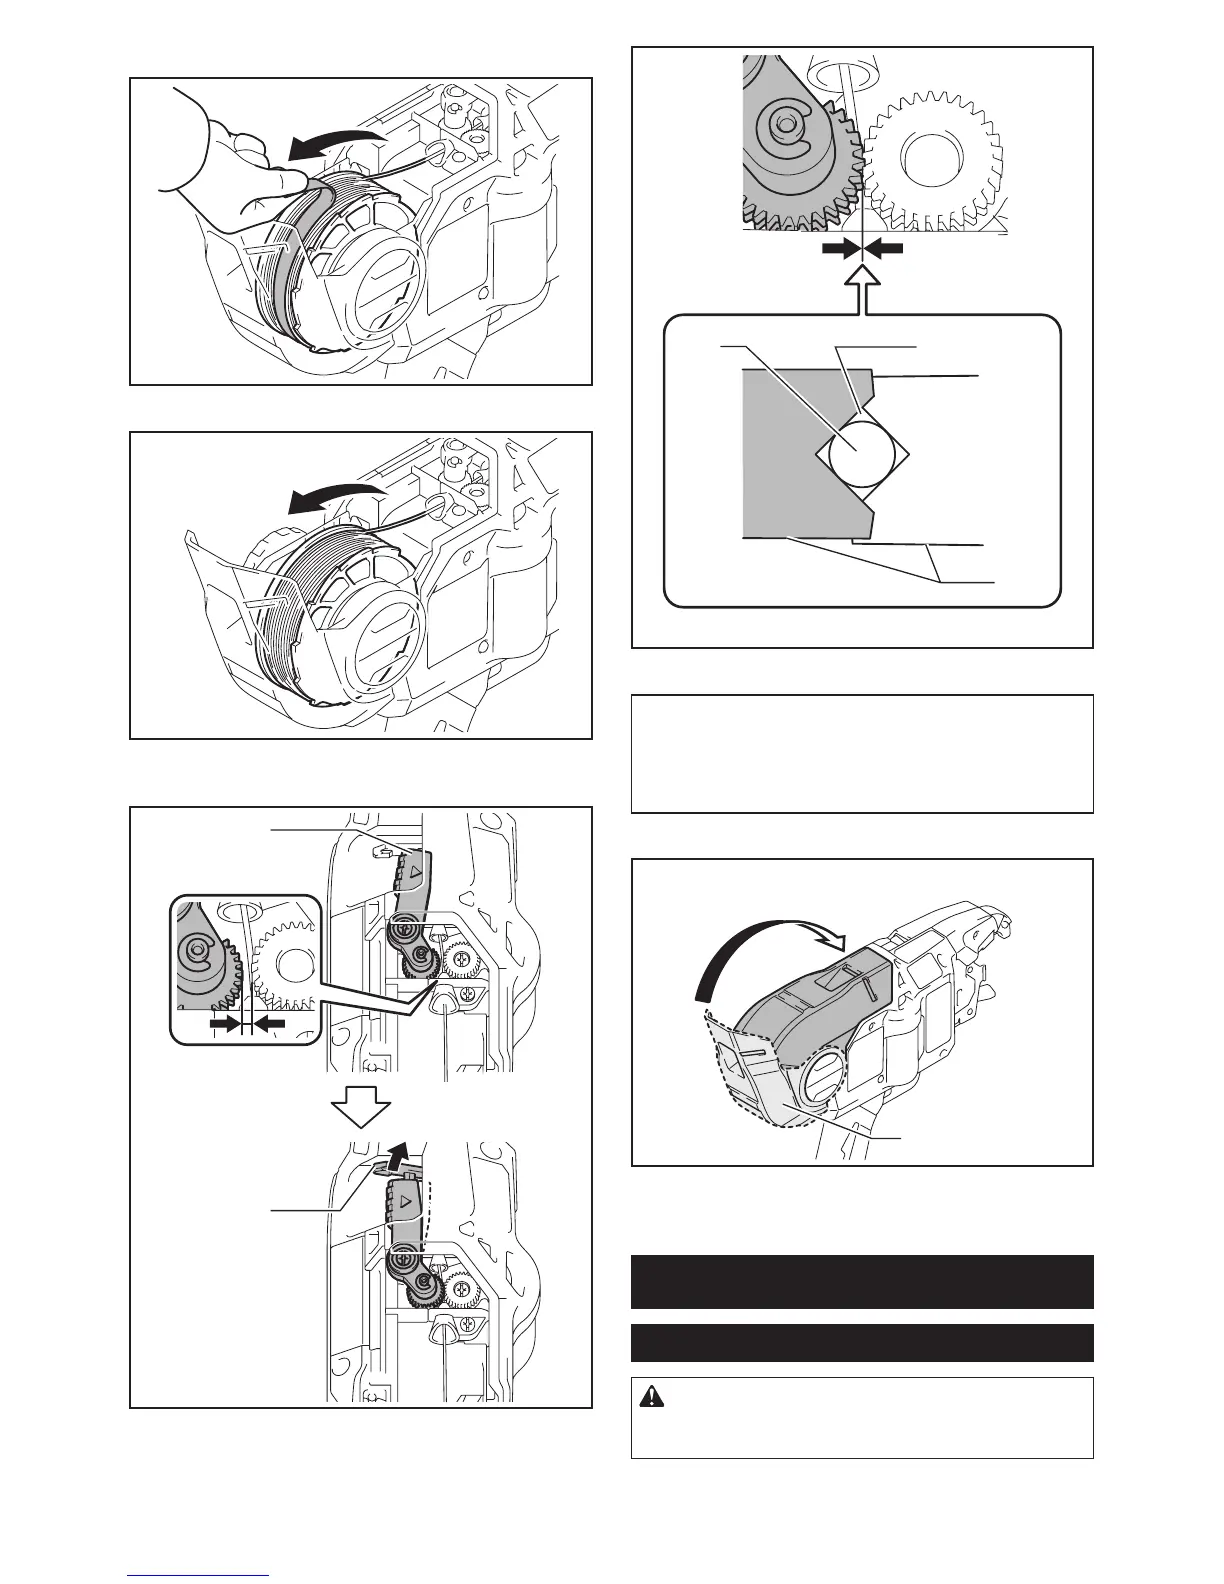
10. Close the reel cover.
1
►1. Reel cover
OPERATION
Checking before work
CAUTION: If the tool has a safety mecha-
nism-related problem, do not use it. If you continue
to use it, an accident may occur.
 Loading...