 Loading...
Do you have a question about the NAD T 777 and is the answer not in the manual?
| Receiver type | Surround |
|---|---|
| Pre-out connectivity | Yes |
| Audio output channels | 7.1 channels |
| Total Harmonic Distortion (THD) | 0.08 % |
| Dynamic power per channel (4 Ohm) | 260 W |
| Dynamic power per channel (8 Ohm) | 160 W |
| Power output per channel (20-20KHz@8 Ohm) | 80 W |
| HDMI in | 6 |
| S-Video inputs quantity | 3 |
| Ethernet LAN (RJ-45) ports | 1 |
| Component video (YPbPr/YCbCr) in | 2 |
| Connectivity technology | Wired |
| Speakers connectivity type | - |
| AM band range | 522 - 1.620 kHz |
| FM band range | 87.5 - 108 MHz |
| Supported radio bands | AM, FM |
| Optical drive included | No |
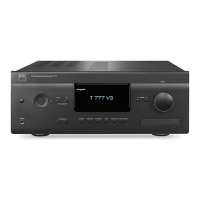
| Display | LED |
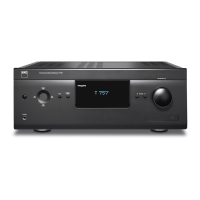
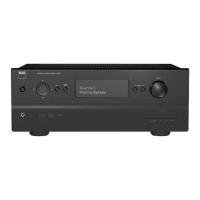
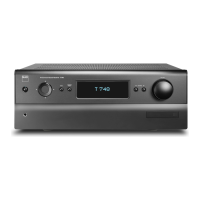
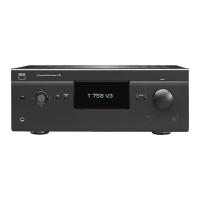
| Product color | Black |
| Damping factor | 60 |
| Apple docking compatibility | Not supported |
| AC input voltage | 230 V |
| AC input frequency | 50 Hz |
| Power consumption (standby) | 0.5 W |
| Package weight | 24200 g |
| Depth | 425 mm |
|---|---|
| Width | 435 mm |
| Height | 172 mm |
| Weight | 20500 g |
Covers essential safety instructions for operation, cleaning, and installation of the product.
Details warnings related to lightning, power lines, overloading, flame sources, and object entry.
Covers battery disposal, safety checks, cautions, FCC statements, and environmental notes.
Provides initial setup steps and lists all items included in the product packaging.
Offers guidance on choosing a suitable location and outlines default source input assignments.
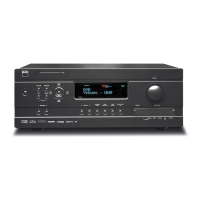
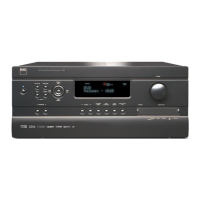
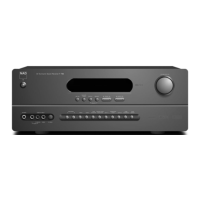
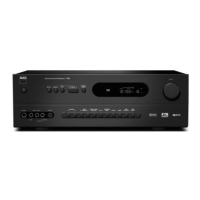
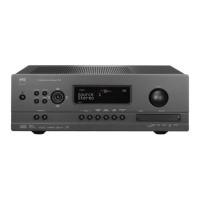
Details the front panel buttons, LEDs, and basic operational controls.
Describes the front panel display, remote sensor, volume, tuner controls, and input/output jacks.
Details the rear panel's digital audio, HDMI, and analog/video input/output connectors.
Covers rear panel connections for channel input, modules, RS232, antennas, and triggers.
Explains rear panel connections for MP Dock, LAN, Component Video, Zone, Pre-Out, and Speaker terminals.
Details the rear panel's AC mains input and switched AC outlet.
Explains OSD navigation, Main Menu structure, and basic listening modes like Stereo and Direct.
Details advanced listening modes such as Dolby Pro Logic IIx, DTS Neo:6, EARS, and Enhanced Stereo.
Covers DSP options like Lip Sync Delay and Audyssey features including MultEQ, Dynamic EQ, and Volume.
Explains how to adjust tone controls and manage zone audio outputs and sources.
Details setup options for Control/HDMI functions, including CEC and ARC.
Guides on setting up sources, including naming, assigning audio/video inputs, and gain.
Covers digital audio/video assignments, A/V presets, and trigger outputs.
Details iPod setup, speaker configuration, levels, distance, and Audyssey Auto Calibration.
Explains the Audyssey MultEQ XT room acoustics correction process for optimal sound.
Describes the steps and completion of the Audyssey Auto Calibration procedure.
Guides on setting speaker sizes, crossover frequencies, and adjusting speaker levels.
Explains setting speaker distances for imaging and adjusting master volume and muting.
Covers on-the-fly channel level adjustment, zone setup, and amplifier channel assignments.
Details trigger setup options and configuring listening modes for Dolby and DTS formats.
Explains Dolby Digital Plus, TrueHD, Digital EX, and DTS audio format capabilities.
Covers specific setup parameters for Dolby and DTS, including dynamic range control.
Details DTS-ES Matrix 6.1, Neo:6, Enhanced Stereo, and display setup options.
Explains how to create custom A/V Presets by storing various system configurations.
Guides on saving current settings to presets and recalling them using the remote control.
Details how to associate A/V Presets with specific sources for automatic configuration.
Covers tuning AM/FM stations, storing presets, and selecting tuner modes.
Explains user names for presets and RDS (Radio Data System) information.
Guides on connecting, tuning, and storing XM radio channels and presets.
Details connecting the DAB module and performing full or local scans for broadcast services.
Covers selecting stations, station order, DRC, manual scan, and pruning the service list.
Explains how to reset the DAB adaptor and view broadcast information.
Covers connecting the iPod, navigating menus, and basic playback controls.
Details NAD IPD 2 control, viewing iPod videos/photos, and regaining DR 1 control.
Provides an overview of the HTR 8 remote, its capabilities, and getting familiar with its layout.
Explains how to copy commands, create macros, and use punch-through functions.
Covers executing macros, configuring key illumination, factory reset, and delete mode.
Details loading code-libraries, search mode, and checking code-library numbers.
Covers HTR 8 USB interface and operation of the ZR 7 remote for Zone 2.
Explains how to assign IR channels for independent remote control of NAD products.
Provides solutions for common operational issues and no-sound problems.
Lists detailed specifications for the amplifier, preamplifier, and tuner sections.
Details warranty terms, coverage, obtaining service, and important warnings.