21
ENGLISH
4. JOB PROGRAMMING
Note:
The number of feeders varies with the configuration, just like the system's functions.
4.1 Job menu
To prevent unauthorized editing or deleting of jobs, the job menu is protected by a PIN
code. The job menu has 5 functions (these functions are described in the following
subchapters):
To enter the job menu:
1. From the Main Menu 3/3 screen, select .
2. Use the blue function buttons to select PIN-code 2324.
The job menu is divided over two screens: Job Menu 1 screen, and Job Menu 2 screen.
Select to switch between these two screens.
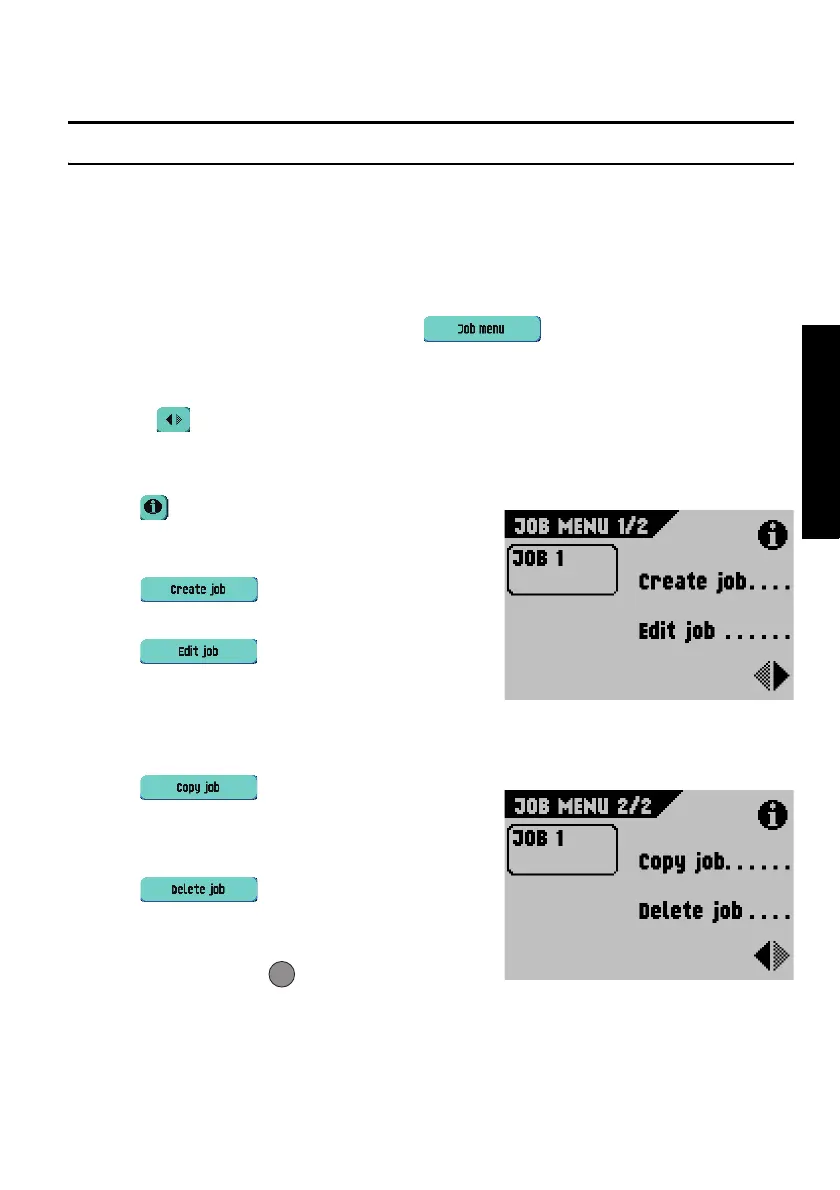
Job Menu 1 screen
• Select to see the details of a job. See “Job
information” on page 22. This information can also
be accessed from the Job Menu 2 screen.
• Select to create a new job.
See “Create job” on page 23.
• Select to change a job. See “Edit
job” on page 31.
Job Menu 2 screen
• Select to copy a job. The copied
job can then be edited. This feature allows you to
create a new job that resembles an existing job.
See “Copy job” on page 31.
• Select to delete a job, which is no
longer required.
See “Delete job” on page 32.
Press the escape button to return to the Main
Menu 1/3 screen.
ESC
 Loading...