2524
Chapter
2
Adjustment Functions — Using LCD Panel and Built-in Functions
Tilting/rotating flash head, built-in zoom head, LCD panel
and control buttons for aperture/distance computation...
The SB-25 features many convenient functions. Proper
use will help you perform successful flash photography in
every situation.
Before practice, you should understand the adjustments
and reasons behind them. Once you have learned them,
you can make the most of the SB-25 for all kinds of flash
techniques.
Operation can be controlled manually or automatically,
depending on which Nikon SLR model is used. Manual
operation is described for each feature, then automatic
adjustment features are described within the boxed sec-
tions (with a mark).
Before proceeding:
✗ ATTACH SPEEDLIGHT TO CAMERA.
✗ TURN ON BOTH SPEEDLIGHT AND CAMERA.
Adjusting Flash Head To Horizontal/Front
Position
In “normal” shooting situations, the flash head should face
straight forward, tilted in the horizontal position. A
tilted/rotated head can be used for special techniques such
as close-ups or bounce flash photography.
1
Tilt the flash head to the horizontal, until it click-stops.
The flash head locks both at the horizontal, facing straight-
forward (0° degree), and at the vertical, facing straight-up
(90° degrees).
To release from the locked position, slide the lock release
lever in the > direction, then, while holding the lever, tilt the
flash head.
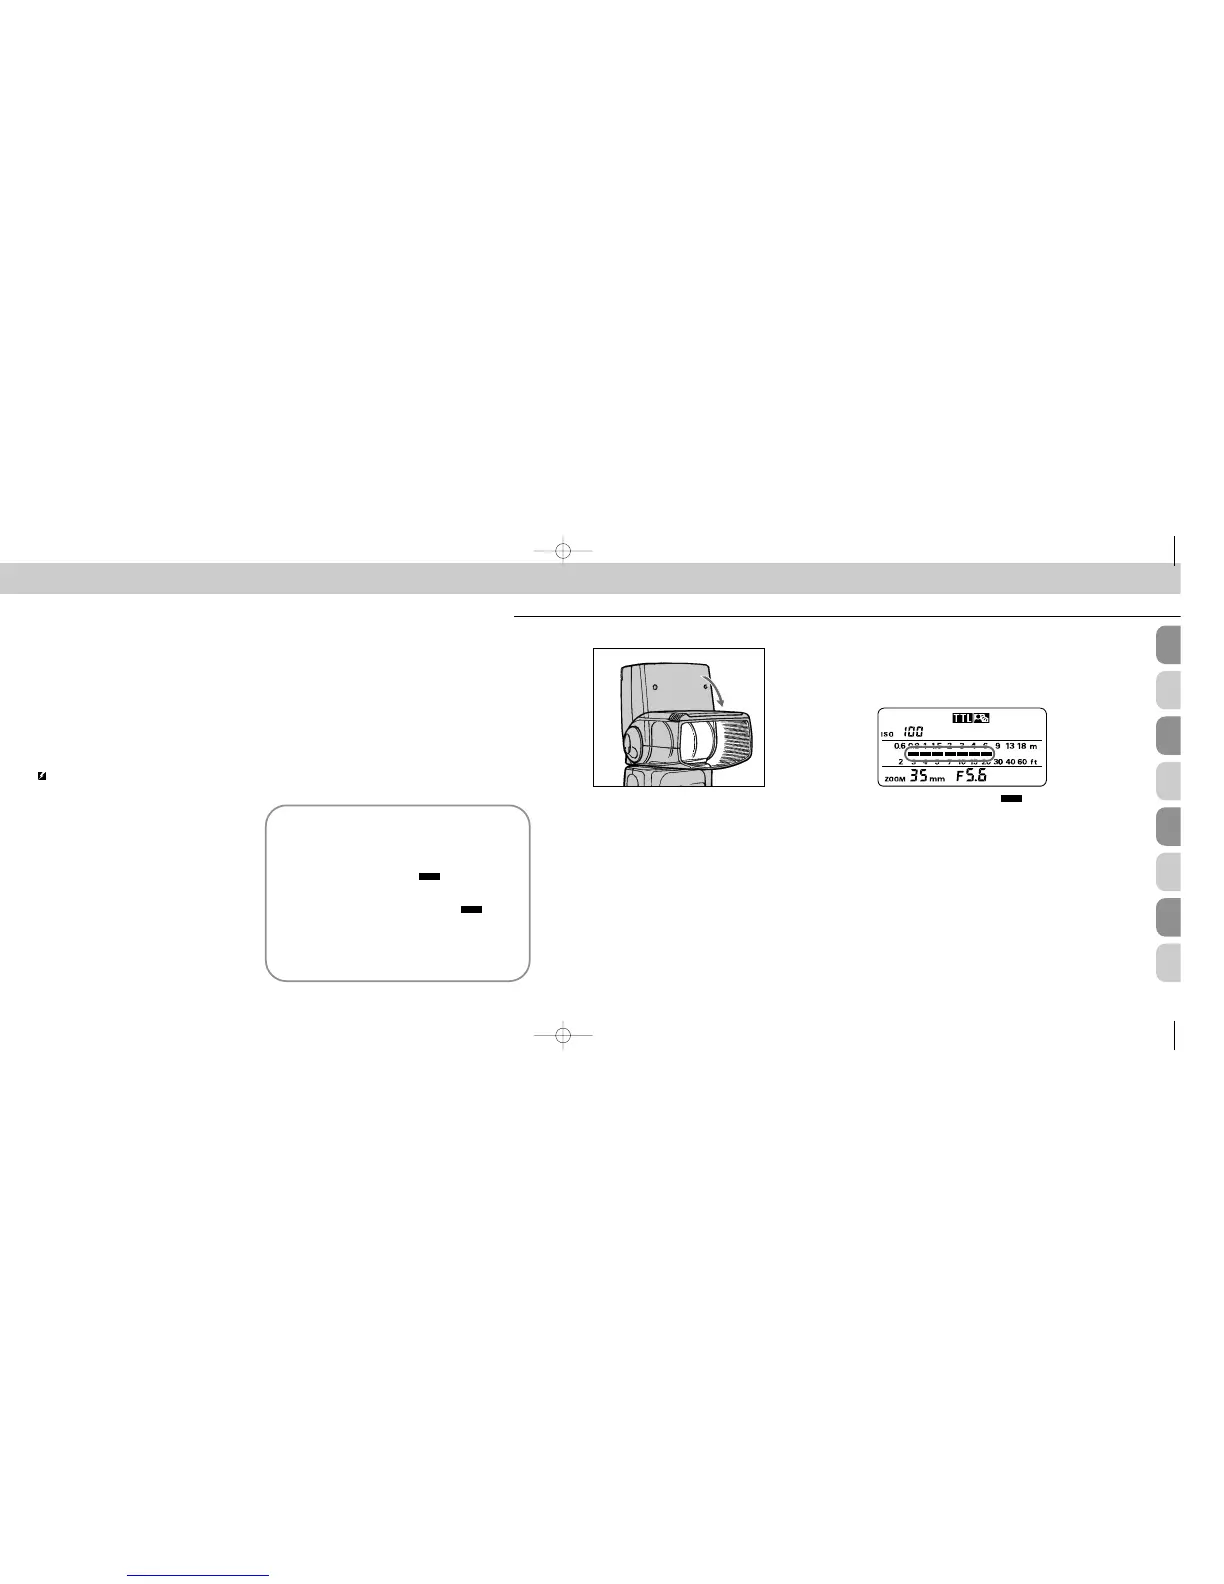
2
Adjust the flash head so it faces straight forward —
check that it is not rotated to the right or left.
To unlock from the forward position, slide the lock release
lever in P direction, then, while holding the lever, rotate
flash head to either the right or left.
3
Confirm indicator bars appear in the flash shoot-
ing distance scale (LCD panel). Bars do not appear or
will blink if the flash head is not set horizontal and straight
ahead.
If indicator bars do not appear in the LCD panel at all, check
whether the camera is turned on. If it is, lightly press the
shutter release button. If not, turn on the camera, then light-
ly press the shutter release button.
Indicator bars appear for eight seconds once activated (they
disappear after eight seconds). Lightly pressing the shutter
release button causes the bars to reappear.
Tilting/Rotating flash head to a position other than
horizontal and straight forward
Downward-tilted flash head (-7° position) is used for
taking pictures of subjects at a distance of less than
1.5m (approx. 5 ft.). When the head is set at this posi-
tion, the distance indicator bars blink.
An upward-tilted and/or rotated flash head is used
for bounce flash photography. When the head is set
this way, the distance indicator bars do not
appear, to show the distance indication function is not
available.
See “Diffusing Light — To Soften Harsh Shadows,”
pages 119 to 123, for information on bounce flash
photography.
SB-25_En 03.1.14 8:18 PM Page 24
 Loading...