123122
Chapter
4
Diffusing Light
Bracketing your exposures
If possible, take additional shots with different aper-
tures and/or exposure compensation techniques for
exposure bracketing. Bounce/diffuser techniques
reduce the maximum distance available for a given
aperture due to the extra distance required for the flash
light to travel, or amount of diffusion, or blockage.
Set the camera’s exposure compensation dial in the
+ or – direction (not possible with the F-401x/N5005,
F-401/N4004, F-401s/N4004s and FM2) for TTL Auto
Flash operation, or with the lens opened up one or two
f/stops for Non-TTL Auto Flash operation.
Using a Diffuser
• To diffuse light, place a translucent material, such as one
or more sheets of tracing paper between the flash and the
subject.
Avoid using delicate materials for the diffuser, and ensure
a sufficient distance between the flash head and diffuser
to avoid burns.
For optimum results, experiment with different flash-to-dif-
fuser distances and with more than one diffuser
• In TTL Auto Flash operation, the SB-25 will automatically
compensate for the diffuser affect (reduced light amount)
in TTL Auto Flash mode.
For further instructions, see the TTL Auto Flash Mode
section relating to your camera type.
Note that the LCD panel cannot be used to compute flash
shooting distance in bounce photography.
• To protect the diffuser from burning, be sure it does not
come in direct contact with the flash head.
• Avoid reflection from the translucent material into the lens.
Bounce Flash Photography
• Select a ceiling or wall to bounce the flash from.
• The built-in diffuser card can be effective for creating more
natural lighting with a catchlight for the eyes.
• Tilt the flash head 60° up (first click-stop) or more to avoid
uneven illumination.
• In color photography, only use bounce with white sur-
faces. Otherwise, color photographs will come out with an
unnatural color cast similar to that of the reflecting sur-
face.
• Choose position (flash mode selector) for TTL Auto
Flash operation.
Use an aperture a few stops wider than you would use for
regular TTL Auto Flash operation.
For further instruction, see the TTL Auto Flash Mode
section relating to your camera type.
• Although the flash mode can be used for Non-TTL Auto
Flash, perform a test firing. If the ready-light blinks after
testing to indicate possible underexposure at the aperture
in use, use a wider aperture or reduce the bounce dis-
tance. Then, perform test firing again.
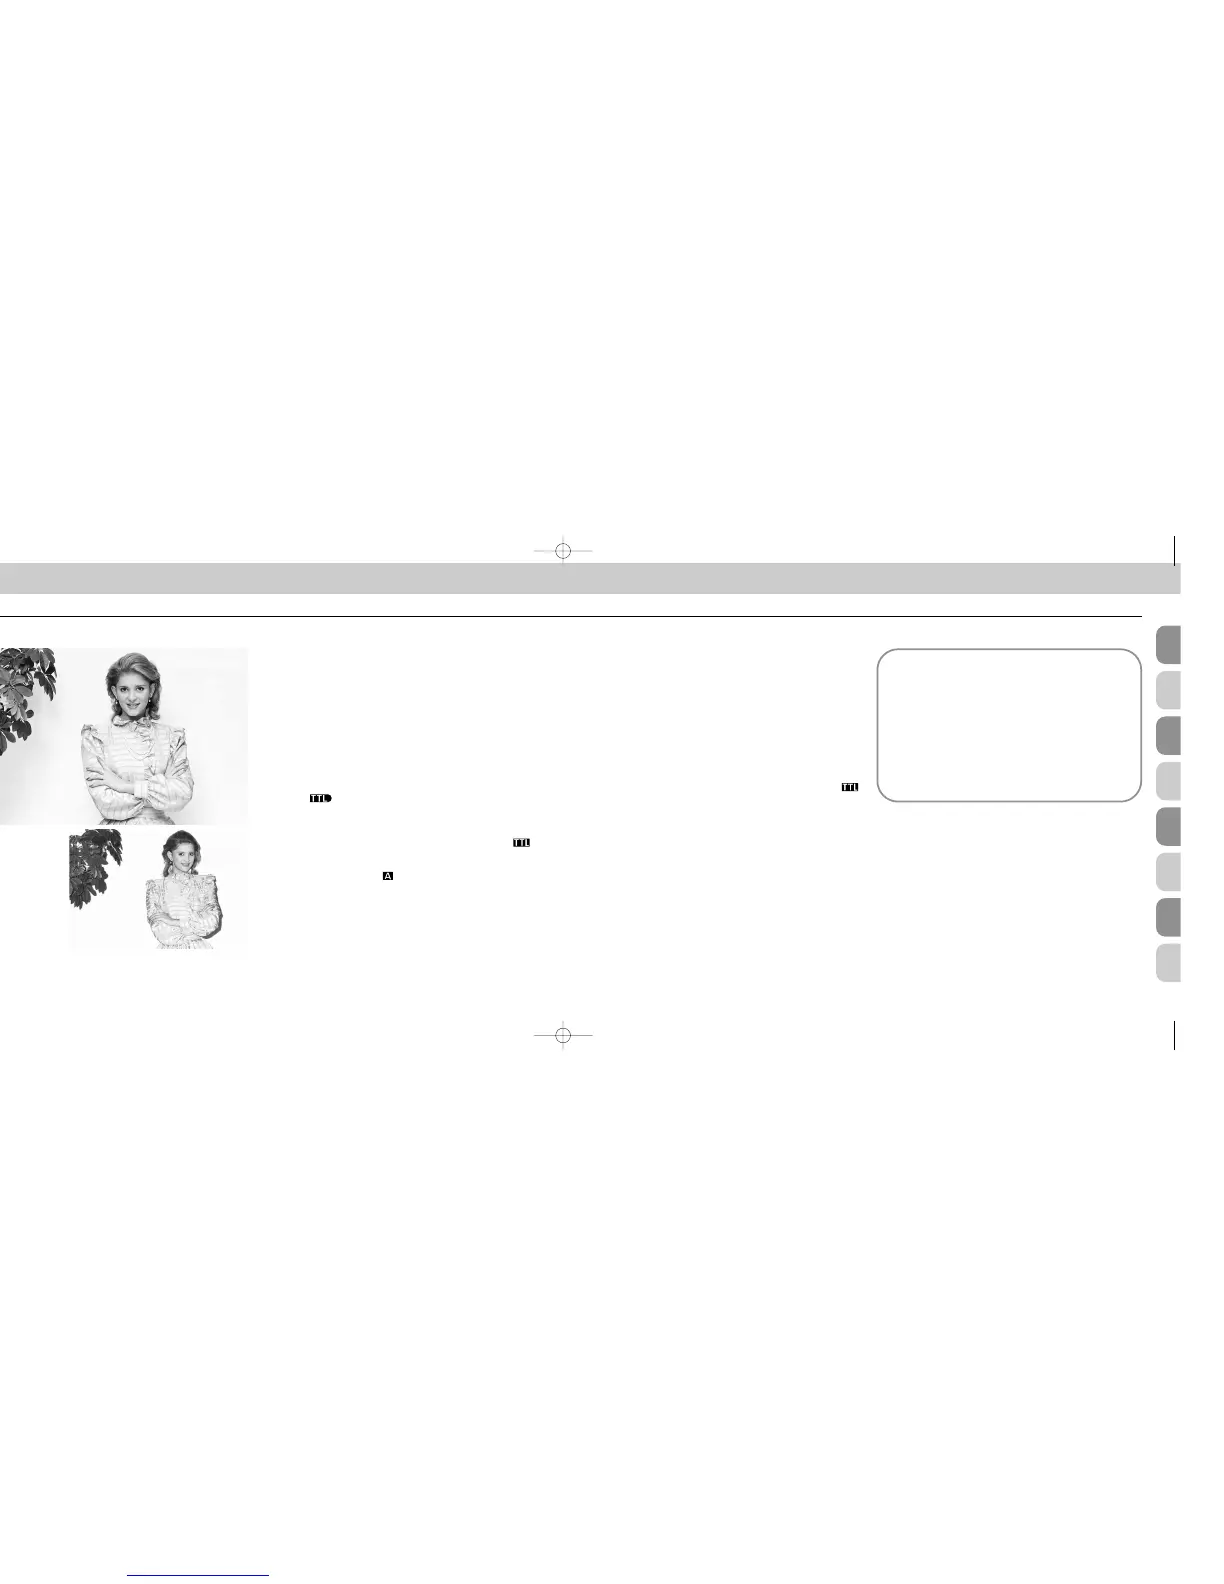
Bounce flash (above;
with ceiling): Soft,
natural-looking
lighting.
Direct flash (below):
Harsh, un-flattering
lighting
SB-25_En 03.1.14 8:18 PM Page 122
 Loading...