12
Connection of the low voltage cables
The low voltage cables that runs along the pipes, is to be
connected to the connector at the vacuum cleaner. Connect
the ends of cables in the electrical sockets, one cable end
in each socket. Secure the low voltage cables by pulling the
snap lockings at the connector, downwards.
On/Off
The control current outlet (low voltage) is connected to a
control current lead running the length of the pipes. Both
ends of the low-voltage lead are connected to the connec-
tion panel on the vacuum unit. One lead to each outlet. The
low-voltage lead should be connected as informed below.
8 Electrical connection
Location of the outlet for the low-voltage leads:
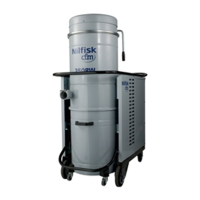
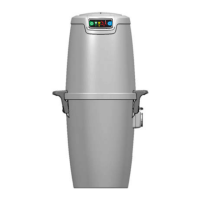
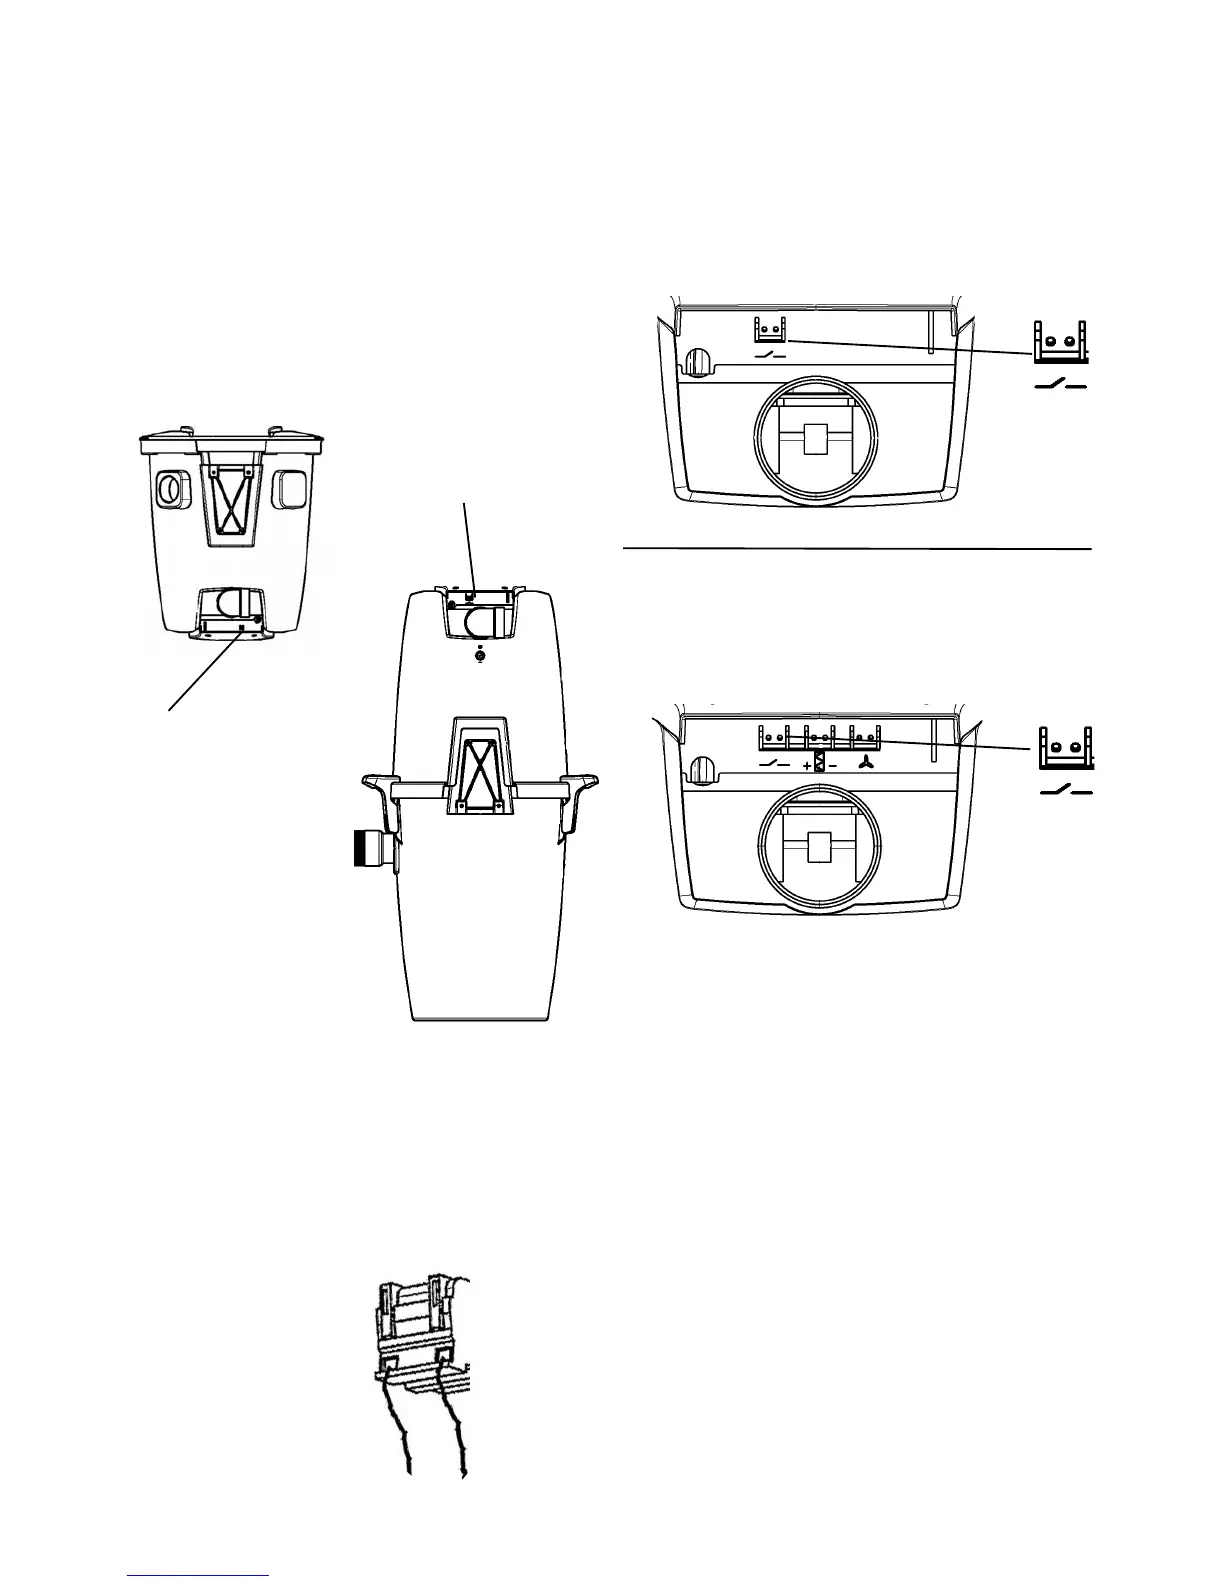
CV 10
The connection panel is
located in the bottom of
the CV 10 vacuum unit.
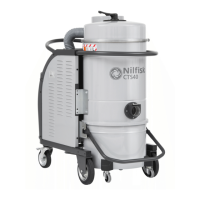
CV 20, CV 25, CV 35i
The connection panel is
located in the top of the
CV 20, CV 25 and CV 35i
vacuum unit.
CV 10
The connection panel for CV 10, CV 20 and
CV 25
The connection panel at these models have one connector
for the low voltage cable.
The connection panel for CV35i
Model CV 35i has the low voltage cable connector placed
to the left at the panel. This model do also have two extra
outlets on the panel.
Low voltage
cable
connector
Low voltage
cable
connector
Low voltage cable Low voltage cable
Secure the low voltage
cables at the connector
- pull the snap lockings
at the connector down-
wards.
Connector
 Loading...