8
4.1 Replacing the dust bag
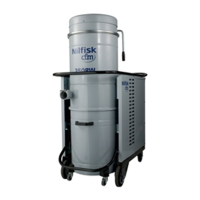
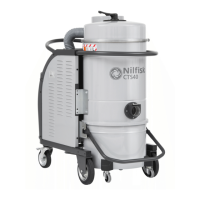
The central vacuum cleaner is fi tted with a paper dust bag
as standard; never vacuum with a central vacuum clea-
ner CV 10 without a dust bag installed.
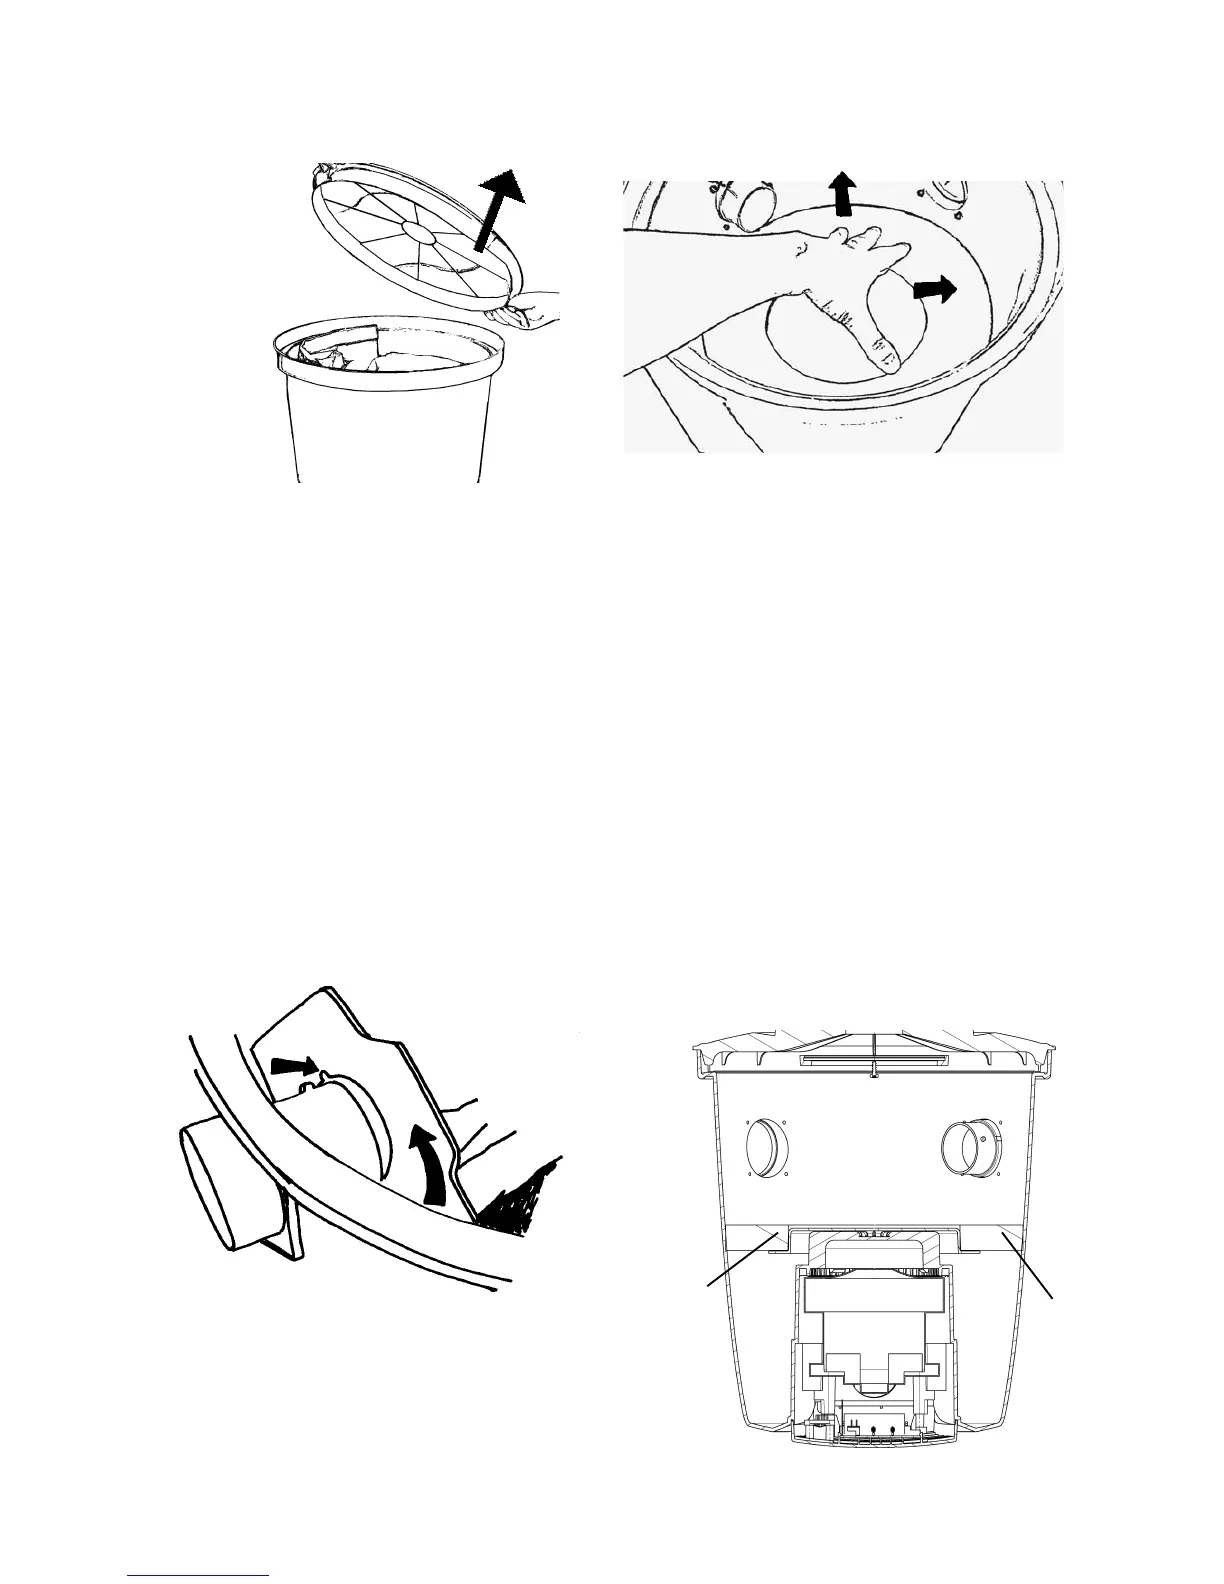
Replacing the dust bag: Grasp the edge of the lid and
pull lid upwards to open it, Fig. 10.
Remove the old dust bag by turning the cardboard stiffener
to the right or left so that the raised part of the inlet is in line
with the opening in the card. Now slide the bag off the bag
nozzle.
Fit the new dust bag as follows: Push the opening in the
cardboard over the elevation on the inlet and pull on the
new bag. Turn the cardboard to lock the bag in place. NB!
Turn the edges of the dust bag down into the container. This
is to avoid damaging the bag with the lid.
The cardboard stiffener locks the bag in place when you
twist it as shown in Fig. 11 above.
The opening in the card must line up and slide over the
elevation on the inlet before you twist the cardboard stiffener
to lock it.
4.2 Replacing / Cleaning the fi lter
Open the lid and take out the dust bag as described earlier.
The fi lter sits at the bottom of the container around the mo-
tor housing. Never use the central vacuum cleaner CV 10
without a fi lter installed.
Replacing the fi lter: Grasp at the outer edge of the fi lter.
Then pull the fi lter out of the container, Fig. 12. Replace with
new fi lter. This fi lter can also be cleaned by shaking it or
washing it in water. If you wash the fi lter, you must let it
dry completely before refi tting it.
Fit fi lter as follows: Take the new or cleaned fi lter and
place it in the lower part of the container. Press the outer
edge of the fi lter down against the sides of the container so
that the fi lter bulges up slightly. Then push the fi lter down
into place. Make sure the fi lter is packed in tightly against
the motor housing, Fig. 13. Reinstall the dust bag and re-
place the lid. Check that the lid is fi rmly secured.
4 Filter and dust bags - CV 10
Filter
Filter
Motor housing
Fig. 13Fig. 11
Fig. 12
Fig. 10
 Loading...