Installing DNT2Mi
DN01145897 © Nokia Corporation 29 (128)
Issue 2-0 en Nokia Proprietary and Confidential
2. Fasten the mounting bar into the opening in the bottom of DNT2Mi with
the screw included. Use a Phillips screwdriver.
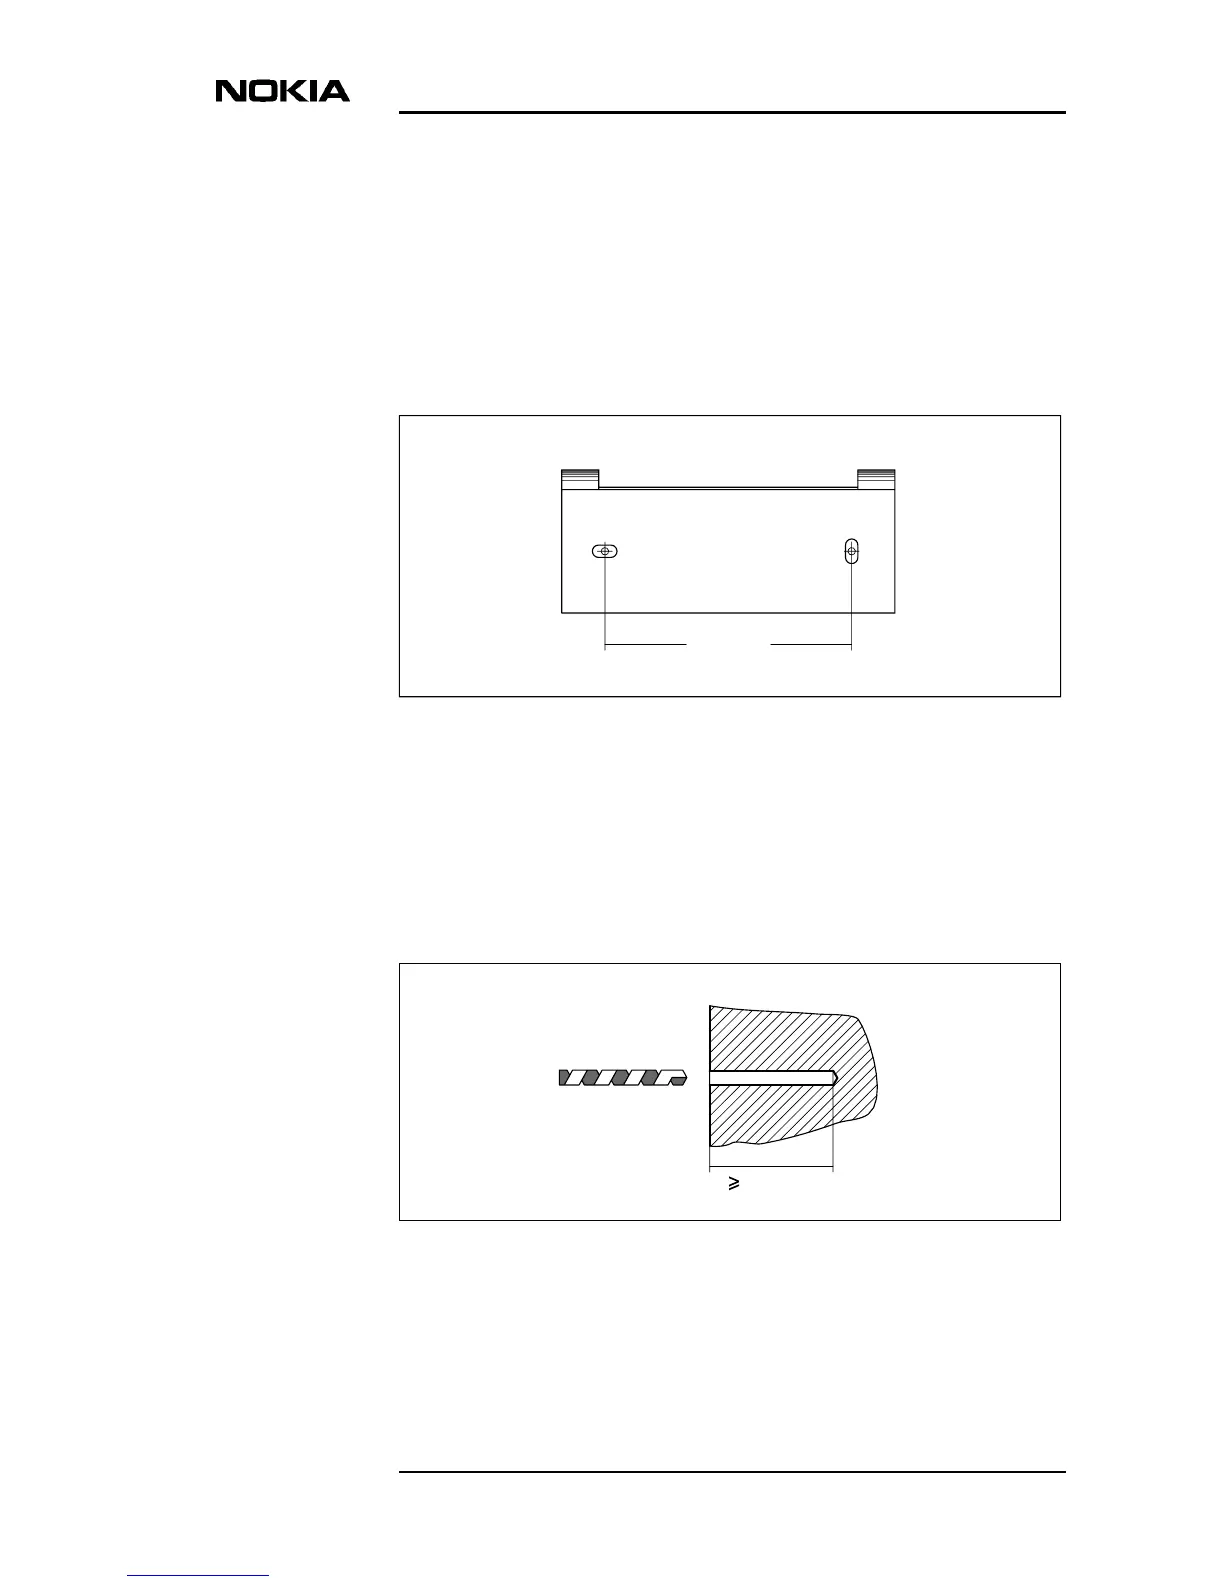
3. Mark fixing points on the wall for two screws using the wall-mounting
bracket as schema (Figure 14).
- Position the bracket on the wall in horizontal position, its hooks
facing upwards. Use a spirit level to check that the bracket is in a
straight position.
Figure 14. Marking of fixing points for wall screws
4. Drill holes (≥ 45 mm) into the wall (Figure 15). Use a drilling machine with
a ø 6 mm drill bit.
• Clean the holes and insert the included anchor plugs into the drilling
holes, if the wall material requires them.
Figure 15. Drilling screw holes into a wall
100 mm
45 mm
ø 6 mm bit
 Loading...