EasyManua.ls Logo

Oki 390/391 User Manual

Oki 390/391
131 pages
To Next Page IconTo Next Page
To Previous Page IconTo Previous Page
Page #21 background imageLoading...
Page #21 background image
14 Loading Paper
Loading Rear-Feed Paper
The rear-feed paper path is recommended for single-thickness, continuous fan-fold
paper when printing spreadsheets, long reports, etc. For graphics or charts, it’s best to
use the single-sheet paper path.
To load continuous-form paper from the rear:
1. If you have paper in paper path, be sure
to remove it before installing rear-feed
paper. To remove single sheet, press FF/
LOAD button. To remove bottom-feed
paper, press PARK button.
2. Move paper lever to position marked
“REAR”.
3. Open the access cover, hold up the knob
of the paper separator, and remove the
paper separator.
(Remove the paper separator.)
Position
"Rear"
Remove
paper
separator
Knob

Table of Contents

Question and Answer IconNeed help?

Do you have a question about the Oki 390/391 and is the answer not in the manual?

Oki 390/391 Specifications

General IconGeneral
BrandOki
Model390/391
CategoryPrinter
LanguageEnglish

Summary

Introduction

Chapter 1: Installation

Unpacking

Unpack your printer and verify all included items are present.

Removing Shipping Retainers

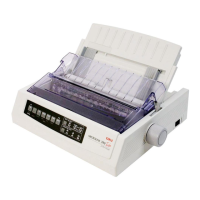
Steps to remove protective retainers before printer operation.

Installing Ribbon Cartridge

Guide for installing the printer ribbon cartridge correctly.

Making Connections

Instructions for connecting the printer to a computer and power source.

Chapter 2: Loading Paper

Loading Single-Sheet Paper

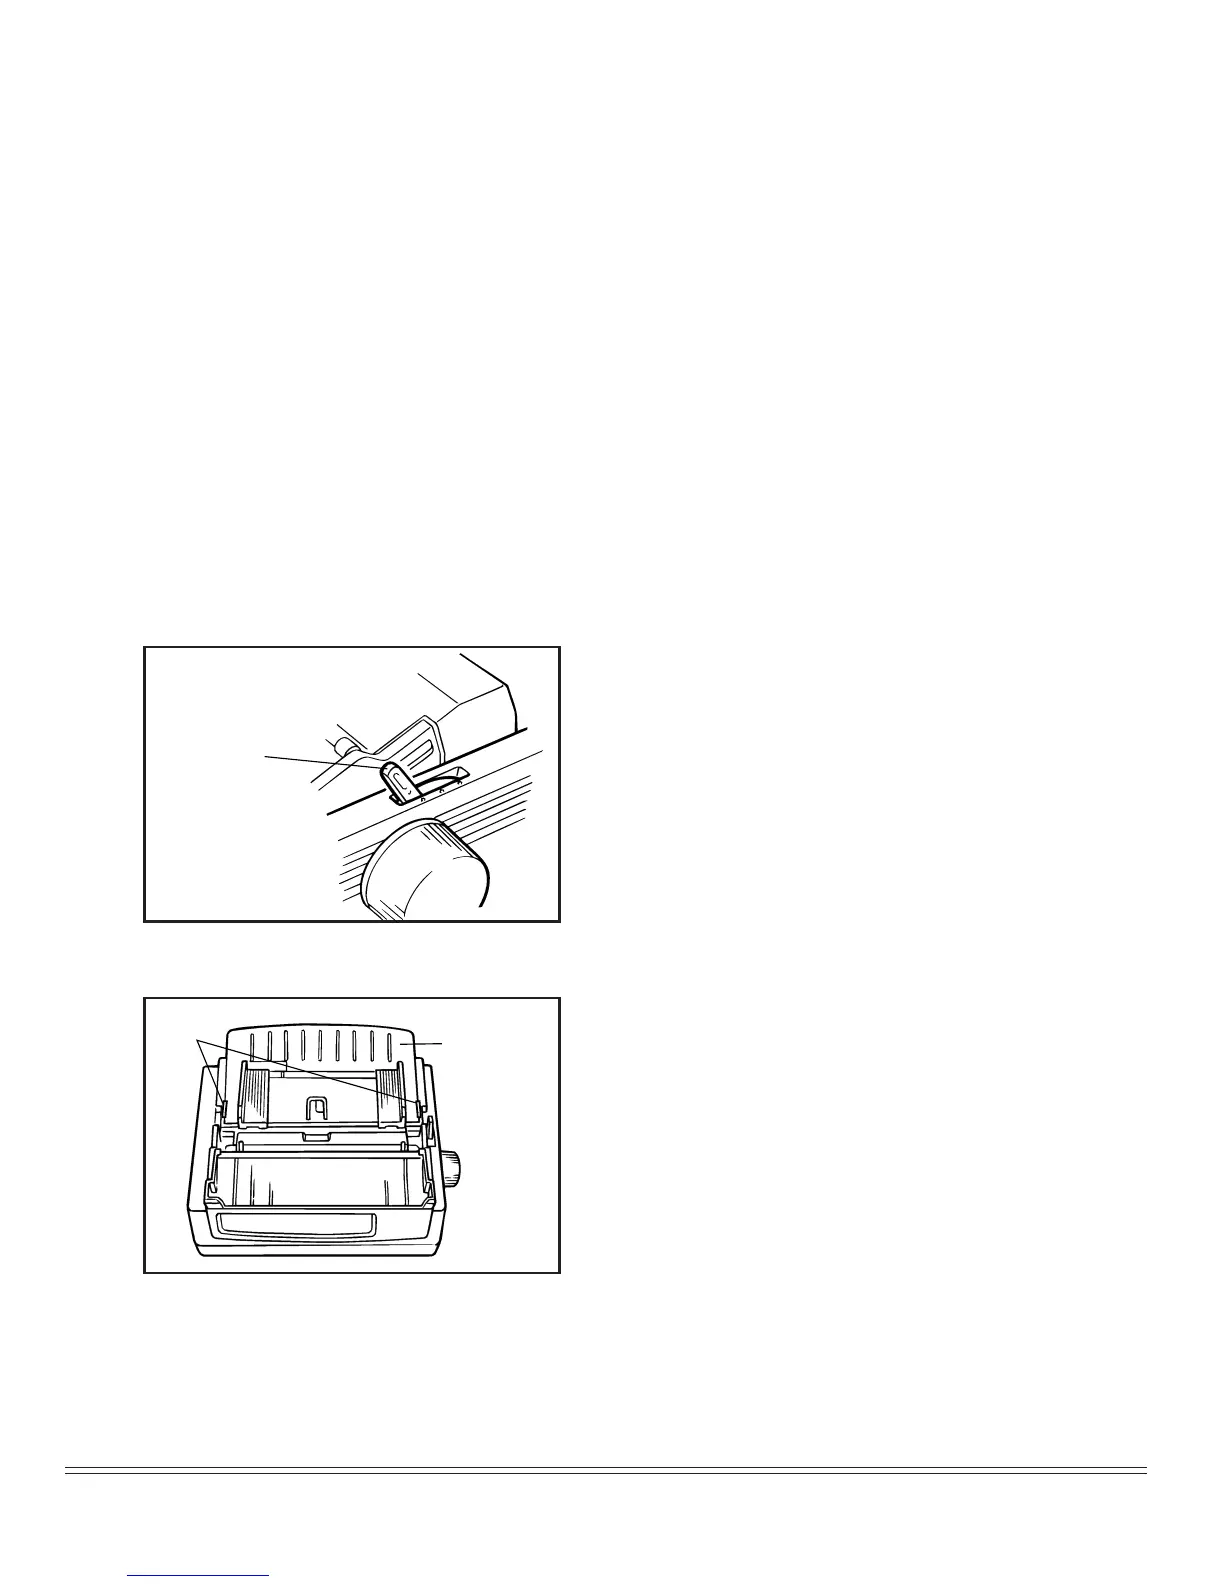
Procedure for loading individual sheets of paper into the printer.

Loading Rear-Feed Paper

Instructions for loading continuous-form paper from the rear.

Paper Handling Features

Details on tear, form tear-off, and paper park features for paper management.

Switching Paper Paths

Guide on changing between continuous and single-sheet paper feeding paths.

Chapter 3: Operation

Control Panel Overview

Explanation of the printer's front panel buttons and indicators.

Print Mode and Indicator Lights

Understanding printer status through indicator lights in Print Mode.

Printer Buttons

Description of the printer's control panel buttons.

Summary of Front Panel Button Functions

Table summarizing button functions across different modes and configurations.

Performing Basic Tasks

Instructions for common tasks like selecting print quality and character pitch.

Testing Your Printer

Procedures for running font, ASCII, and hexadecimal dump tests.

Resetting Top of Form

How to reset the top of form setting to the factory default.

Using Bar Codes

Information on the printer's support for various bar code types.

Chapter 5: Ploblem Solving, Maintenance, & Service

Problem Solving

Troubleshooting common printer issues and 'What if...' scenarios.

Replacing the Ribbon Cartridge

Step-by-step guide for replacing the printer's ribbon cartridge.

Clearing Paper Jams

Instructions for safely removing jammed paper from the printer.

Cleaning the Housing

Procedure for cleaning the printer's exterior housing.

Optional Accessories

Overview of optional accessories that enhance printer functionality.

Appendix A: Specifications

Appendix B: Menu Selections

Explanation of Menu Items

Detailed explanations for each selectable item within the printer's menu system.

Appendix C: Commands–Epson Emulation

Appendix D: Commands–IBM Emulation

Appendix E: ASCII Character Codes

Appendix F: Interfacing

Installing the Serial Interface

Guide on how to install an optional serial interface board into the printer.

Pin Assignments for Serial Interface Signals

Details of pin assignments for the printer's serial interface signals.

Related product manuals