INTERNET FAX
- 183 -
7
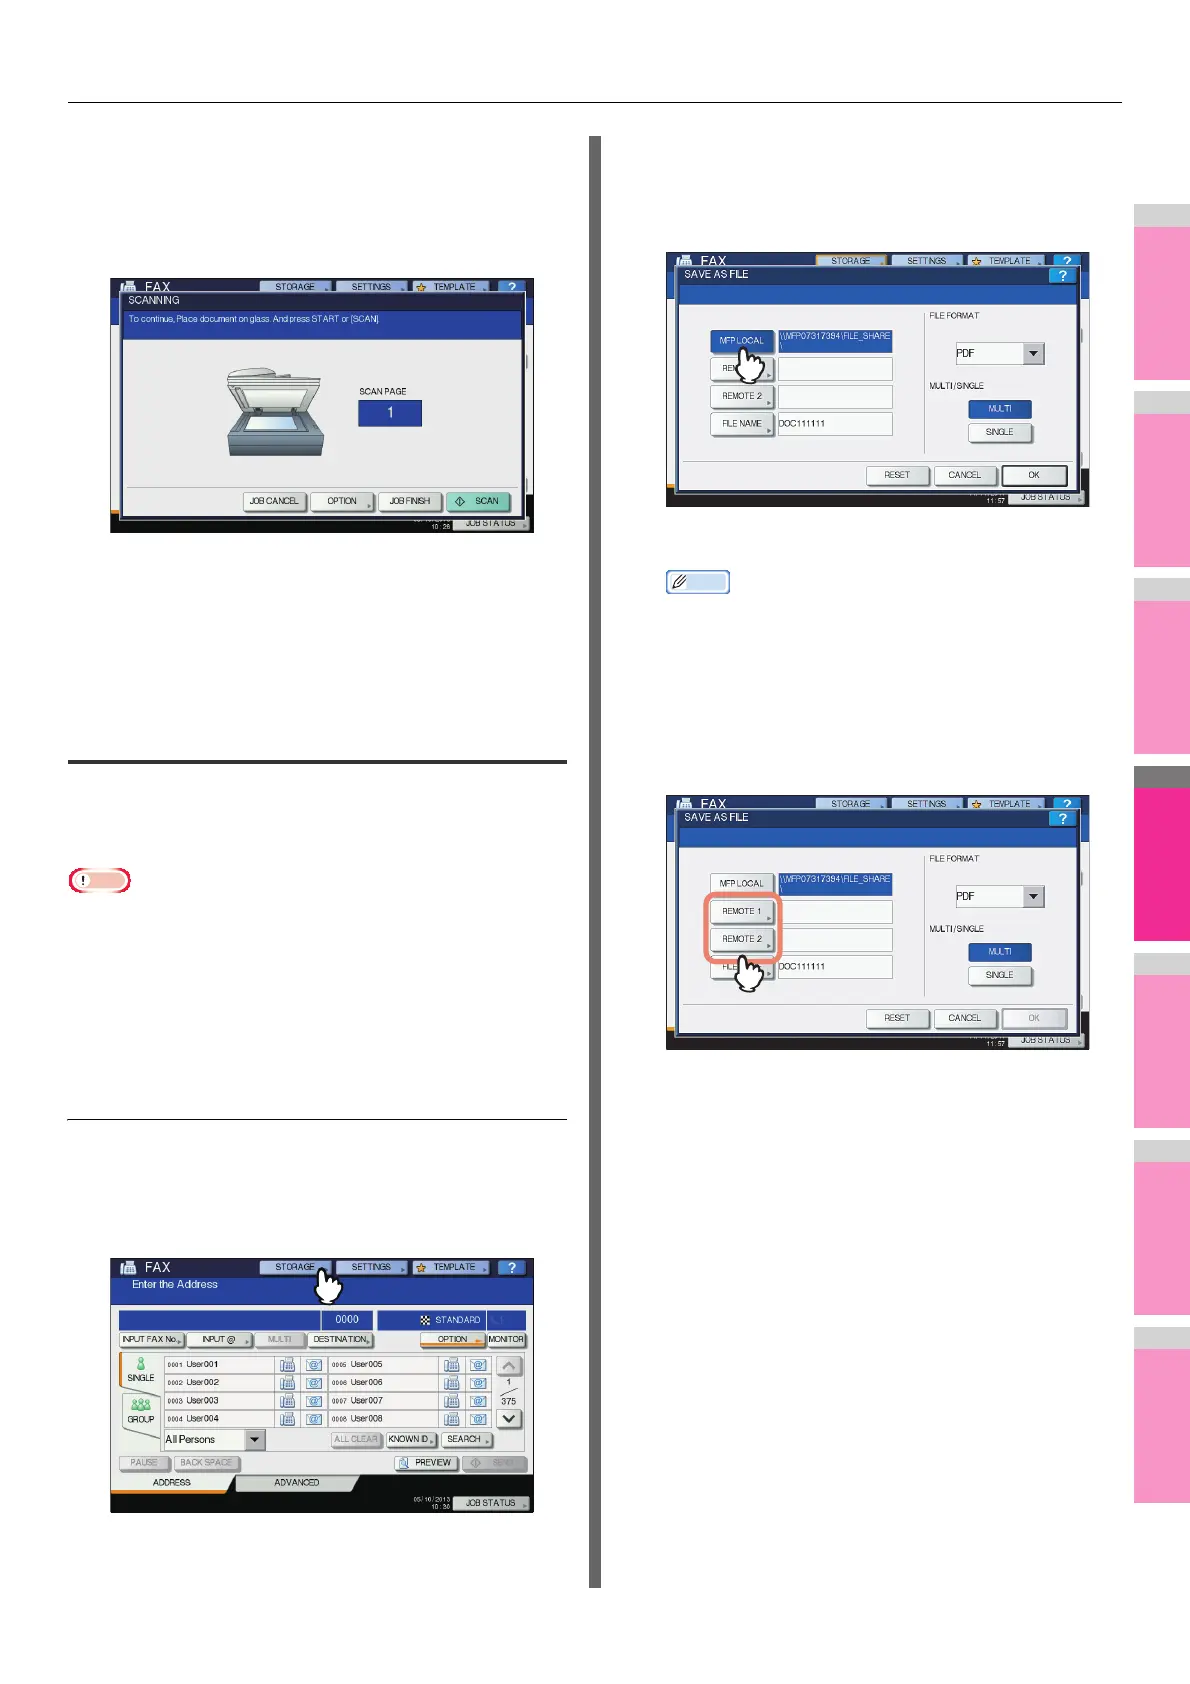
If the screen below appears, place another
original on the document glass and press
[SCAN] or the [START] button to continue
scanning. If you finish scanning all the
originals, press [JOB FINISH].
• The above screen is not displayed when the original is
scanned from the Reversing Automatic Document
Feeder.
• To cancel the operation, press [JOB CANCEL].
• To change the selected settings, press [OPTION].
Saving sent data as a file (Internet fax
and file)
When sending an Internet fax, you can also save the sent data
in the equipment's shared folder and/or a network folder
(REMOTE1 or 2).
• To save the data in a network folder, the administrator needs
to set the equipment configuration. For details, refer to the
TopAccess Guide.
• Internet Fax and File is not available when the forced
encryption setting is enabled. To learn more about the
forced encryption setting, refer to the "Setting Items/
Printing" ( P. 2 11 ).
Saving sent data as a file (Internet Fax and File)
1
Refer to “Sending Internet Faxes”( P. 1 81 )
and follow steps 1 to 5.
2
Press [STORAGE].
3
If you want to store the data in the
equipment’s shared folder, select [MFP
LOCAL] and make sure that the button is
highlighted.
Proceed to step 6.
• If saving data in a network folder is enabled by the
administrator, you can select 2 file destinations from
[MFP LOCAL], [REMOTE 1] and [REMOTE 2]. If you
want to select [REMOTE 1] and/or [REMOTE 2],
proceed to step 4.
4
To store the data in a network folder, press
[REMOTE 1] or [REMOTE 2].
• If the selected remote destination (REMOTE 1 or 2) is
configured by the administrator so that you can specify
a desired network folder, the screen for setting up the
remote destination is displayed. Proceed to step 5.
• If the selected remote destination (REMOTE 1 or 2) is
already defined by the administrator so that your scans
are saved in a specified network folder, pressing the
button does not display the screen for specifying the
file destination. In this case, you cannot change the file
destination. Proceed to step 6. If you need to change
set remote destinations, ask your network
administrator for help.
 Loading...