86
6.3 Insertion of the lamp
CLV-190 INSTRUCTION MANUAL
Ch.6
• Do not apply the heat compound to the glass surface and the ceramic part of the
examination lamp. If any compound gets on the glass surface, wipe it off with a
clean, lint-free cloth. Otherwise, the examination lamp may be damaged, and it
may cause malfunction of the light source.
• Apply enough heat compound. If not enough heat compound is applied, the heat
can cause lamp ignition failures.
6.3 Insertion of the lamp
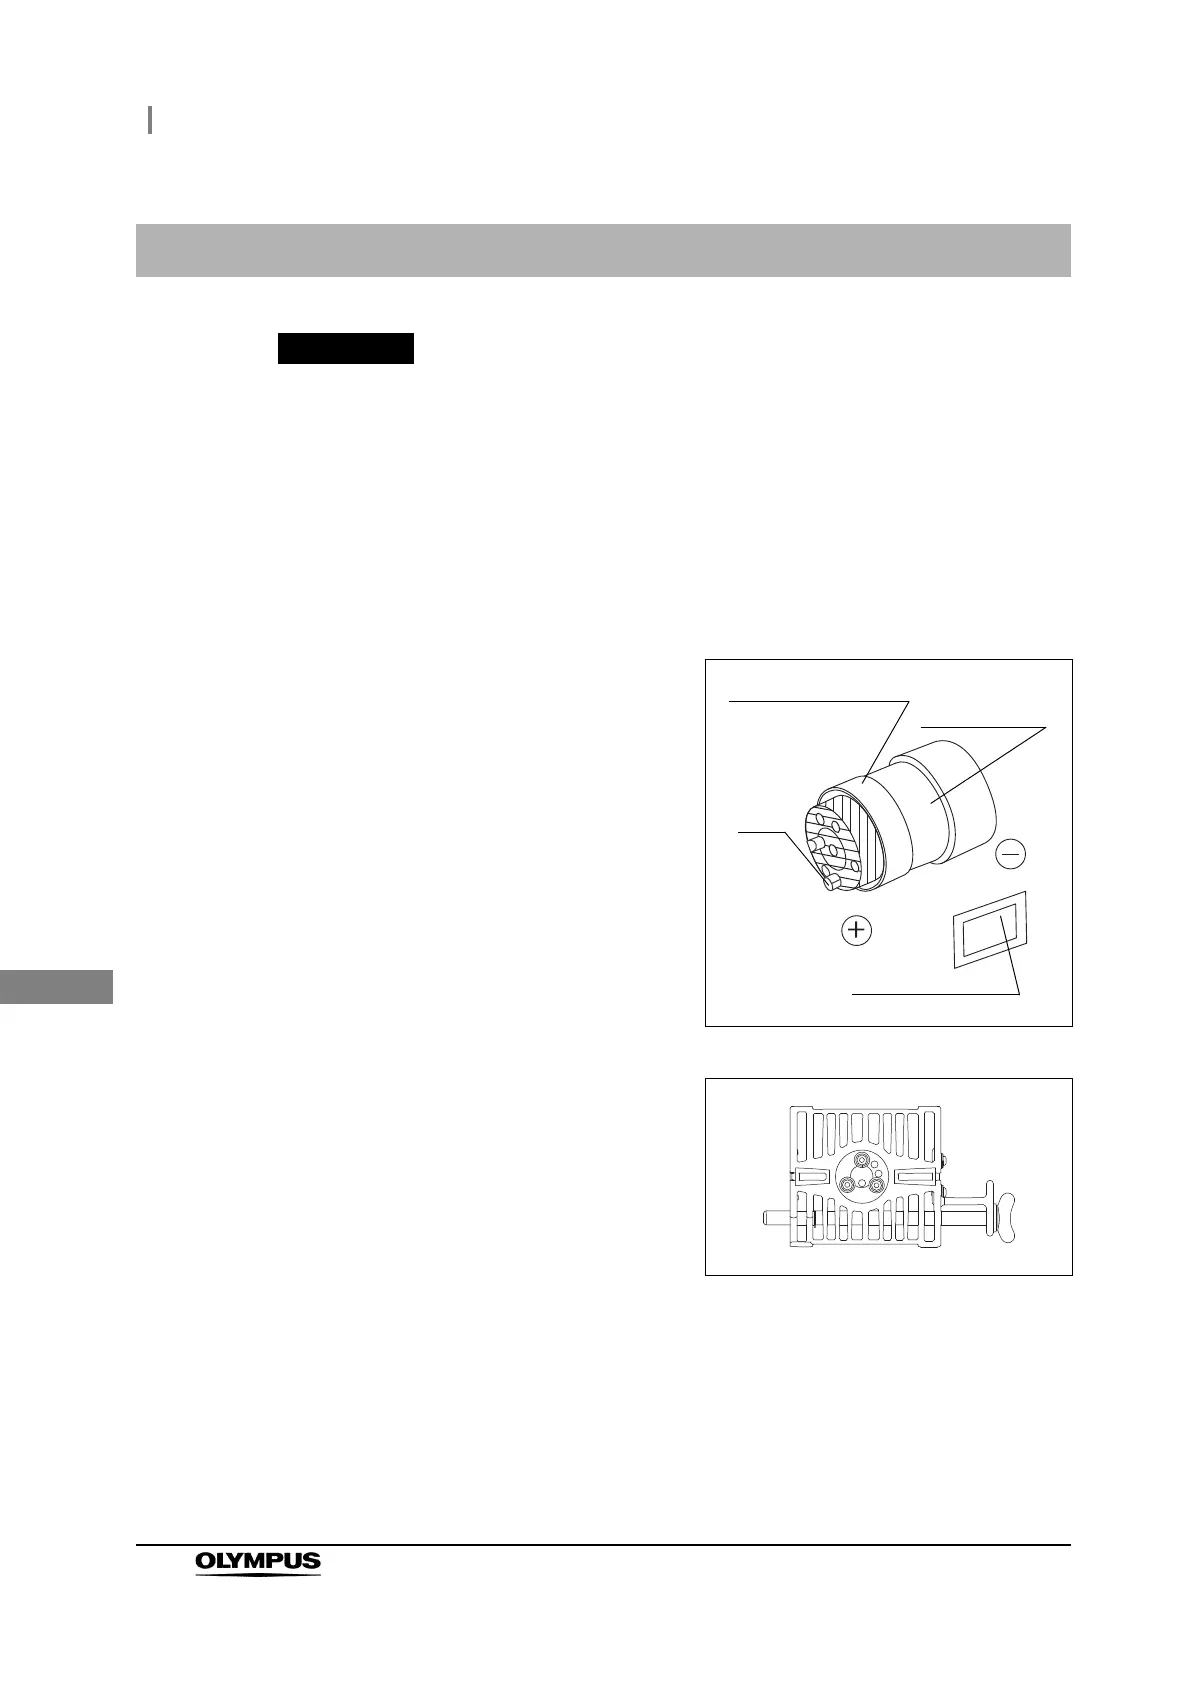
1 Hold the new examination lamp without touching the glass surface.
2 Using your finger, apply the heat compound,
provided with the new examination lamp thickly
and evenly on the “+” side electrode of the
examination lamp (see the shaded sections in
Figure 6.7).
Figure 6.7
3 Insert the “+” side electrode of the examination
lamp (see Figure 6.7) into heat sink (B) and
tighten the three bolts firmly with the hexagon
wrench.
Figure 6.8
Examination lamp
Ceramic part
Electrode
Heat compound
Pin

 Loading...