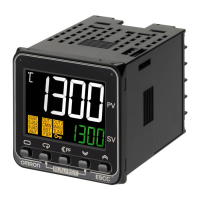
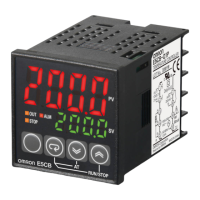
Digital Temperature Controllers E5AZ/E5EZ/E5CZ 55
Setting Up Option Units (E5CZ)
If communications, event input, or heater burnout functions are
required, mount the E53-CNH03N/E53-CN03N Communications
Unit or the E53-CNHBN/E53-CNBN Event Input Unit. The heater
burnout function is supported on either of these two Option Units.
Option Units
Note: Terminal label: x1
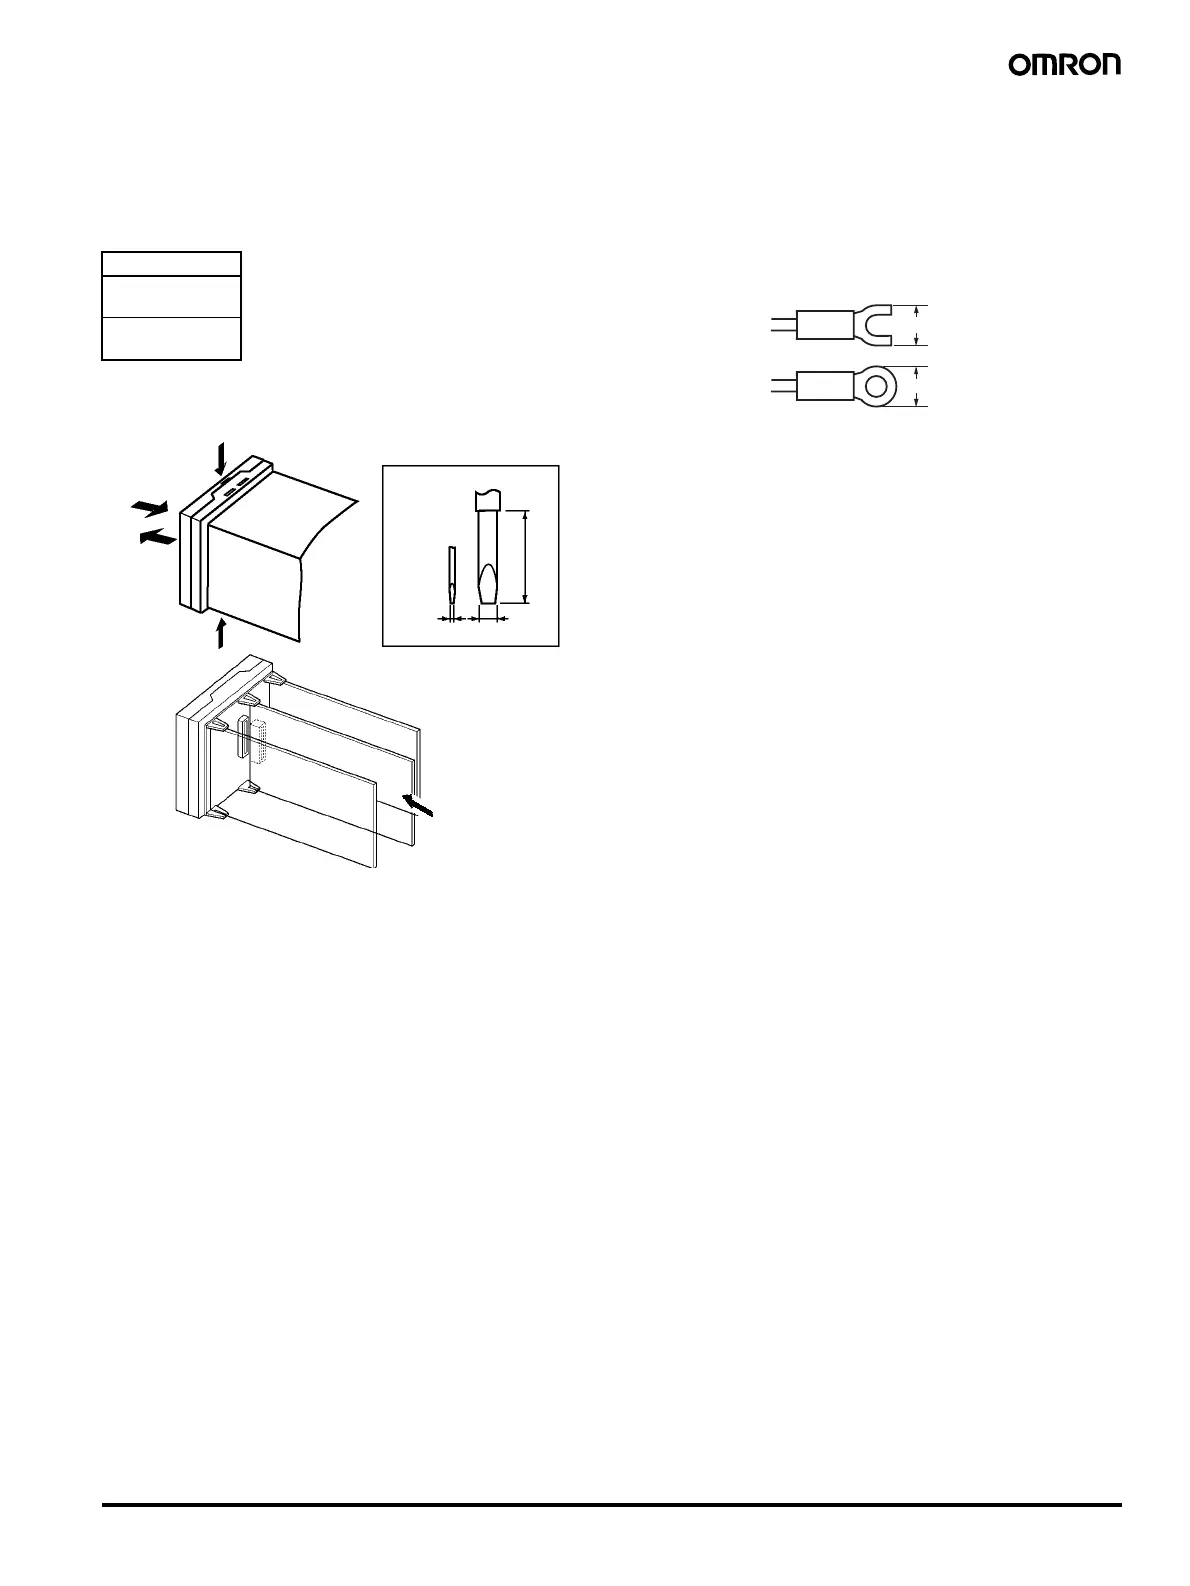
Assembling a Unit
1. Insert the tools (see drawing above) into the slots (one on the top
and one on the bottom) and release the hooks.
2. Insert the tool in the space between the front and rear panels and
slightly pull out the front panel. Hold the top and bottom of the
front panel and pull toward yourself to remove it.
3. Match up the upper and lower claws with the connection points
and insert the Option Unit. Mount the Option Unit in the center.
4. Before inserting the Unit, confirm that the waterproof packing is in
place. Insert the Unit into the rear case until you hear a click.
When inserting the Unit, press down the hooks on the top and
bottom of the rear case so that they firmly hook on the inserted
Unit. Make sure that electronic parts do not come in contact with
the case.
Precautions when Wiring
• Separate input leads and power lines in order to prevent external
noise.
• Use wires with a gage of AWG24 (cross-sectional area: 0.205 mm
2
)
to AWG14 (cross-sectional area: 2.081 mm
2
) twisted-pair cable
(stripping length: 5 to 6 mm).
• Use crimp terminals when wiring the terminals.
• Tighten the terminal screws to a torque of 0.74 to 0.9 N·m.
• Use the following types of crimp terminals for M3.5 screws.
• Do not remove the terminal block. Doing so will result in
malfunction or failure.
Model
E53-CNH03N
E53-CN03N
E53-CNHBN
E53-CNBN
(1)
(1)
(2)
(4)
(3)
2.0
0.4
Flat-blade screwdriver
(unit: mm)
20 min.
7.2 mm max.
7.2 mm max.

 Loading...