4
Installation
Selecting a Location
When choosing a location for your
timer, consider the following:
Choose a location near an electrical outlet.
Locate it where there is a good Wi-Fi signal.
Tip: You can check this using a smart phone. (Find
a location that has a minimum of two bars.)
Ensure operating temperatures are not below
or above F (below or above C).
Place it away from direct sunlight.
Make sure there is " of space to the left
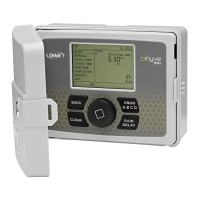
of the sprinkler timer box, this allows the
door to swing open after installation.
There needs to be easy access to
sprinkler wires (from valves).
Mounting the Timer
Required Tools
Small Flathead Screwdriver (included
in hardware package)
Wire Strippers
Drill with ⁄” (. mm) drill bit
Level
Tip: Use the expanding anchors (included) for
plaster, masonry or drywall installations.
1. Install a No. screw (included) into the wall, leaving
the screw head protruding ⁄” ( mm) from the wall.
2. Hang the timer on the installed screw using the
keyhole slot located in upper back cabinet.
3. Level the timer and install the second screw in
one of the pre-formed mounting holes located
on lower back cabinet to secure the timer.
Minimum Signal
Important Timer is weather-resistant to UL-50 and
ETL®Listings, but should not be placed in areas
where continuous water could cause damage.
Keyhole
⁄" ( mm)
Pre-formed Mounting Holes
No. 8 Screw
Wall
Tip: If replacing a timer, it is helpful to take a photo of
the wires before you remove them from the old timer.

 Loading...