7
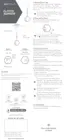
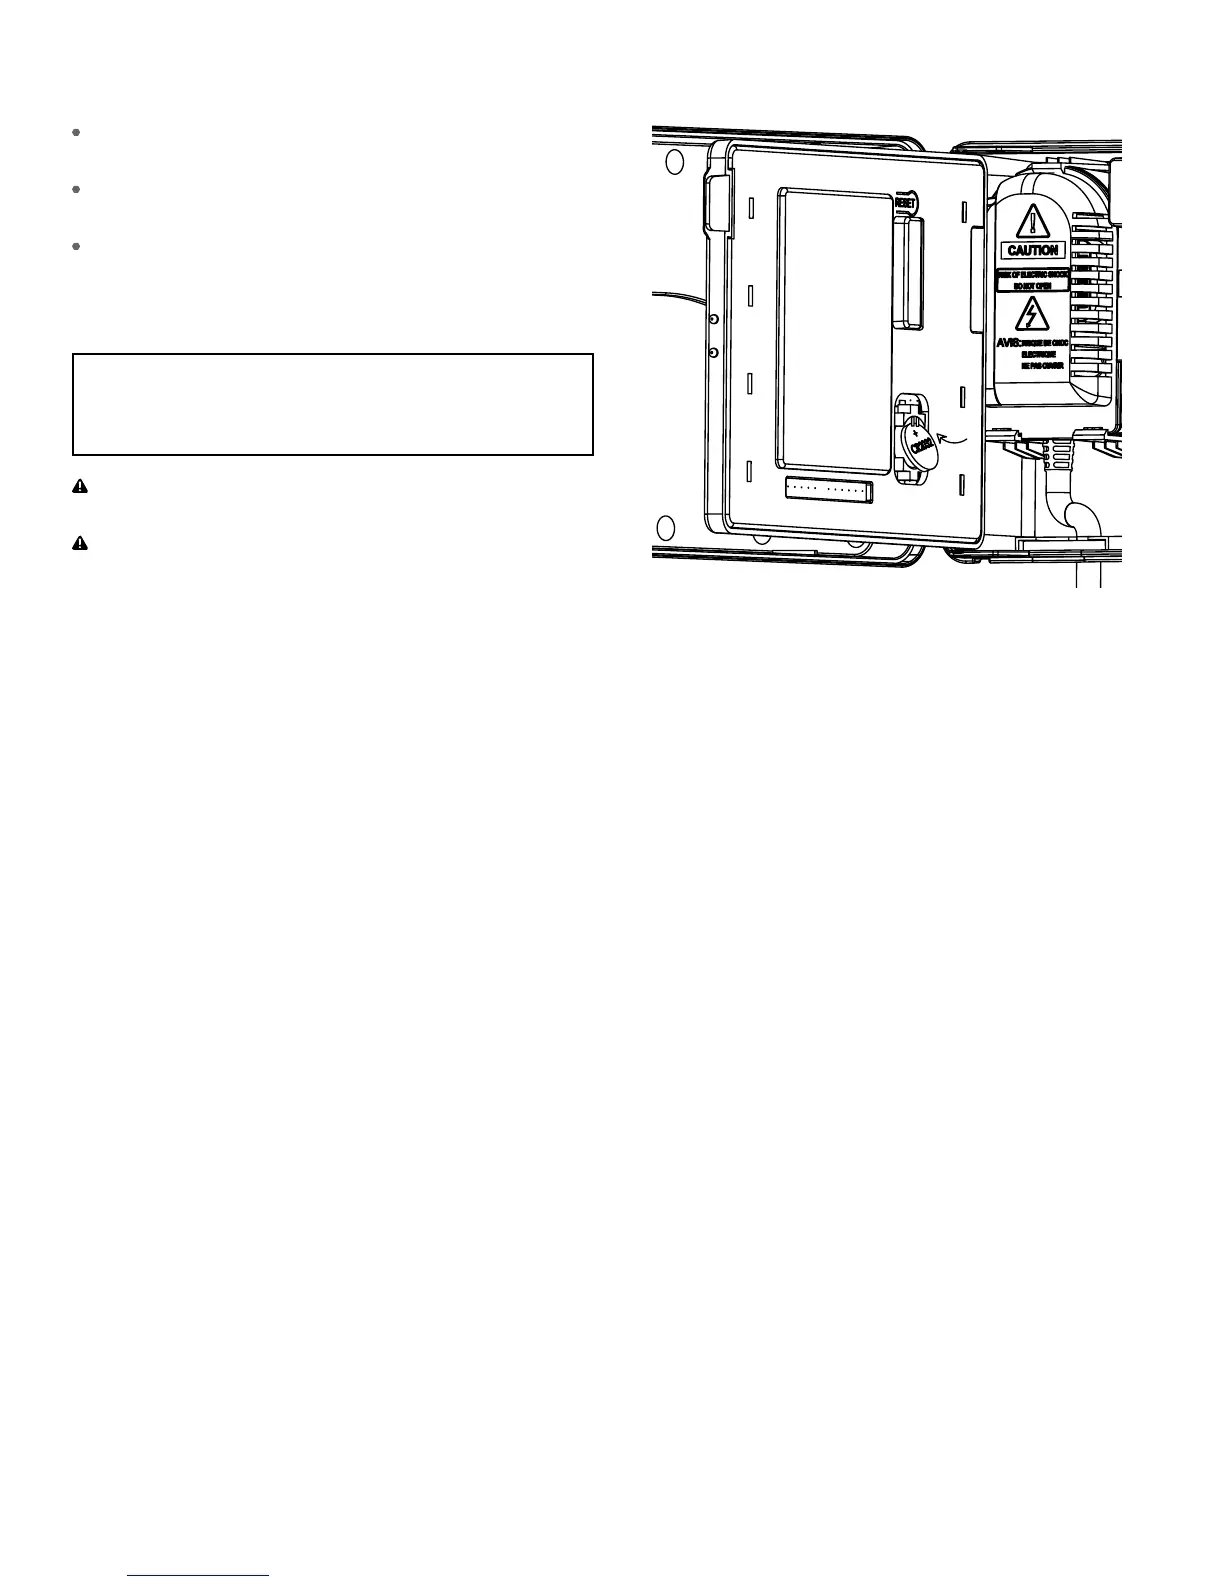
Replacing the Battery
To remove, lift on the edge of the coin cell battery.
DO NOT use a screwdriver or other metal object.
Insert a new CR battery at an angle and
press to click the battery into place
Verify that the + side is up.
Note: A weak or missing battery can cause the time and
date to be erased after a power failure. If this happens,
you will need to install a fully charged battery.
Important: If, for any reason, your program is lost, the
factory installed fail-safe program will turn on
each station every day for minutes
WARNING: The timer must be disconnected from
the supply mains when removing the battery.
WARNING: Danger of explosion if battery is incorrectly
replaced. Replace only with the same or equivalent type
recommended by the manufacturer. Dispose of used
baeries according to the manufacturer’s instructions.
Note: Battery should be disposed of properly.
Programming
Connecting to Wi-Fi
Programming at the timer can be done whether you are
connected to Wi-Fi or not. It allows the gardener who
left their phone inside to run a manual cycle, or adjust
programming as needed and keep dirty hands away
from the phone. Otherwise, programming should be
completed using the instructions included in the app.
1. Install B-hyve App
If you haven’t already, install and create
an account on yur smart device.
2. Enter your Wi-Fi settings
The B-hyve™ timer will create its own network that will
appear in your list of available Wi-Fi connections on
your smart device. Connect to the Orbit Smart Home
network and then return to the Orbit® B-hyve™ App.
Note: You may need to delete the timer from a smart device.
Go to settings to deauthorize the timer, after which it will
ask for confirmation to remove the timer.
Find Orbit_SmartHome_XXXX in your Wi-Fi list
After returning to the app, you will see a list of available
networks. Choose your network and then enter the
password for the network to connect your timer to
your Wi-Fi signal. When connected, the Wi-Fi icon on
the timer will stop blinking and show solid lines.
Tip: You can re-pair your smart device with your
B-hyve™ timer by turning the dial to “Off” and
pressing the reset button on the back of the swing
panel. The timer display will show “Pair.”
Note: Press the Reset tab on the back of the swing
panel to clear any previous factory programming.
 Loading...