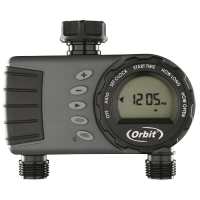
8
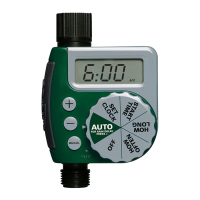
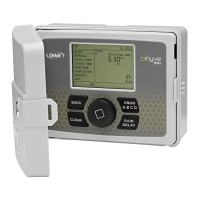
Program Button (ABC)
Your sprinkler timer provides the flexibility of using
independent programs (A,B,C). A program is where you
store all of your sprinkler seings. It consists of a group of
stations set to specific start times and run times. Multiple
programs allow you to run different valves on different
days with different run times. While many applications
only require one program (A), using multiple programs
can be useful for drip areas, newly planted lawn, or rotary
sprinkler stations. Using programs to group stations with
similar water needs will maximize irrigation efficiency.
For example: you could set your lawn zones to run
on program A, your flowerbeds to run on program B
and your garden to run on program C. Or, you can
set up your zones to use smart watering and the
timer will use local weather and on-site information
to automatically set a watering schedule for you.
The PROG ABC button toggles between
programs when setting up or modifying start
times, run times, how often and budget.
1. Press PROG ABC to turn on or off programs that
have been set-up. A, B, C or Smart will illuminate to
show programs that are active and will water.
2. To water in smart mode only, the Phone icon is the
only program that should be showing on the display.
Note: If you do not see the program letter (A,
B, C or the phone) in the display, that program
will not water. Press PROG ABC until you see
the program(s) that you wish to water.
Note: Always be aware of the program you are in
(A, B, or C) when you are making changes.
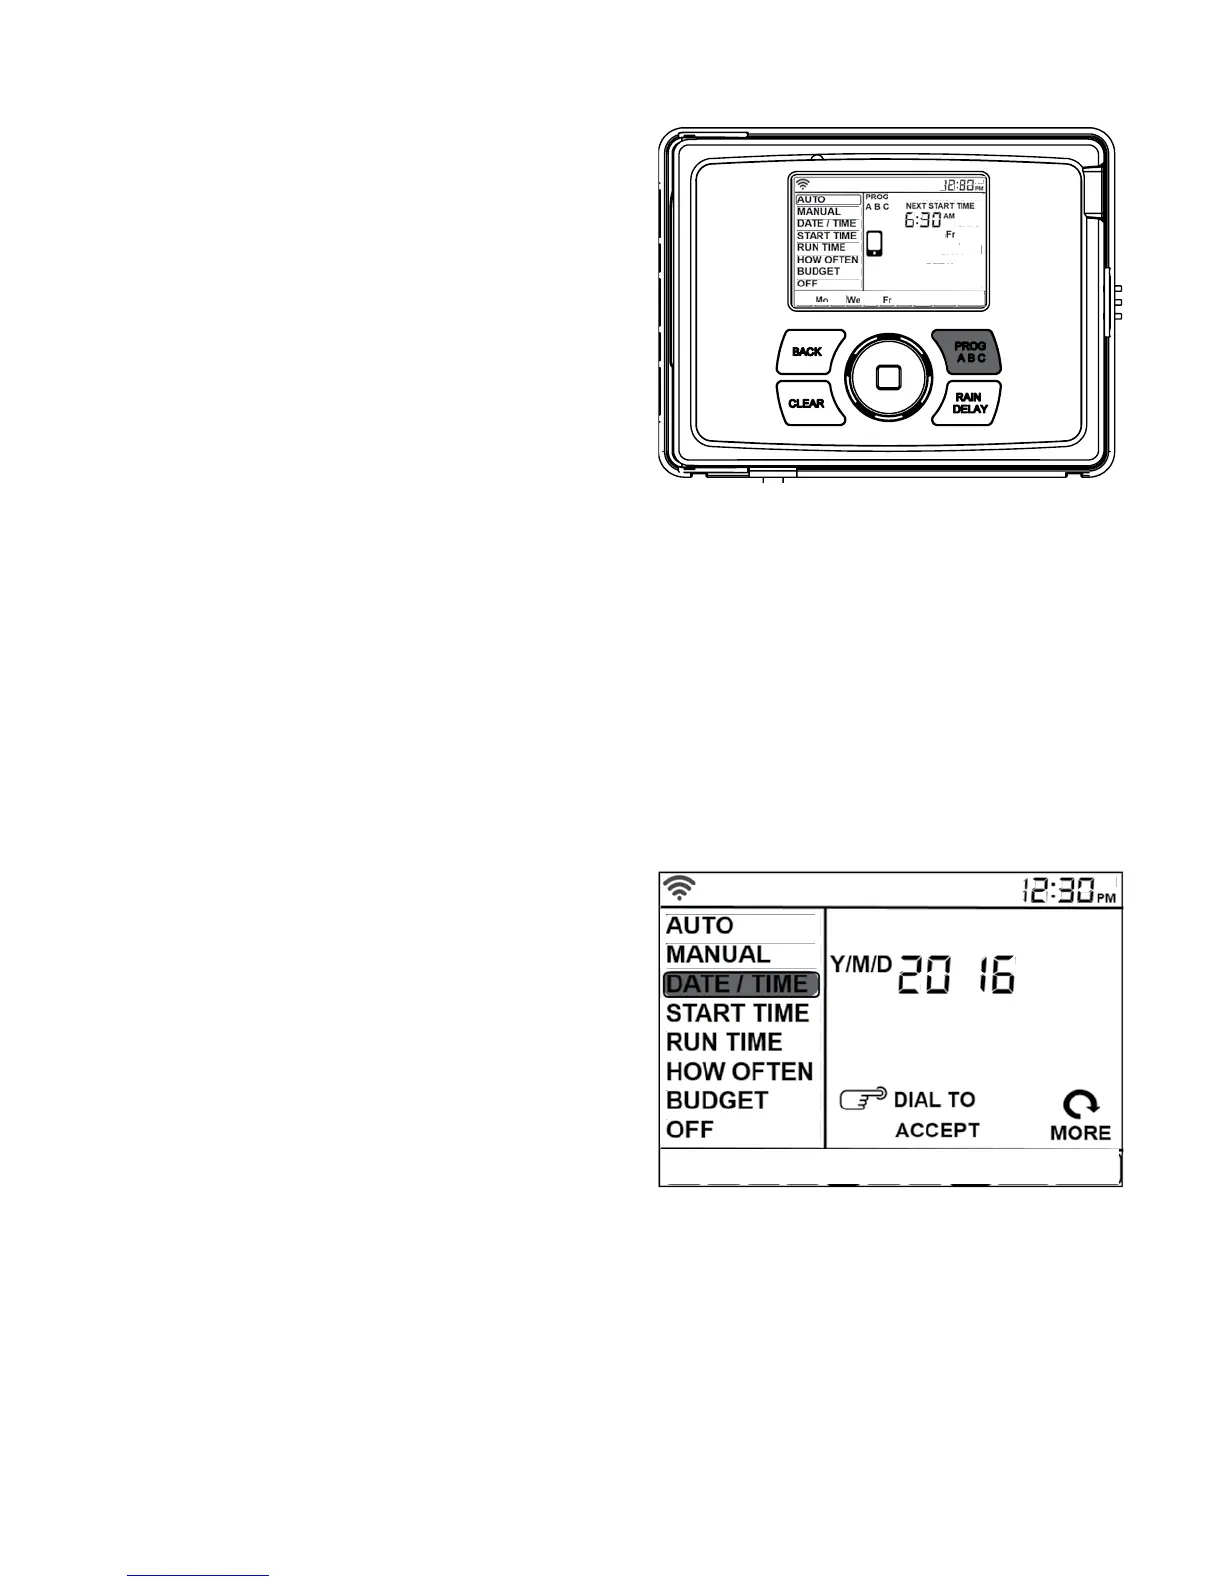
Date/Time
If you are connected to Wi-Fi, the time and date will
automatically be sent to the sprinkler timer. To set the
date and time manually follow these instructions:
3. Turn the dial until the selection box is
on DATE/TIME.
4. Press the dial. You will now see the Y (Year) flashing.
5. Turn the dial until the current year is displayed.
6. Press the dial to confirm the year.
You will now see the M (Month) flashing.
7. Repeat steps & to enter the month
and day.
8. After the day is confirmed, the time
will start flashing.
9. Turn the dial until the current hour
is displayed.
Note: Continue turning the dial to go between
am and pm. It is important to verify that the
am or pm selection is set correctly.
10. Press the dial to confirm the hour.
11. Repeat steps & for the minutes. Your
Date and Time are now set.
 Loading...