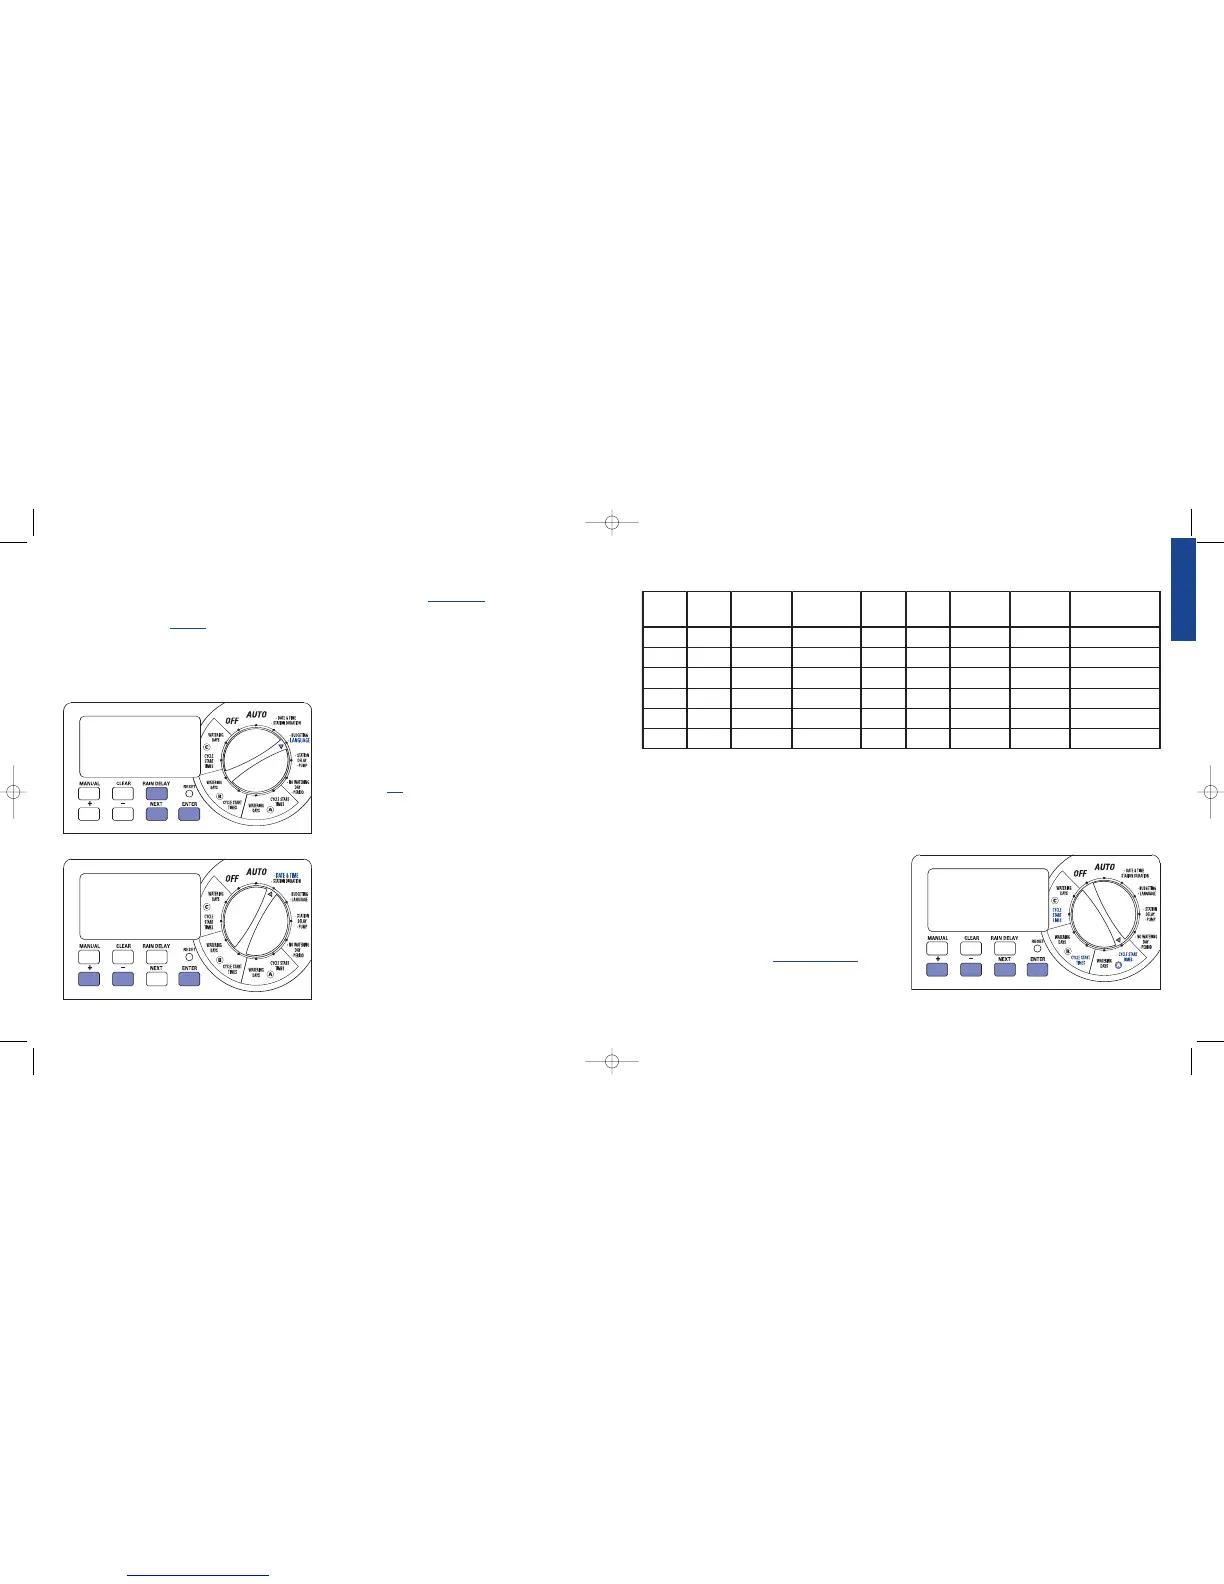
Select the Preferred Language
The language of the LCD display can be set for English, Spanish
and French.
1. Turn the rotary dial to Language position.
2. Press the RAIN DELAY button once.
3. Press the
NEXT button until you reach the desired language
[See Figure 3]
4. Press ENTER to confirm your selection.
5. Press the RAIN DELAY button or turn the rotary dial to exit
this mode.
Set the Time of Day and Date
Turn the rotary dial to the DATE & TIME position. [See Figure 4]
• Press and hold the + button to advance the clock to the cor-
rect time of day. Use the
– button to go in reverse. When the
correct time of day is reached, press the ENTER button to
lock in the time.
• Press the
+ and – buttons to set the correct year, then
press ENTER.
• Press the
+ and – buttons to set the correct month, then
press
ENTER.
• Press the
+ and – buttons to set the correct date, then
press ENTER.
The display will show the correct time and date.
Caution: If a watering schedule is not entered into the sprinkler timer,
the factory installed fail-safe program will turn on each station every day
at 5:00am for 10 minutes. To avoid accidental watering, either turn the
rotary switch to
OFF or enter a watering schedule.
Determine a Watering Plan
To help you visualize how best to program the sprinkler timer, it
might be helpful to make a watering plan on paper. This will help
you establish which days and times you want to water.
1. For each station (or valve) write down the watering location,
the type of sprinkler head and the plants to be watered.
2. Using this list, determine the recommended watering duration
(for each type of sprinkler head and the vegetation to be
watered) and frequency for each station.
Important: Identify any imposed watering restrictions through your
local water district.
3. Determine, based on step 2, the ideal watering option for each
station (Days of Week, Watering Interval or Odd/Even Days).
Figure 3: LCD Display Language Selection
Based on the above information your water program may look like this:
Take the information above and record your water plan on the
supplied label and place it on the inside of your timer.
Section 3: Programming
This sprinkler timer allows the flexibility of using 3 separate programs A,
B, and C. You may program one or all based on your watering needs.
1. Start Times for Program A, B, or C
Note: The cycle start time is the time the program begins watering the
first station. Cycle start times do not correspond to specific stations. If you
enter more than one cycle start time, all stations programmed to operate
will water again (in sequence).
The way you set the cycle start time is the same for all programs.
To set the cycle start times for each program you will be using,
do the following:
• Turn the rotary selector to the
CYCLE START TIMES position
in the program that you want to set up. The display will show
an A or B or C depending on which program you have selected.
[See Figure 5]
 Loading...