15
2.8 Connector installation
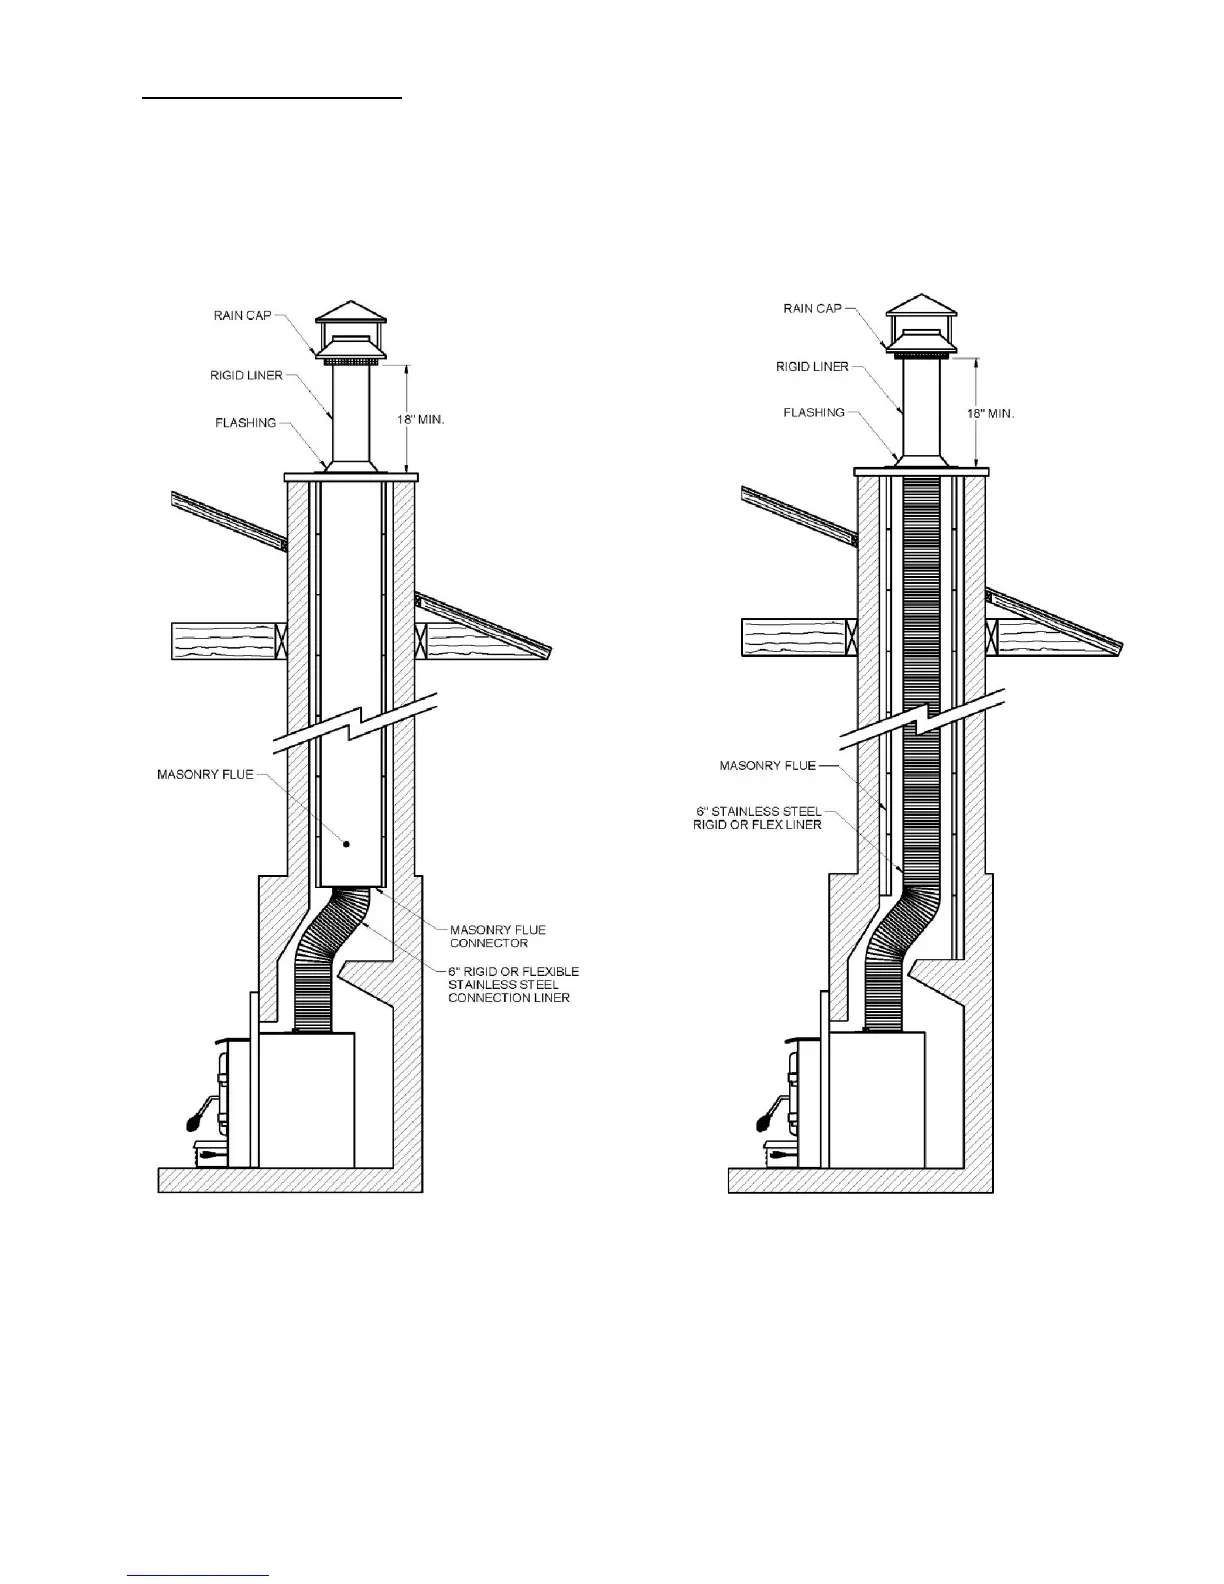
A masonry flue connector may provide acceptable performance (Figure 2.8a); however, we
recommend the use of a chimney liner (rigid or flexible) to ensure satisfactory performance
(Figure 2.8b). To ensure an optimal draft, we also strongly recommend adding a minimum of
18” rigid liner between the roof flashing and the rain cap. Slip connectors for continuous liners
should also be installed. Use Listed Chimney Liners – UL1777, CAN/ULC-S635.
Figure 2.8a Figure 2.8b
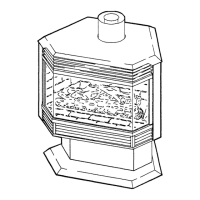
ATTENTION INSTALLER: When positioning the unit in a fireplace opening prior to the flue
installation, install the insert into the opening until the top lip of air jacket is flush with fireplace
facing.
If lag-bolts and anchors are to be used to secure the insert, the whole locations should be
marked with the unit in place. Remove the insert and locate the anchors.
 Loading...