76
VQT2J45
HDD, DVD and Card Management
You can manage discs or cards through formatting, finalising
and other operations.
With the unit stopped
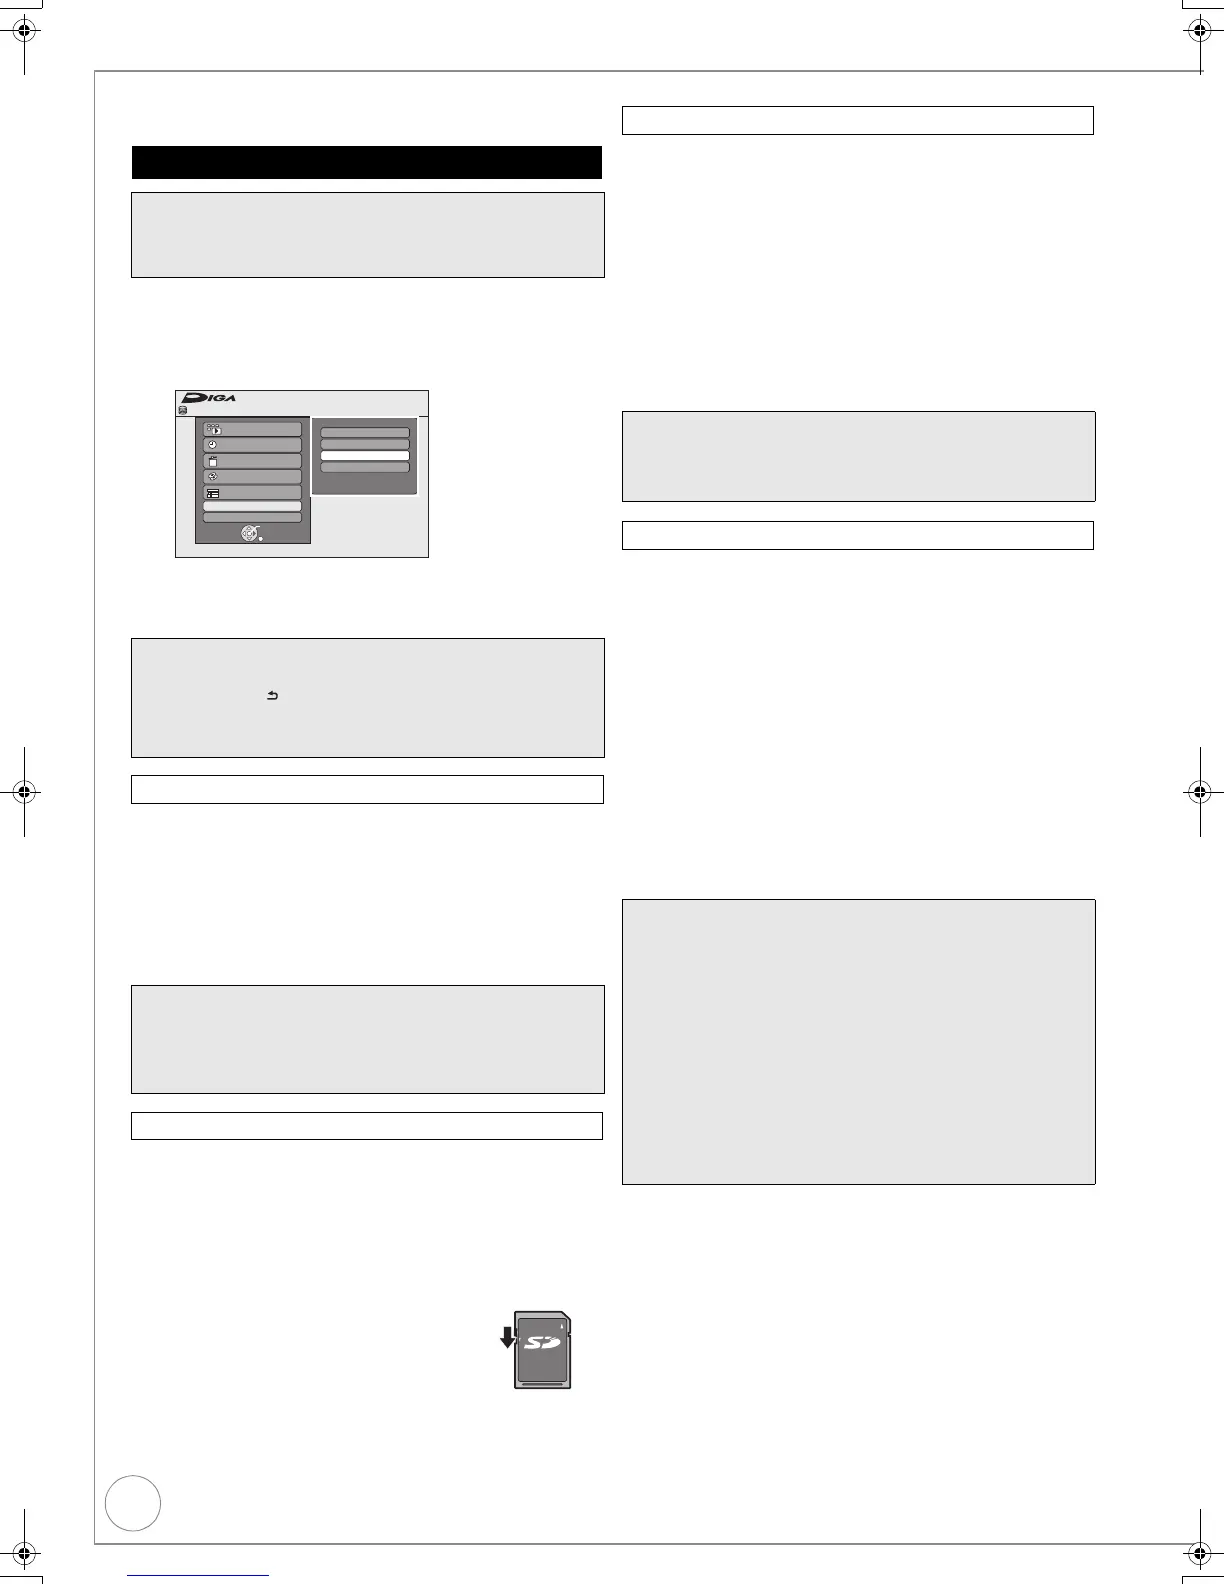
1 Press [DRIVE SELECT] to select the HDD, DVD or SD
drive.
2 Press [FUNCTION MENU].
3 Press [3, 4] to select “Others”, then press [OK].
4 Press [3, 4] to select “HDD Management”, “DVD
Management” or “Card Management”, then press
[OK].
[RAM] [-R] [-R]DL] [-R W ‹V ›] [+R] [+R]DL] [+RW]
You can give a name for the disc.
≥ [-R] Once a name is provided to a disc, it is not possible to
record still images to that disc.
Perform preparation steps 1–4 of “Accessing the
Management Menus” (> above).
5 Press [3, 4] to select “Disc Name”, then press [OK].
Entering Text (> 51).
[RAM]
Use to prevent accidental erasure of disc.
Perform preparation steps 1–4 of “Accessing the
Management Menus” (> above).
5 Press [3, 4] to select “Disc Protection”, then press
[OK].
6 Press [2] to select “Yes”, then press [OK].
[SD]
Switch the write-protect switch to the “LOCK”
position.
You can delete all titles on HDD or the single-sided DVD-RAM
at once.
Important: Once deleted, contents cannot be recovered.
[HDD] [ RAM]
Perform preparation steps 1–4 of “Accessing the
Management Menus” (> left).
5 Press [3, 4] to select “Delete all titles”, then press
[OK].
6 Press [2] to select “Yes”, then press [OK].
7 Press [2] to select “Start”, then press [OK].
– A message appears when deleting is finished.
8 Press [OK] to complete.
[HDD] [ RAM] [-RW‹V›] [+ RW] [-RW‹VR›]
[+R] [+R]DL] (New disc only)
[SD]
Formatting is the process of making media such as DVD-RAM
recordable on recording equipment.
You can record or edit after formatting the finalised DVD-RW.
Important: Once formatted, contents cannot be recovered.
Perform preparation steps 1–4 of “Accessing the
Management Menus” (> left).
5 Press [3, 4] to select “Format HDD”, “Format Disc”
or “Format Card”, then press [OK].
6 Press [2] to select “Yes”, then press [OK].
7 Press [2] to select “Start”, then press [OK].
– Formatting starts ([RAM] may take up to a maximum of
70 minutes).
– A message appears when formatting is finished.
8 Press [OK] to complete.
Accessing the Management Menus
Preparation:
≥ [RAM] [S D] Release protection (disc, card > below, “Setting
Protection”).
≥ Insert a disc or card.
Tips
To return to the previous screen
Press [RETURN ].
To exit the screen
Press [EXIT].
Naming Discs
Tips
≥ [-R] [-R]D L] [-RW‹V›] [+ R] [+ R]DL] With a finalised disc, the
name is displayed on the Top Menu.
≥ [+RW] The disc name is displayed only if you play the disc on
other equipment after creating top menu.
Setting Protection
Playlists
Flexible Rec
HDD Management
Setup
FUNCTION MENU
OK
RETURN
Playback
Recording
Others
Drive Select
Remain
30:00 SP
HDD
TV Guide
Copy
Delete
LO CK
Deleting All Titles
Notes
≥ Deleting does not work if one or more titles are protected.
≥ Still picture data (JPEG), Playlists (Picture), music data or
computer data cannot be deleted.
Formatting Discs or Cards
Notes
≥ Do not disconnect the AC mains lead while formatting.
This can render the disc or the card unusable.
≥ When a disc or card has been formatted using this unit, it
may not be possible to use it on any other equipment.
≥ [-R] [-R]D L] [CD] Formatting cannot be performed.
≥ [-RW‹V›] [-RW‹VR›] You can format only as DVD-Video format
on this unit.
≥ [SD] The card cannot be formatted if the write protect switch
(> left) is switched to “LOCK”. Release the protection to
continue.
≥ The message “Unable to format” appears when trying to
format discs the unit cannot use.
≥ Sample pictures are restored when formatting HDD even if
they have been deleted.
DMR-EX99VEB_VQT2J45.book 76 ページ 2010年1月7日 木曜日 午後1時41分

 Loading...