38
Preparations
Attaching/Removing the Lens
Attaching the Lens Hood
When recording into strong backlight, irregular reflection may occur within the lens. The
lens hood reduces the inclusion of unwanted light in the recorded images and lowers the
drop in contrast. The lens hood cuts off excess lighting and improves the picture quality.
• The interchangeable lens (H-FS12032/H-H020A) does not have a lens hood.
To attach the lens hood (flower shape) that came with the interchangeable lenses
(H-FS35100/H-FS12060/H-FS1442A/H-FS14140)
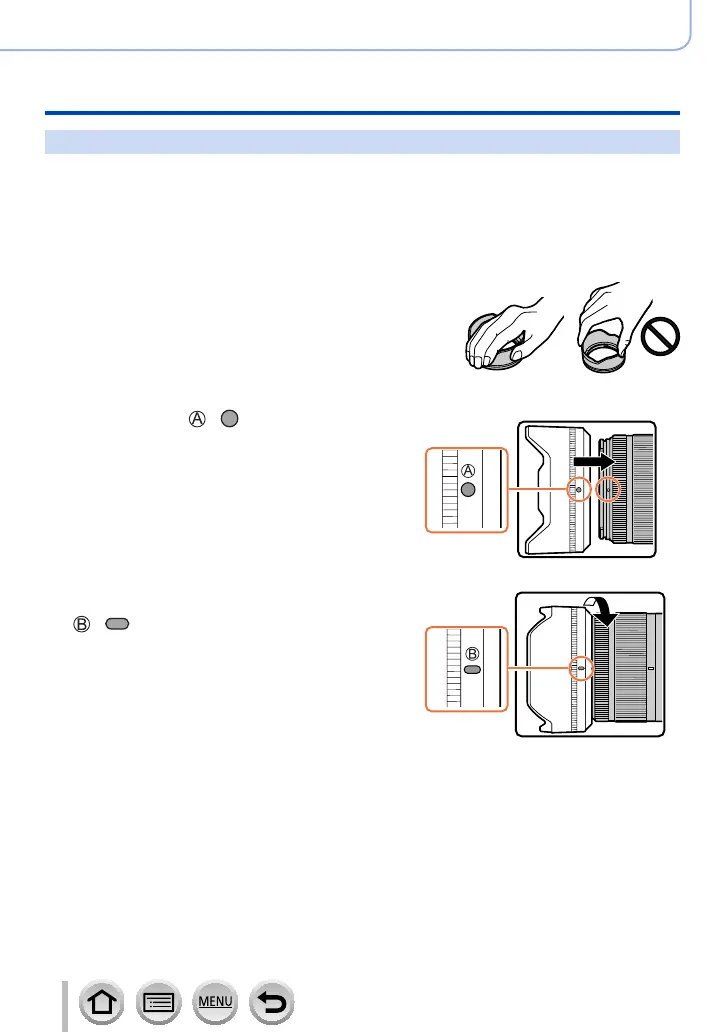
Hold the lens hood by placing your fingers as shown
in the figure.
• Do not hold the lens hood in such a way that it will be
bent.
1
Align the mark ( ) ( ) on the lens hood
with the mark on the tip of the lens
2
Rotate the lens hood in the direction of the
arrow until it clicks and then align the mark
( ) ( ) on the lens hood with the mark on
the tip of the lens

 Loading...