18 GB
until the desired reference point shown on the top left side corner
of the display.
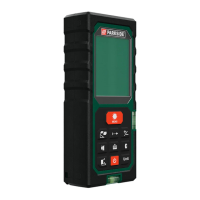
End piece reference point
The end piece at the reference point
33
will be useful while a
distance is measured from a corner (diagonal room) or from the
place, where it is difficult to reach. The end piece at the reference
point
33
is at the back of the product. The end piece at the reference
point
33
can be unfolded as shown in the fig D using a sharp tool
(example: flat screwdriver) or finger nail. Once finished using, the end
piece at the reference point
33
has to be folded-back for future use.
Measuring lengths
Single Measurement mode
1. Place or hold the reference plane of the product on or against
the desired base surface from which you want to determine a
distance.
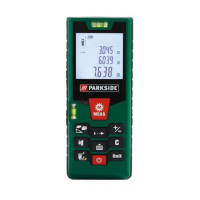
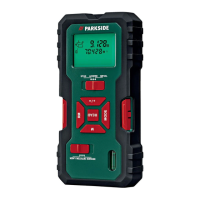
2. Check the flatness of the product by use of both the spirit levels
6
. One of the bubble level is for checking horizontal flatness
and the other air bubble is for checking vertical flatness. To,
check the flatness of certain angle, make sure that bubble is
positioned at the middle of respective angle bubble level.
3. Briefly press the MEAS button
16
to activate the laser. Once
the laser is switched on, it is indicated by the laser on icon
31
on the display.
 Loading...