19 GB
Note: Step 3 can be skipped if the laser beam is already
activated.
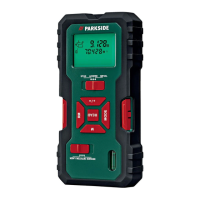
4. Now aim the laser at the target point and press the MEAS
button
16
briefly again to take a measurement. If the
measurement is successful, the measured result will be shown
on the bottom row
23
of the display. The previous readings
are pushed upwards.
Note:
- Repeat the step 1 to 4 if needed to measure another distance.
- Distance Measurement mode icon
26
will stay on (not flashing)
under single measurement mode.
- Maximum up to 4 measured values can be shown on the
display at a same time.
- If no button is pressed for 30 seconds, the laser and display
back-light will turn off. If no button is pressed for 3 minutes,
the product will power off itself.
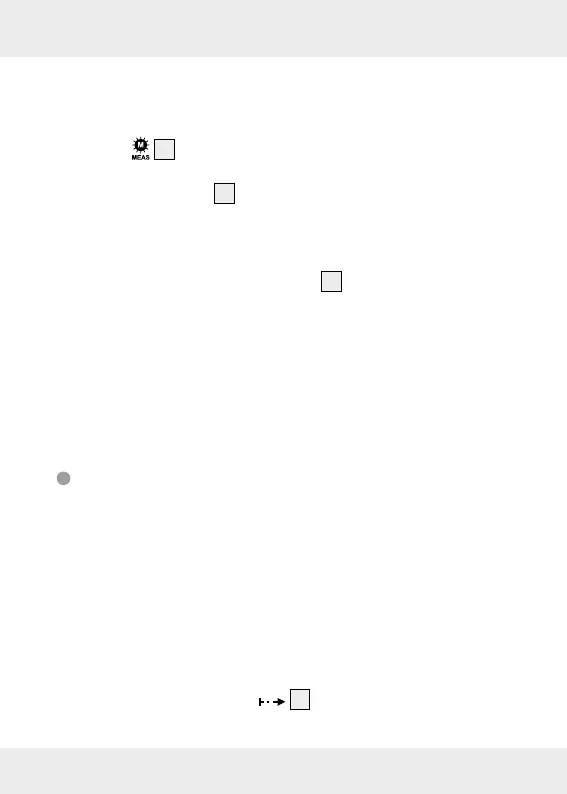
Continuous Measurement mode
Continuous measurement involves taking series of measurements
from which the maximum (MAX) and minimum (MIN) values are
displayed. To do this, move the product along a base surface or an
edge from which you wish to the measure a distances. You can, for
example, measure how parallel two opposite walls are or measure
the maximum values while using a function.
1. Start the continuous measurement by briefly pressing the contin-
uous measurement button
14
. A very short delay could be
 Loading...