6
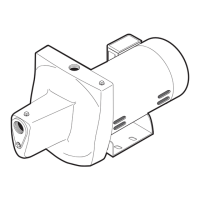
BOOST-RITE
™
Universal Booster Pump Installation and User’s Guide
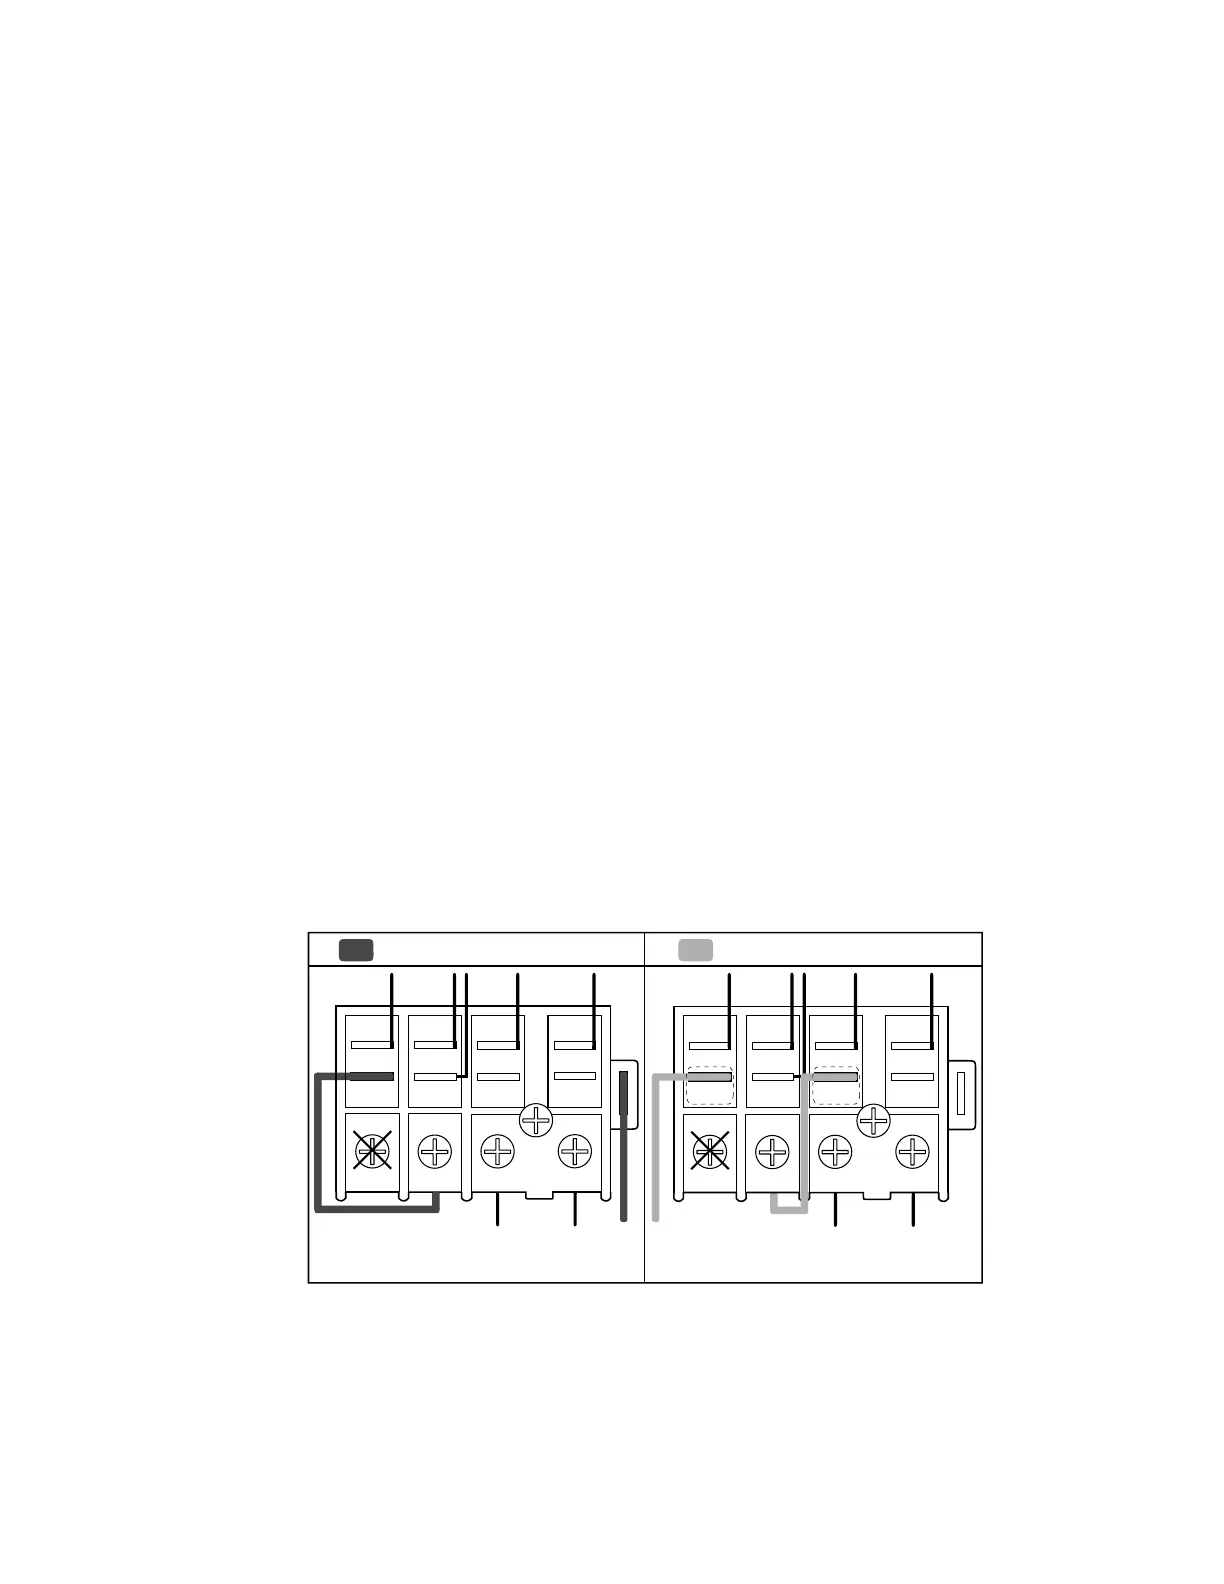
Wiring the Pump for 115 VAC
The booster pump is wired to operate on 230
VAC. The pump can also operate on 115 VAC
by changing the wiring at the motor connec-
tion plate; only 2 wires will need to be moved.
Wires must be run through a water tight con-
nector to prevent water from entering the wiring
compartment.
Note: Never wire a 115 volt motor to a 230
volt line.
1. Be sure all electrical breakers and switches
are off before wiring the motor and bond-
ing wire is connected to the bonding lug.
2. Connect ground wire to ground (green)
screw.
3. Be sure the voltage from power source is
115 VAC ± 10%
4. Connect Line 2 (L2) to the right most screw,
labeled “N”. Connect Line 1 (L1) to screw “L”
5. Move the grey wire from pin number 5 to
pin number 7.
6. Move the yellow wire to pin number 5.
7. Be sure the gasket is in the top of the lid
(gasket is black colored) and place the lid
back on the motor wiring the box.
8. Screw the four screws into the box in an
cross pattern for an even water tight seal.
Hand tighten in two sequences. First, torque
to 7= in-lbs (.8 N-m), then torque to 15 in-lbs
(1.7 N-m). Note: Do not overtighten- this
can strip the screw.
Wiring the Pump for 230 VAC
The booster pump is pre wired from the factory
to operate on 230 VAC. No change to the wiring
is needed if installing the pump in a 230 VAC
location. Wires must be run through a water
tight connector to prevent water from entering
the wiring compartment.
Note: Never wire a 230 volt motor to a 115
volt line.
1. Be sure all electrical breakers and switches
are off before wiring the motor and bond-
ing wire is connected to the bonding lug.
2. Connect ground wire to ground (green)
screw.
3. Be sure the voltage from the power source
is 230 VAC ± 10%
4. Connect Line 2 (L2) to the right most screw,
labeled “N”.Connect Line 1 (L1) to screw “L”
5. Be sure the gasket is in the top of the lid
(gasket is black colored) and place the lid
back on the motor wiring the box.
6. Screw the four screws into the box in an
cross pattern for an even water tight seal.
Hand tighten in two sequences. First, torque
to 7 in-lbs (.8 N-m), then torque to 15 in-lbs
(1.7 N-m). Note: Do not overtighten- this
can strip the screw.
WHITE
GRAY
GRAY
YELLOW
RED
BLUE
BLACK
YELLOW
SPARE
SPARE
1234
5
910
LN
67 8
L1 L2
L1 L2
FACTORY WIRED 230V WIRING FOR 115V
To change to 115V:
1. Move Gray wire from Pin 5 to Pin 7
2. Move Yellow wire to Pin 5
Factory Wiring - 230V:
Gray wire in Pin 5
Yellow wire in spare
WHITE
RED
BLUE
BLACK
1234
5
910
LN
67 8
 Loading...