18
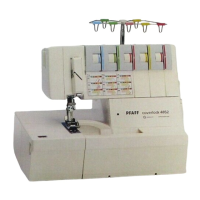
Feeding system
2. Setting the main feed dog in the sewing direction with regard to the needle plate
Requirement:
When the stitch length is set to “4”, the main feed dog must be centered between the front and the back
of the needle plate in the sewing direction (fig. 4).
The main feed dog must also be centered laterally.
Check:
● Loosen the screw 1 on the presser foot holder (fig. 5).
● Remove the presser foot holder 2.
● Set the maximum stitch length and the standard differential stroke.
● Turn the handwheel in the normal direction until the feed dog is flush with the upper surface of the
needle plate.
● Carry out a visual check.
Setting 1:
● Remove the housing cover as described in the adjustment and repair instructions.
● Set the maximum stitch length and the standard differential stroke.
● Slightly loosen both fastening screws 3 (fig. 6).
● Loosen the fastening screw 5 on the retaining collar.
● Move the feed dog carrier 4 with the retaining collar until the feed dog is centered to the needle plate
in the lateral direction.
● Tighten the fastening screws 3 and 5.
Repeat this procedure until the settings are correct.
Setting 2:
● Slightly loosen the fastening screws 3.
● Move the feed dog carrier 4 until the feed dog is centered to the needle plate in the sewing direction.
● Tighten the fastening screws 3.
Test:
● Check the lateral distance between the main feed dog and the needle plate.
● Check that the machine runs freely with the maximum stitch length set.
 Loading...