 Loading...


Do you have a question about the Philips DVDR3400 and is the answer not in the manual?
| D/A converter | 10 bit, 54 MHz |
|---|---|
| A/D converter | 10 bit, 27 MHz |
| D/A converter | 29 bit, 192 kHz |
|---|---|
| A/D converter | 24 bit, 96 kHz |
| Power supply | 50Hz, 220-240V |
|---|---|
| Standby power consumption | < 3 W |
| Power consumption | 27 W (Typical) |
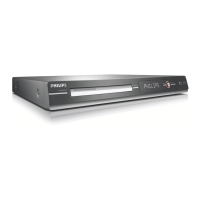
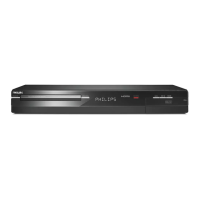
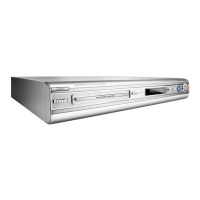
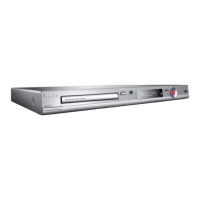
| Set dimensions | 435 x 43 x 322 mm |
|---|---|
| Packaging dimensions | 571 x 124 x 413 mm |
| Weight incl. Packaging | 4.5 kg |
| Set weight | 3.5 kg |
Instructions on how to connect a plug to the mains lead, including wire colour coding.
Guide for connecting aerial or satellite signals for watching and recording TV programmes.
Options for connecting video using SCART, S-Video, or composite Video (CVBS) cables.
Instructions for connecting the recorder to a TV or device using an HDMI cable for high-quality video.
Methods for connecting audio output using audio cables or a coaxial cable for stereo or multichannel sound.
Steps for connecting the recorder to a cable or satellite receiver via aerial or SCART.
Procedure for connecting a VCR or similar device to record from tape to DVD.
Instructions for setting the TV to the correct video input channel for the recorder's display.
Explanation of default recording settings like chapter markers, source, and recording mode.
Detailed description of Auto Chapter Marker, Default Recording Source, and Default Recording Mode options.
Guide to programming timer recordings using the VIDEO Plus+® system via PlusCode numbers.
Instructions for manually setting timer recordings by specifying source, mode, date, and time.
Procedure for inserting discs and starting playback of DVDs, audio CDs, and other formats.
Overview of disc editing options available for different disc types and their effects.
Steps to insert a recorded DVD and access the disc editing menu.
Overview of options for changing individual title information or deleting titles on a recorded DVD.
Steps to insert a recorded DVD and access the title editing menu.
Introduction to the video editing menu for adjusting recorded content.
Overview of video editing functions like adding chapter markers, hiding scenes, and splitting titles.
Steps to access the video editing menu during playback.
Guide to navigating and accessing the recorder's main setup menu.
Options related to recording setup, including chapter markers and default sources.
Settings for DVD playback, such as menu language, subtitle, and audio language defaults.
Configuration options for country, display language, screen saver, and menu reset.
Settings related to playback, including aspect ratio, video output, HDMI resolution, and digital audio.
How to set parental controls and manage playback limitations based on age ratings.
Options for managing TV channels, including search, modification, and sorting.
Configuration for setting the date and time, including automatic and manual options.