6.14
CLUTCHING
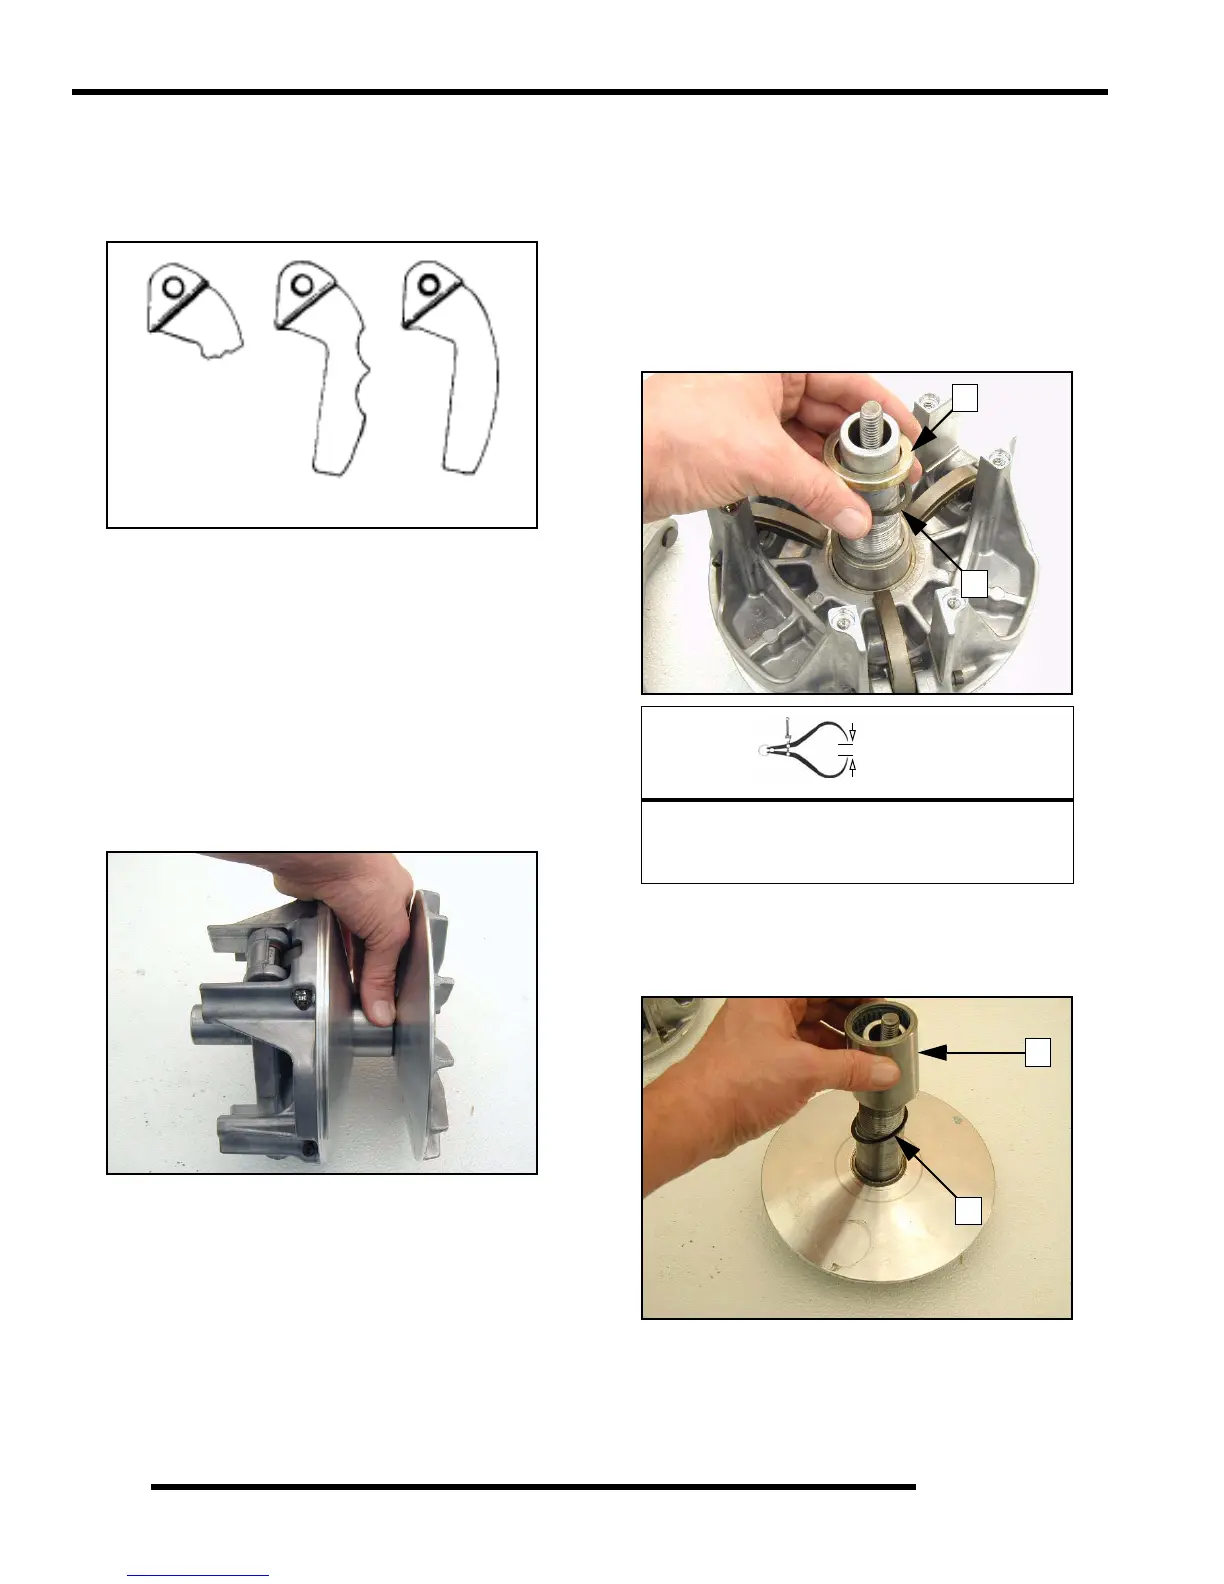
2. Remove shift weight bolts and weights. Inspect as shown.
The contact surface of the weight should be smooth and free
of dents or gall marks. Inspect the weight pivot bore and
pivot bolts for wear or galling. If weights or bolts are worn
or broken, replace in sets of three with new bolts.
NOTE: A damaged shift weight is usually caused by
a damaged or stuck roller in the spider assembly.
See “Roller, Pin and Thrust Washer Inspection”.
Bearing Inspection
1. Rotate non-braking clutch bearing in both clockwise and
counter-clockwise directions. The non-braking bearing
should rotate both directions on the shaft with only a slight
amount of drag.
2. Verify there is no binding or rough spots. If problems are
noted in either direction, continue with disassembly.
Clutch Inspection
NOTE: Remove cover, spring, and spider following
instructions for drive clutch removal, then proceed
as follows:
1. Remove the moveable sheave spacer sleeve (1) and the
thrust washer (2). Visually inspect the washer for damage.
2. Measure the thickness and compare to specification.
Replace if worn or damaged.
3. Remove the moveable clutch sheave.
4. Lift bearing (3) and thrust washer (4) off shaft. Replace as
an assembly if worn, damaged, or if problems were noted.
Broken Worn Good
= In. / mm.
Thrust Washer Thickness
Standard: .030” (.76mm)
Service Limit: .025” (.64mm)
1
2
3
4

 Loading...