EN-16
CAPTURE MODE
Capturing Images
Your camera is equipped with a 2.48" full color LTPS-TFT LCD monitor to help you
compose images, playback recorded images/video clips or adjust menu settings.
1. Press the Power button to turn the power on.
The status LED lights green and the camera is
initiated.
2. Compose the image on the LCD monitor so that
the main subject is within the focus frame.
Pressing the OK / button zooms in on the
subject, and enlarges the subject on the LCD
monitor.
3. Press the shutter button to capture the image.
Using the Flash
The flash is designed to function automatically when lighting conditions permit the use
of flash. The camera has 3 flash modes: Flash Off, Auto Flash, and Always On. You
can take an image using a desired flash mode to suit your circumstances. The flash’s
effective range is 0.9m (35.4”) ~ 1.5m (59.1”) (in Normal mode). The flash function is
disabled if the camera is set to Macro mode.
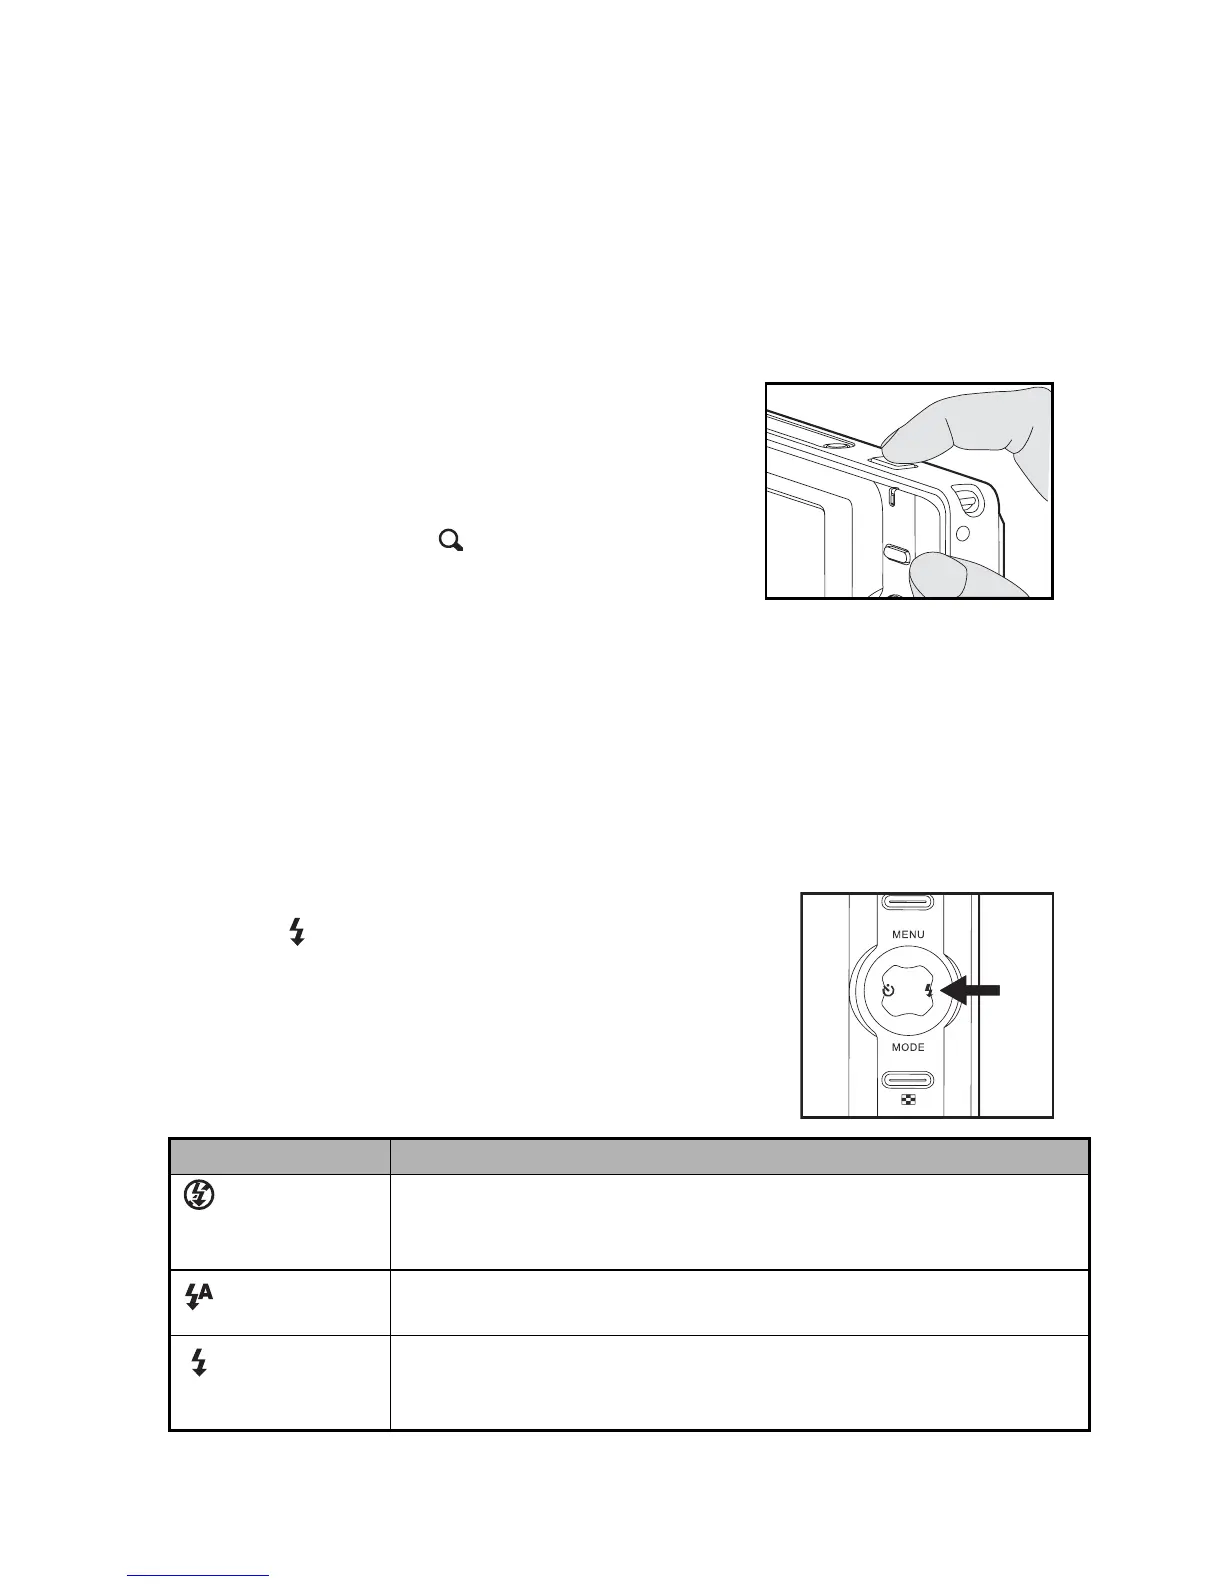
1. Press the Power button to turn the power on.
2. Toggle until your desired flash mode appears on the
LCD monitor.
3. Compose your scene and press the shutter button to
capture the image.
The table below will help you to choose the appropriate
flash mode:
Flash mode Description
Flash Off Use this mode in the environment that the flash use is prohibited
or under the situation that the distance to the subject is too far
away for the flash to have any effect.
Auto Flash The flash fires automatically according to suit the photographic
conditions.
Always On The flash will always fire regardless of the surrounding brightness.
Select this mode for recording images with high contrast
(backlighting) and deep shadows.
 Loading...