The panel is now able to send SMS Texts
OR
The test call has failed, please contact your
engineer.
3. Press the key and you will be returned to the Manager Menu.
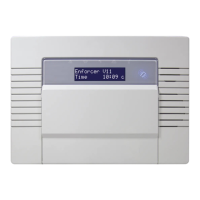
4.12 Dial Out Menu
This function allows you to choose which PC you wish to connect to via the phone line. This is
used in conjunction with the PCX Upload/Download software (Please contact Pyronix regarding
this).
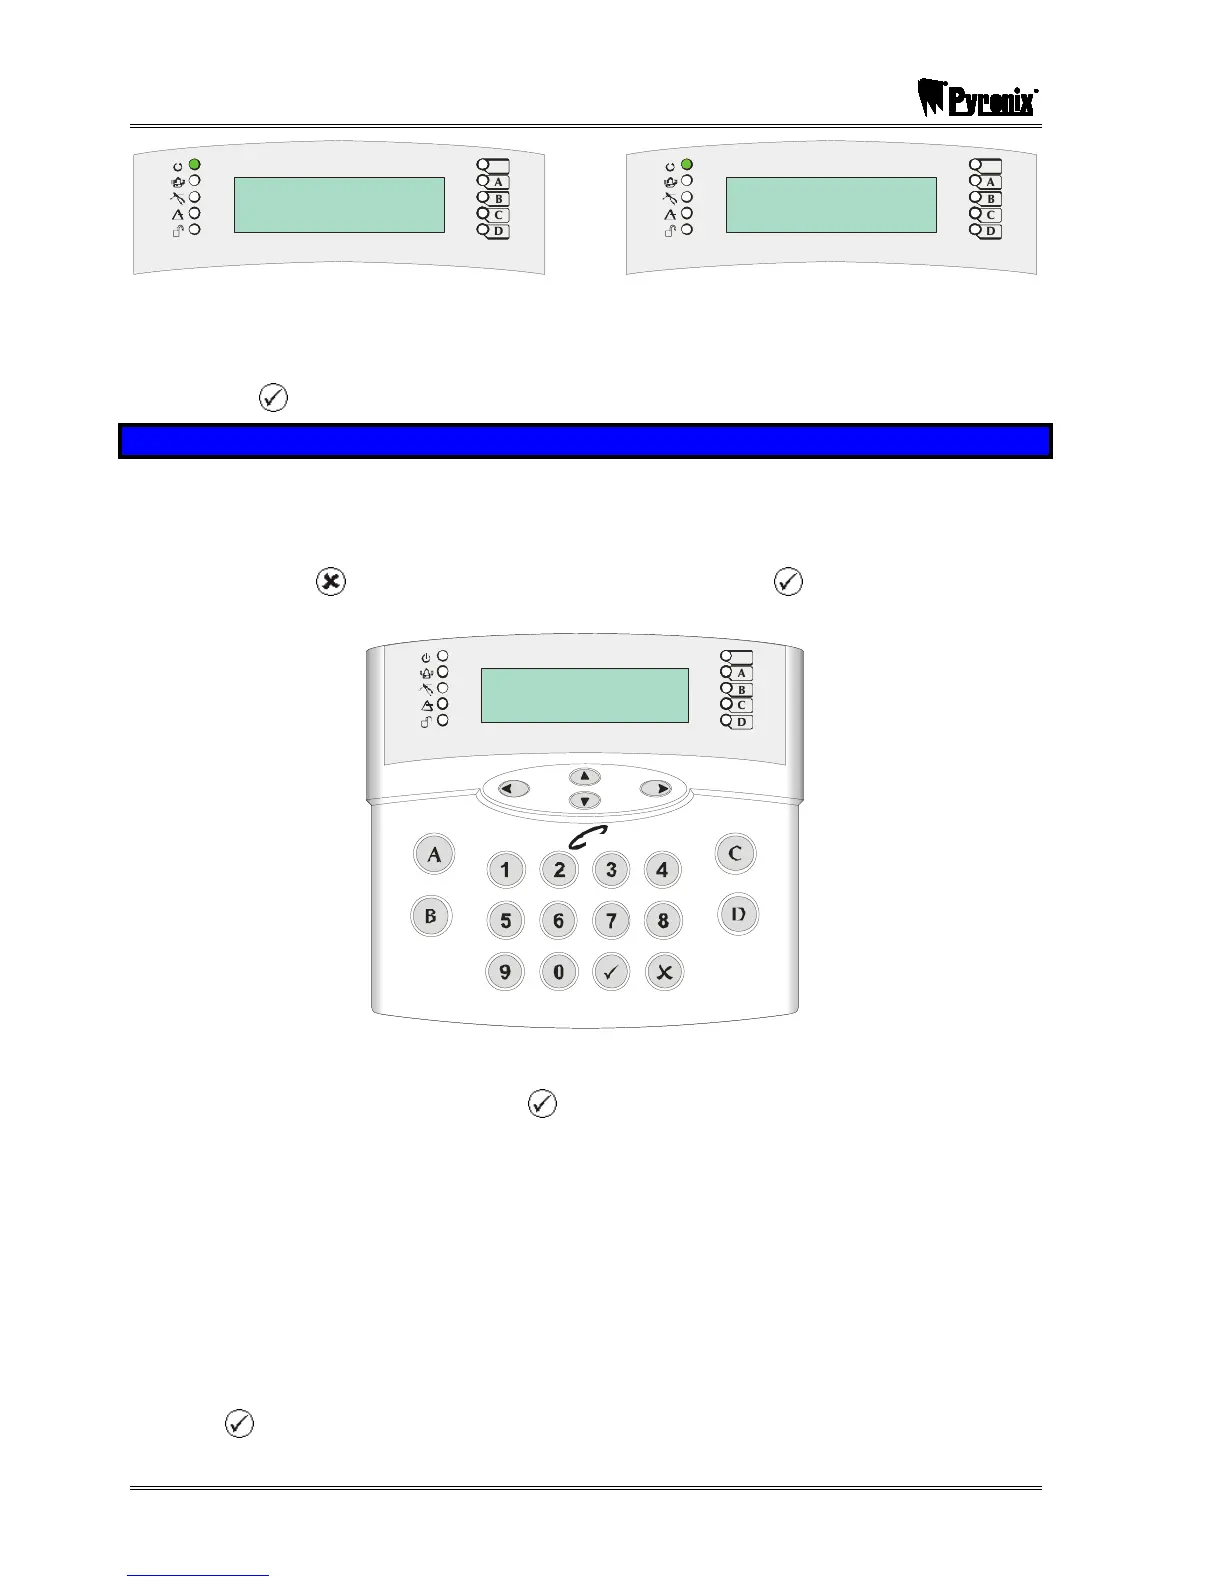
1. Use the ¦ and keys to scroll to ‘DIAL OUT MENU. Press the key. The following will be
displayed:
D
C
B
A
Select PC to
dial [1]
Tag
,/+.
JKL
ABC
MNO
DEF
PQRS
GHI
TUV
WXYZ
SPACE
2. Choose which PC you would like to dial: 1-4. (these are modem number that the engineer
would have programmed in – for example PC1 might be the PC at your home, PC2 might be
the PC of the engineers etc). Press the key.
3. Select the operation you would like to perform:
Ø Enter ‘0’ = Connect to PC
Ø Enter ‘1’ = PHC Test
Ø Enter ‘2’ = ARM Service
Ø Enter ‘3’ = Data From PC
Ø Enter ‘4’ = Data To PC
Ø Enter ‘5’ = Diagnostics (Sends electrical and diagnostic data to your PC)
Ø Enter ‘6’ = Commissioning
Press the key.
 Loading...