Placing Originals
19
1
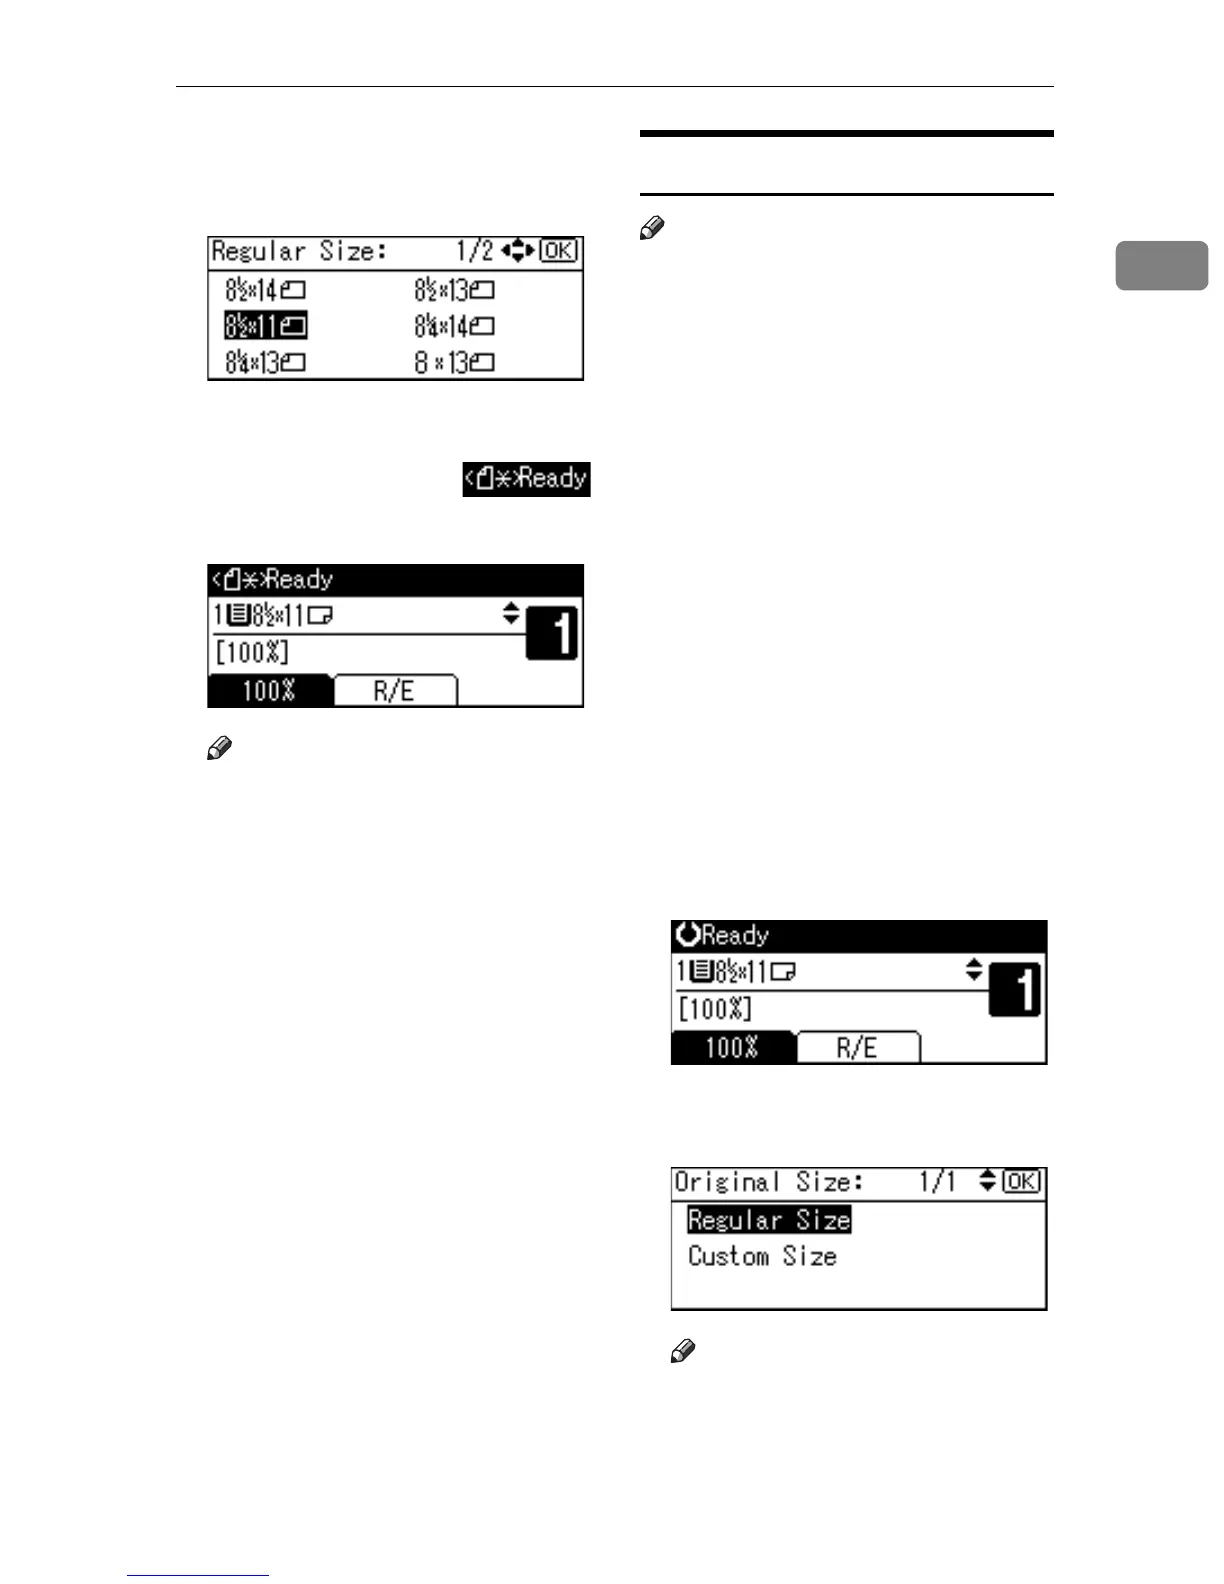
D Select the paper size using the
scroll keys, and then press the
{OK} key.
The “
Accepted” message appears.
When the regular size originals
settings are registered,
appears at the top of the copy dis-
play.
Note
To cancel the registered original
size, press the {Clear Modes}
key.
E Press the {Start} key.
Placing Custom Size Originals
Note
Enter the size of your original if it
is not one of the following: A4L,
B5 JIS L, A5KL, 8
1
/
2
" × 14"L,
8
1
/
2
" × 13"L, 8
1
/
2
" × 11"L, 5
1
/
2
" ×
8
1
/
2
"KL, 8" × 13"L, 8
1
/
4
" ×
13"L, 8
1
/
4
" × 14"L.
On the exposure glass, paper sizes
that can be set with this function
are: vertical 139–216 mm (5.5"–
8.5"), horizontal 139–297 mm (5.5"–
11.6").
For the ADF, paper sizes that can
be set with this function are: verti-
cal 139–216 mm (5.5"–8.5"), hori-
zontal 139–1260 mm (5.5"–49.6").
A Place originals face down on the
exposure glass, or face up into the
ADF.
B Select the paper tray or bypass
tray using {U} or {T}, and then
press the {#} key.
C Select [Custom Size] using {U} or
{T}, and then press the {OK} key.
Note
If you selected the bypass tray,
first select [Original Size] using
{U} or {T}, and then press the
{OK} key.
CPY
.t
CPY
.t
CPY
.t
CPY
.t

 Loading...